And to continue:-
The next job is to put a midi heki into the rear section of the roof, this one I bought from Magnum motorhomes and have to say the quality of it including Led lights incorporated is exceptionally good especially for the price.
The booklet that comes with it gives the cutout size. My way is to mark out the cut out size on top of the roof in a rectangle then get a compass and in this case radius the corners 50mm
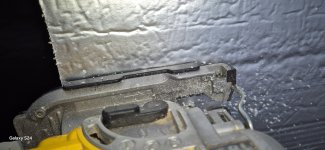
Same as the windows, drill two or three holes on the inside of the marked line so you can enter the jigsaw and start to cut around the mark. It's beneficial to have a helper inside the van to support the steel roof plate as you cut making sure they don't look up as hot shards of swarfe are constantly falling while your cutting, I'm not a health and safty geek but goggles and leather gloves should be used.
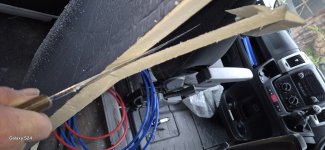
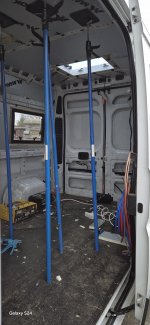
I did forget to remove the middle section of the rear roof support and snapped a jigsaw blade as it wasn't long enough to penatrate the roof support. So we had to stop operations until I'd cut the centre section out of this support with a disc cutter, making very sure the roof was not hit by the cutter.
With this removed I continue round and complete the cut out, which was recieved into the van by my helper eldest Son.
Now a confirmation fitting of the skylight to make sure it fits, having tested this I cut strips of foam and cut and disc sanded them to the shape of corrugation of the roof, in my case I had to make up 10 these are to fill the gaps caused by the skylight sitting on top of every other corrugation. Dont worry the fact its only Styrofoam as all your doing is filling the gaps the skylight actually sits on the up corrugations.
Now turn the skylight upside down and gloop adhesive sealant around the fitting flange, don't spare the tar as its better to have too much than to little. Making sure the roof area is comparatively clean. Then glue the Styrofoam into down corrugations, then with the skylight flange with a good bead of sealant turn the skylight the correct way up and introduce it into the cut out the sealant will sqidge out especially on the up corrugations and down the sidesI personally leave this as its on top of the roof and out of sight, but some like to smooth it down with wet wipes.
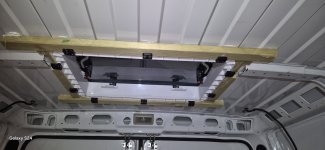
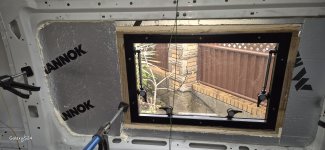
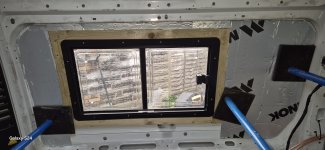
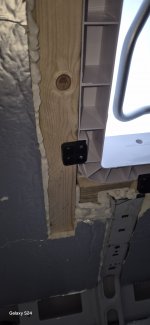
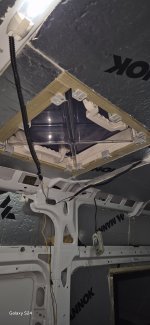
Next its down inside the van, where I cut two lengths of 25x50 batten that pass either side of the sides and another two lengths for the shorter sides.
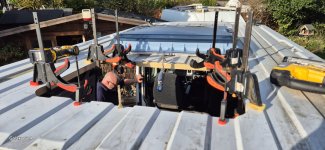
Start with one of the longer lengths and apply adhesive to each corrugation and then place the longer length up against the skylight and fit your fixing clamps to the skylight and gently pull the skylight down but not tight 'Yet'. Continue around doing the same for all four sides. When this is completed slowly tighten all fixing screws so that it squeezes the skylight between the roof and the wood batten, don't over tighten just enough to squidgy out the adhesive on the roof all round.
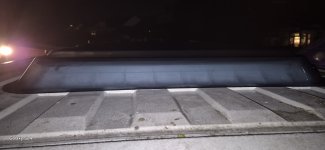
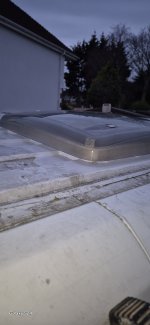
Now is the time to get back on the ladder and complete the sealing front and back, the sides won't require any sealant but the corrugations will require some more to make sure that water can not enter. You will probably have to remove the plastic hinge pins and lift the front of the acrylic dome so that you get a complete view of the front corrugations, when done just replace the plastic hinge pins.
And Bob's your Aunty you now have a lovely midi Heki.
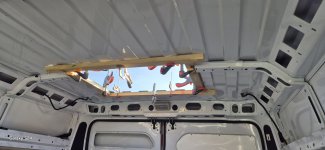
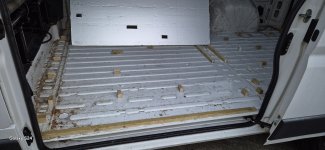
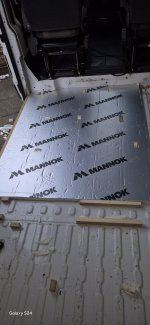
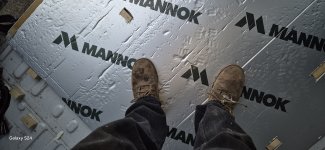
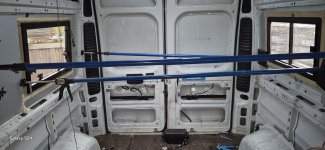
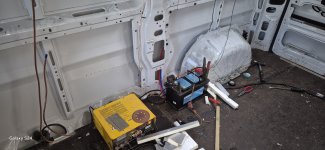
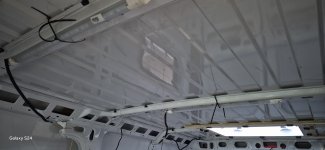
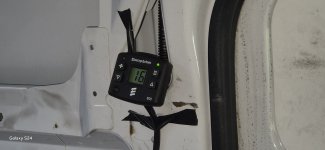
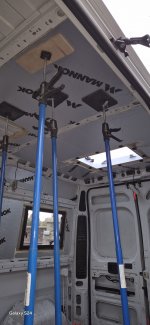
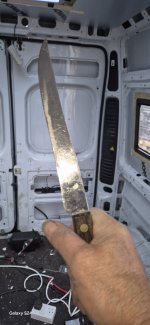
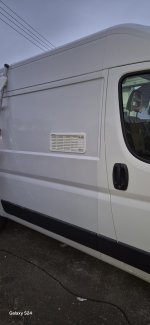
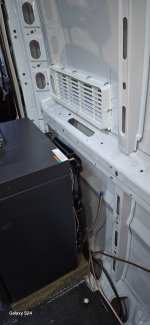
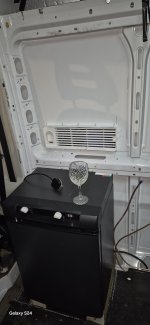
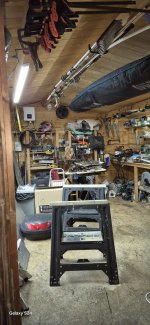
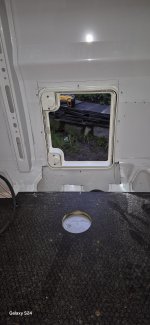
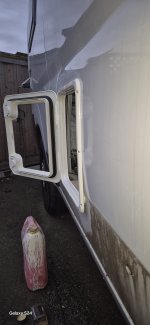
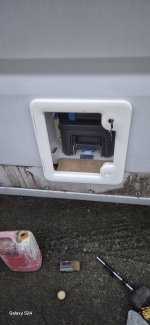
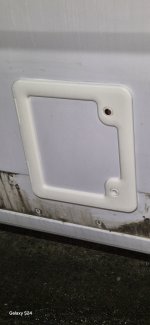
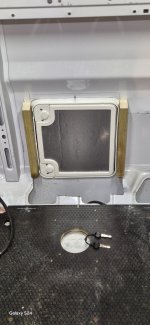
The following photos are a depiction of following work, have to admit I forgot to photo the cut out although it's the same principle as the windows.
The first two photos show that I intended to glue them in place first but time was of the essence and I decided to fit the skylight then put the batten around as I explain in the text. The next two were taken at night and are not particularly complimentary as the dew had covered the acrylic and my head torch didn't help but I think it showes the corrugations. The gorilla is my eldest

. Phil

