Day 3 - Solar Installation
The Customer has some very specific requirements for his van ... He wants minimum visibility of cables coming from the PV Panels. So that means making holes in rather expensive £2,500 poptop!
We also have to deal with the fact the roof rises around 6" at the back so the cabling needs to accomodate that also whilst being hidden as much as possible.
Step 1: Cable Routing
I drilled a pair of holes in the metal roof section that gets covered by the poptop

Solar Cable routing by
David, on Flickr
This could be a handy hint for some ... Put a strong magnet by the hole to be drilled and as the metal flakes and swarf comes off the bit, it goes onto the magnet and makes the cleanup a lot easier.
In the Poptop, I drilled holes - one for +ve and one for -ve - just aft of the cables coming out the junction box to drop the cables down and out of sight as quickly as possible. This is a closeup of one of the panels
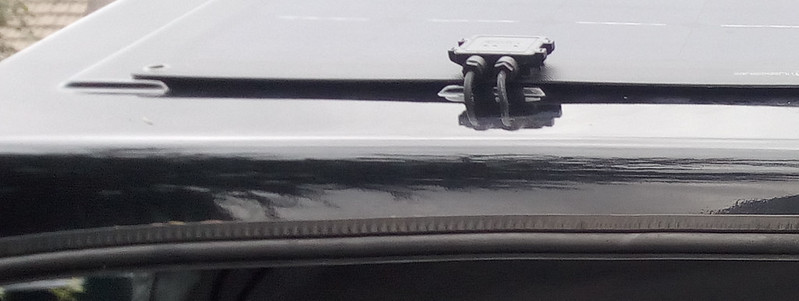
Cable Routing - PopTop by
David, on Flickr
Step 2: Fixing the Panels
The Lensun Panels I am fitting are defined as Semi-Flexible. They actually have a very rigid fibreglass backing on them and the makers recommend they be fixed securely (as opposed to be fixed to allow expansion in heat). The panels will just connect on the edges to raised ribs plus one in the centre. I wanted some more support in-between so got some acrylic strips cut to add inter-rib supports. This picture will show the fixings in place

Panel Underneath by
David, on Flickr
What you see in the photo above are strips of 3M VHB tape (taping these down rather than using Sikaflex or the like). The outer strips and the middle strip is VHB tape directly onto the rear of the panel. The 2nd and 4th strips are the 4mm thick clear Acrylic taped down to the panel and more strips applied to the other side of the support strips.
At the front there are some cross strips that are shaped infils between the Ribs - this prevents airflow underneath and eliminates any lift effect.
Step 3: Cabling Up
Two Panels going into one controller means combining the panels in either a Series or Parallel connection. But before that, we need to get the basic cabling in place. To cope with the rising roof I incorporated a bit of a loop effect to allow enough slack and movement whilst also trying to ensure the cables didn't escape out the side when the roof is lowered.
This is my layout outside

Solar Cable under Poptop by
David, on Flickr
So a pair of cables from the RH panel, another pair from the LH Panel and a last pair going out to the Controller.
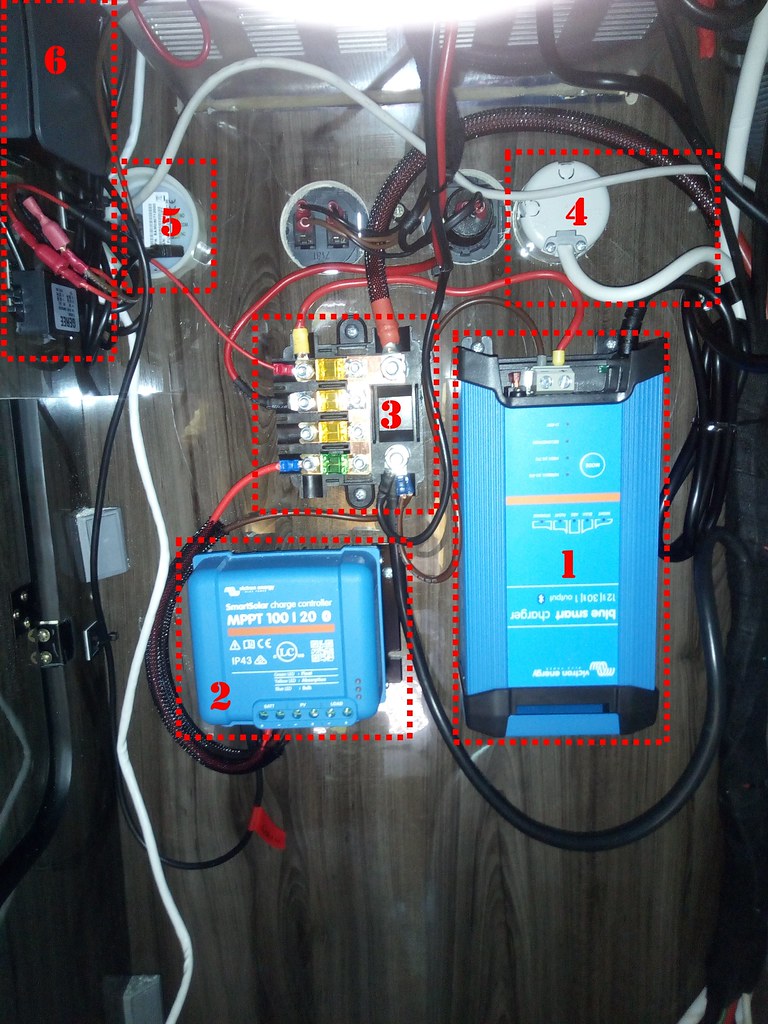
Inside the cables just route inside a cupboard out the way until they connect into the Victron MPPT Controller.
For the actual outside connections, I didn't use the typical MC4 connections found on Solar Panels (they had to get chopped off anyway to go through the holes) but used Wago lever connectors in an low-profile ABS box instead.
I set it up so the customer can change between Series (how I set it up now) and Parallel (preferred if you think there will be shade around)
Series Cabling

PV Cable - Series by
David, on Flickr
Here the Left Wago is the +ve and the Right Wago is the -ve. The +ve of Panel #1 goes to the Left +ve and goes to the controller; the -ve of Panel #2 goes to the Right -ve Wago and on to controller. The remaining -ve Panel #1 and +ve of Panel #3 gets connected together on the 3rd - middle - Wago
Parallel Cabling

PV Cable - Parallel by
David, on Flickr
To revert a Series to a Parallel setup here, it is dead simple! just eliminate the middle Wago and connect the +ve on that Wago to the Left (+ve) Wago and the -ve on the Centre Wago to the Right (-ve) Wago.
Using these Wagos make it very easy to alter the layouts as well as being very compact and secure, so ideal for this situation. The connectors themselves are rated for use at upto 300V and 20A so well within spec for this setup
P.S. The photos above are just to illustrate the connections - The actual cabling has all the insulation into the connectors!
Final Appearance

Panels on Roof by
David, on Flickr
The panels look pretty tidy, especially being virtually all black and mounted on a black gel poptop. The VHB on the roof is incredibly secure and you don't get ANY opportunity to adjust position (which can be a bit of a pain

).
The cables have enough flex so no strain and when the roof is dropped, no cables can be see other than a couple of centimetres by the panels.
This is the conclusion for this Camper Remodel. the Customer will be picking up his van at the end of the week after leaving it with me for just about a month. I have this as "Day 3" as this work could have been carried out in 3 days, but I probably spent around 5-6 full days on the work (I tend to work slowly but methodically)


