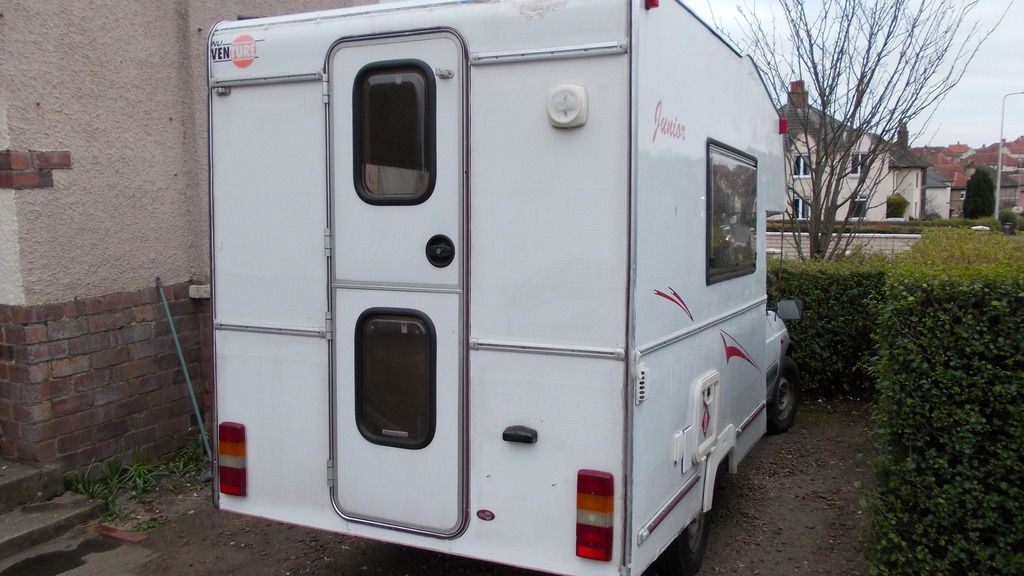
Resealing Van - The Restoration Revisited

StreetSleeper

Forum Member
In true Blue Peter style, this is one I did earlier.
Recent conversation I was having with a member who was suffering from damp issues in their van and they had never seen this thread......hope it helps.

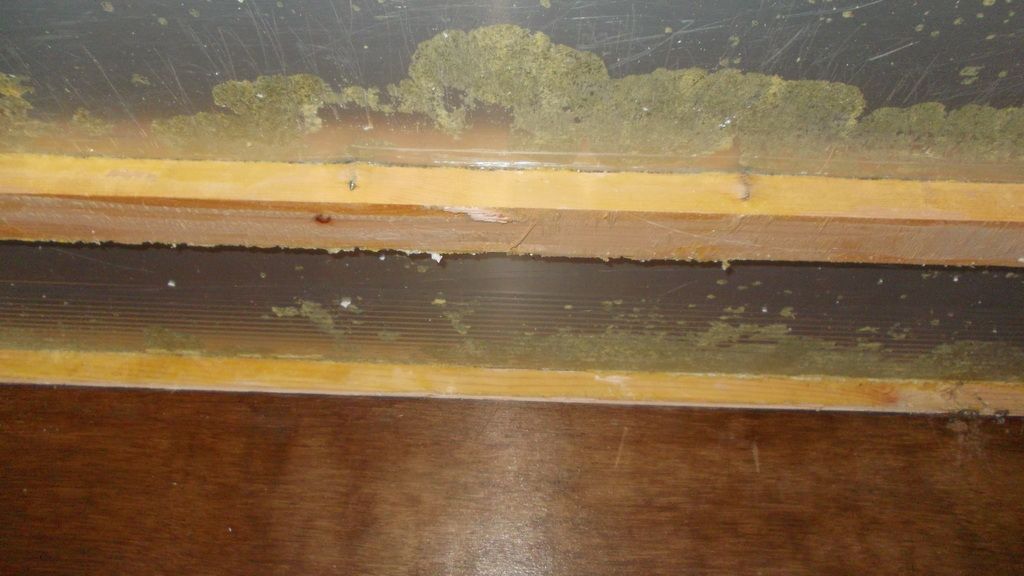
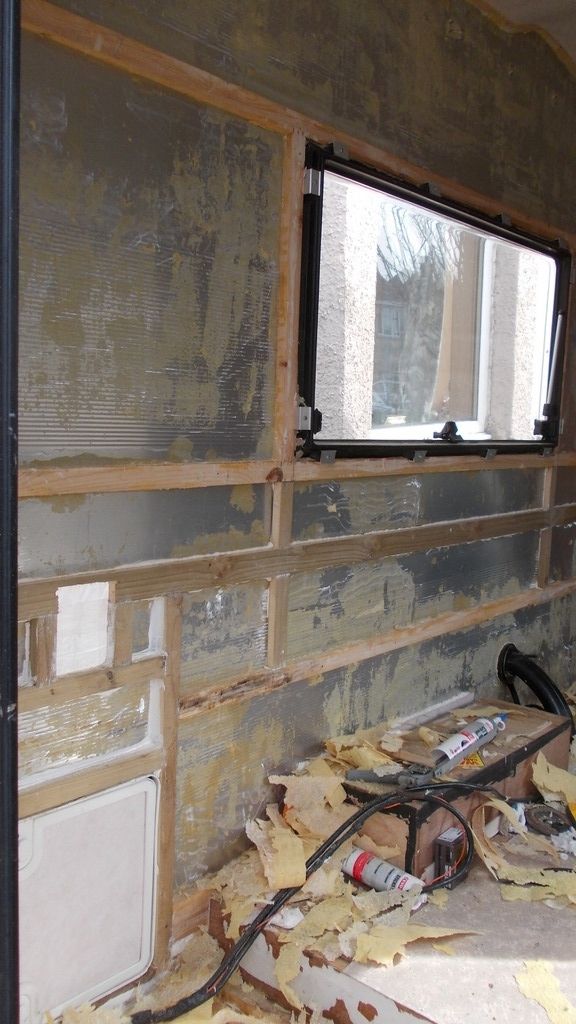
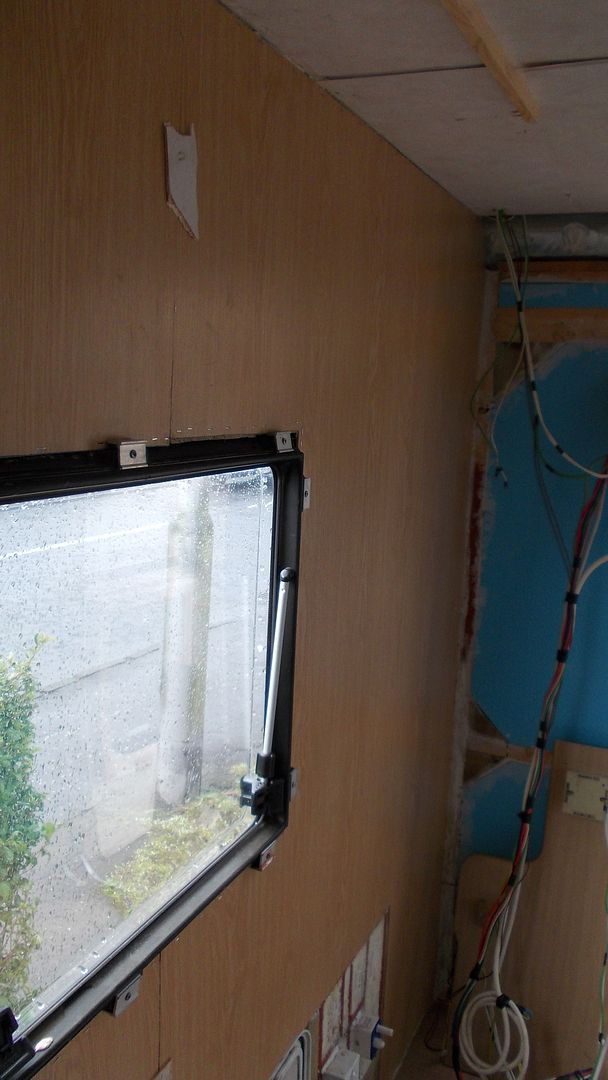
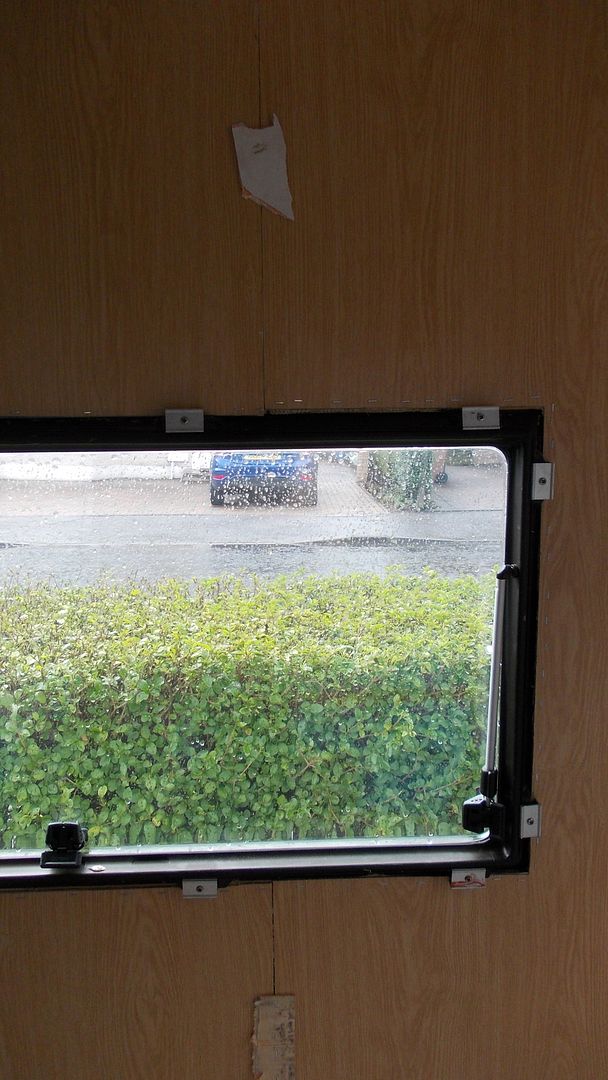
I think my first port of call is to cut a small section of wall board at the bottom corners of the windows to see what condition the window frame is in
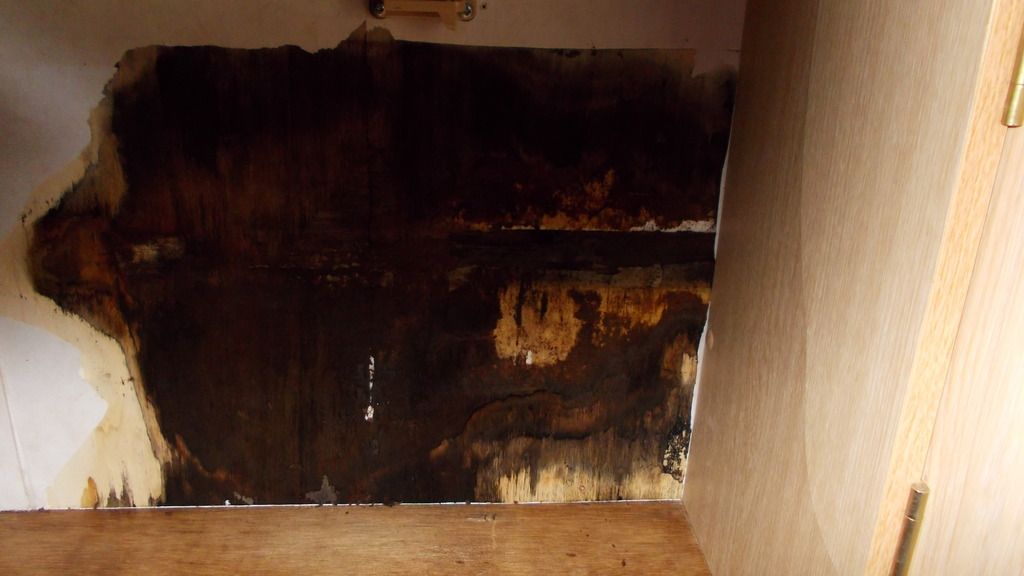


As I expected. I have another four test holes to make and then that should give me a good indication of what I'm up against.

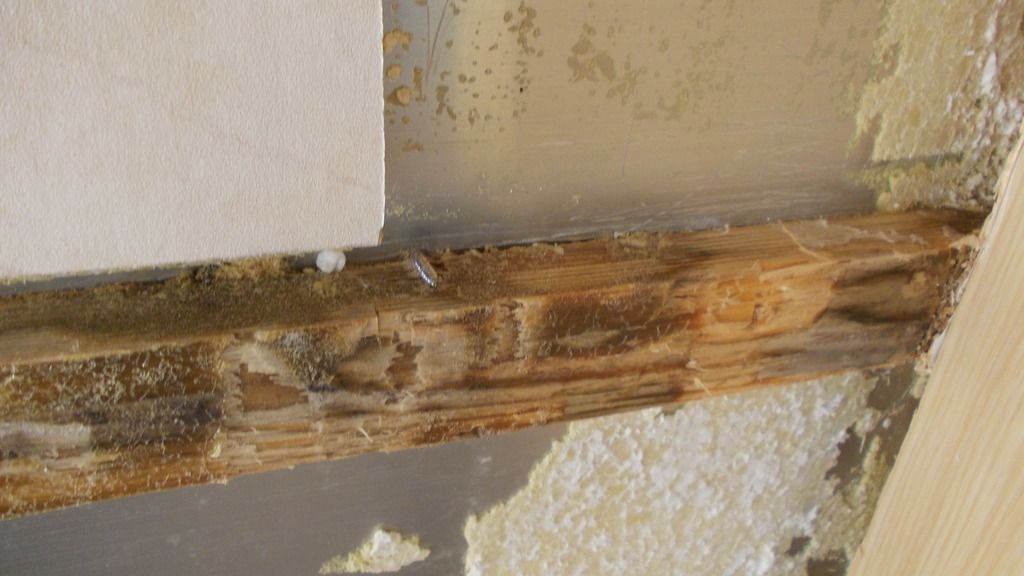
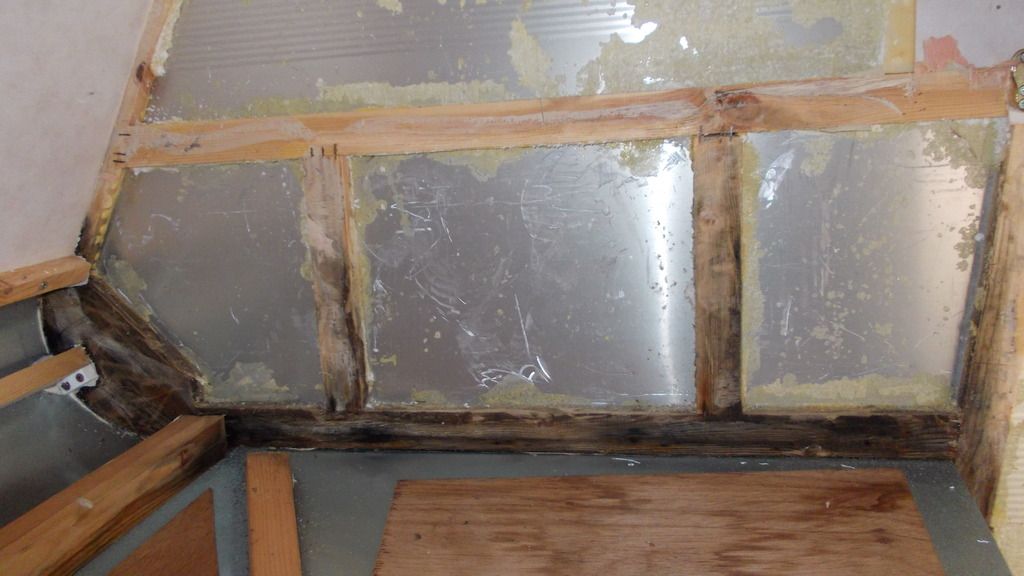
Well as you can see it's drying out quite nicely. The wooden frame is in surprisingly good condition, yes there are signs of decay but I don't think this will be an issue.
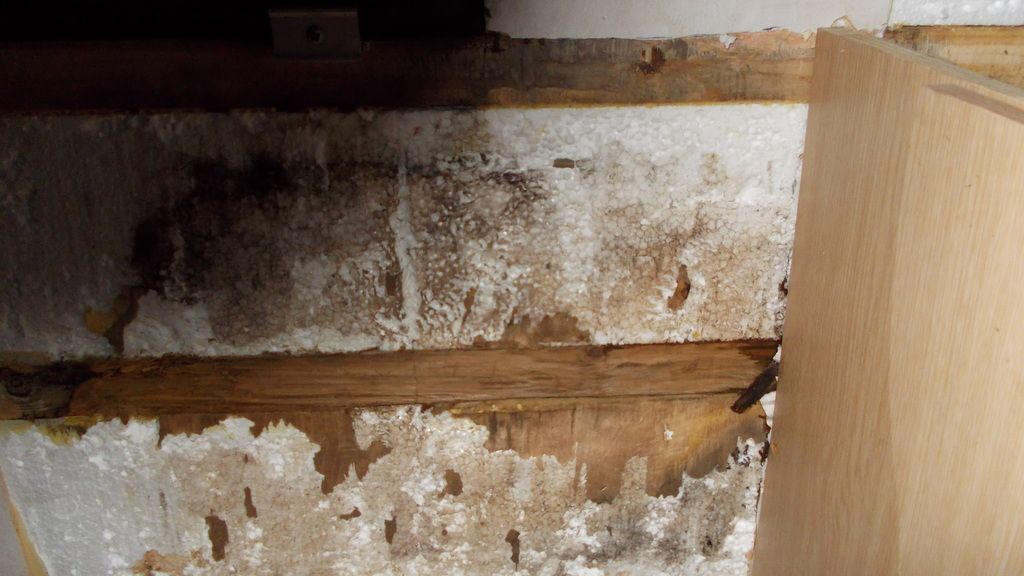


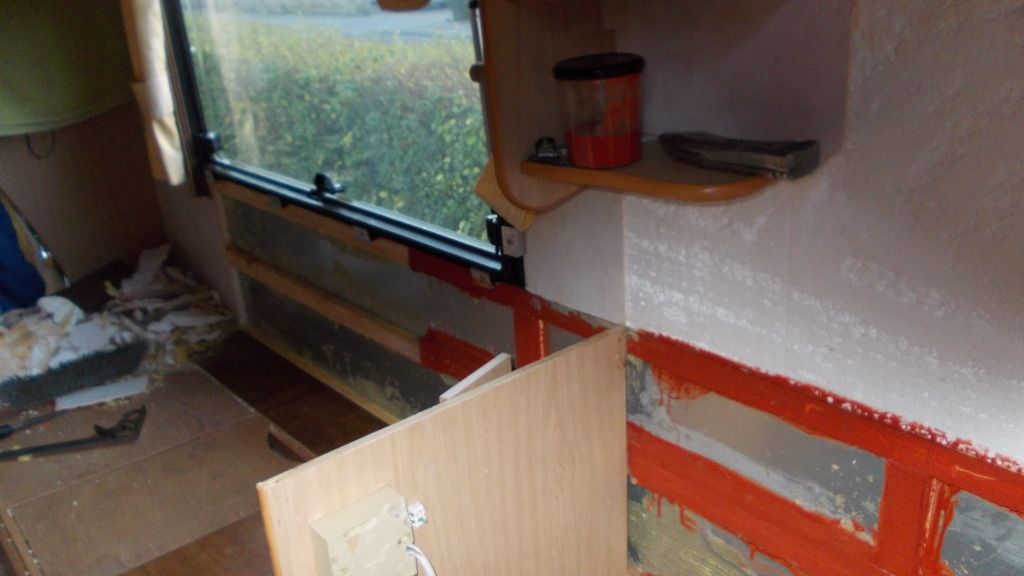
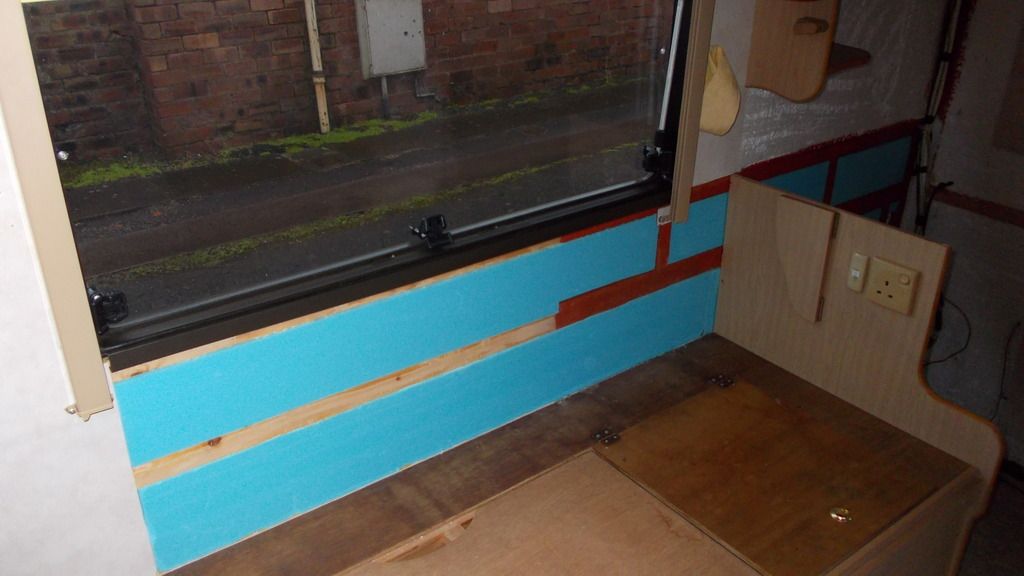
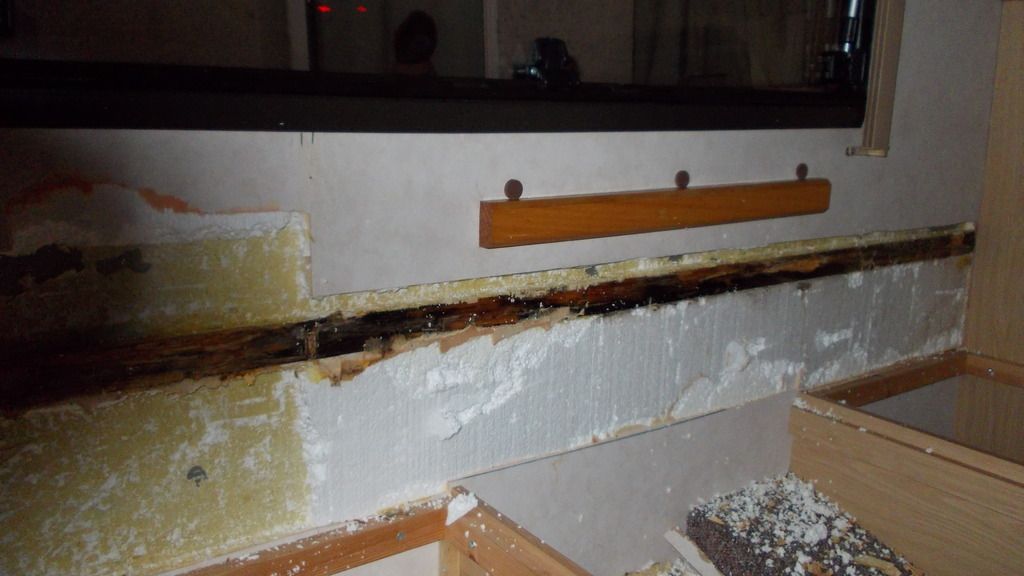
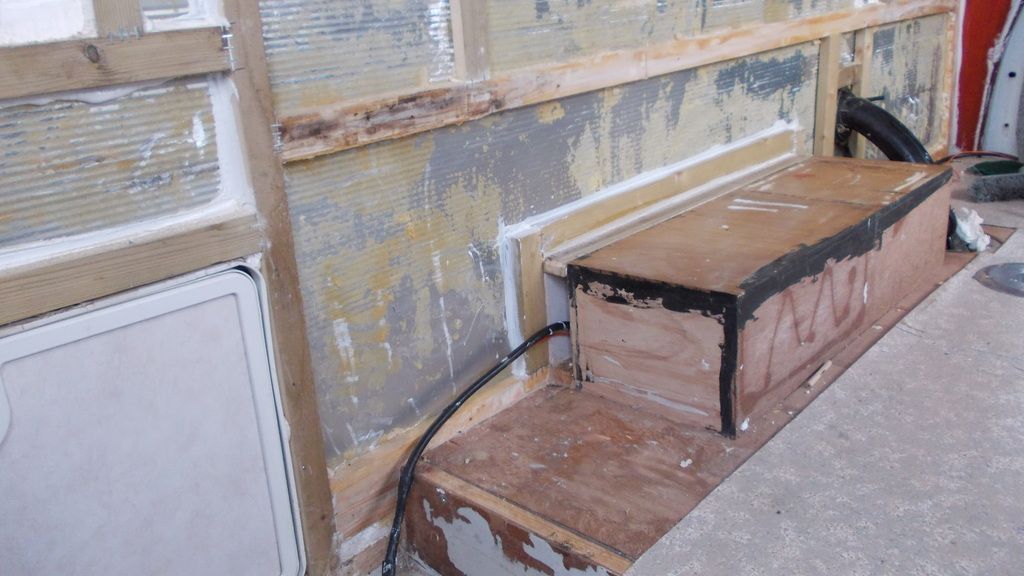
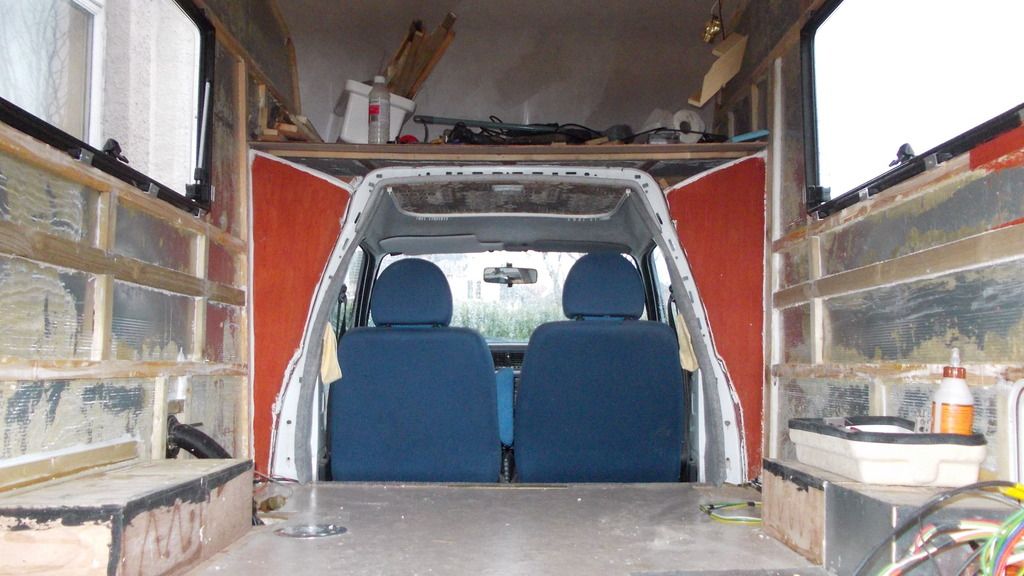
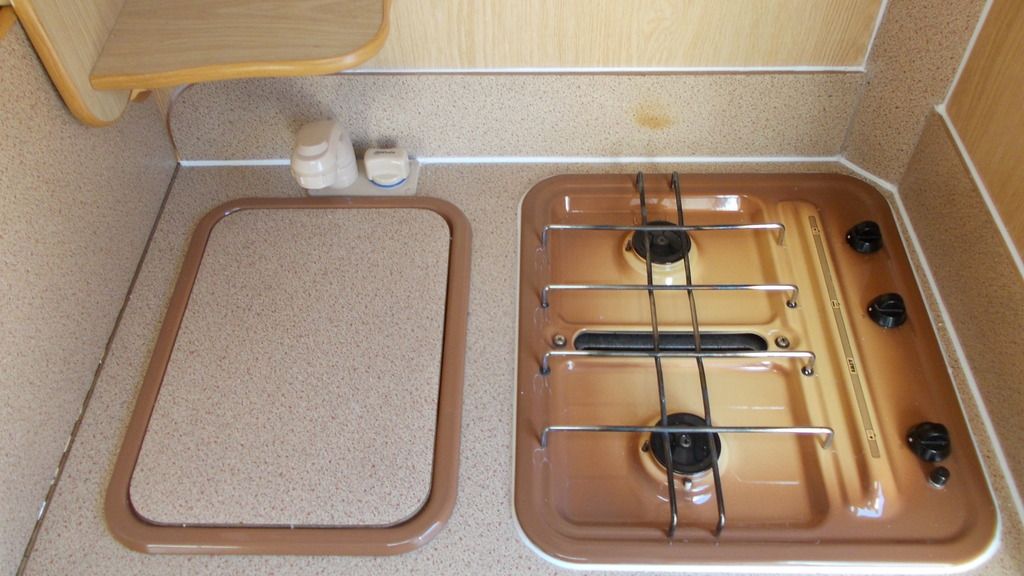
Remove the kitchen area. This consisted of fridge, cooker and sink; absolute nightmare, screws rusted in, worktop was glued down so had to be broken to get into the screws behind just generally a very disheartening job but, as you can see, it is done and it's now just a matter of drying out and tracing where the leak or leaks are coming from. Most of the wood frame seems to be in good condition and I'm hoping I will be able to use it rather than pull it apart and replace it.
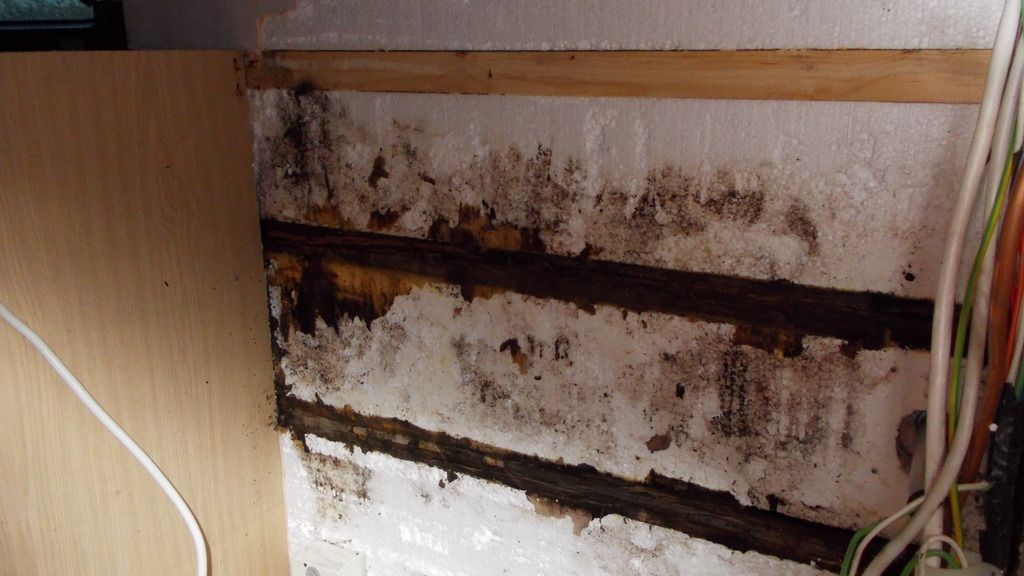


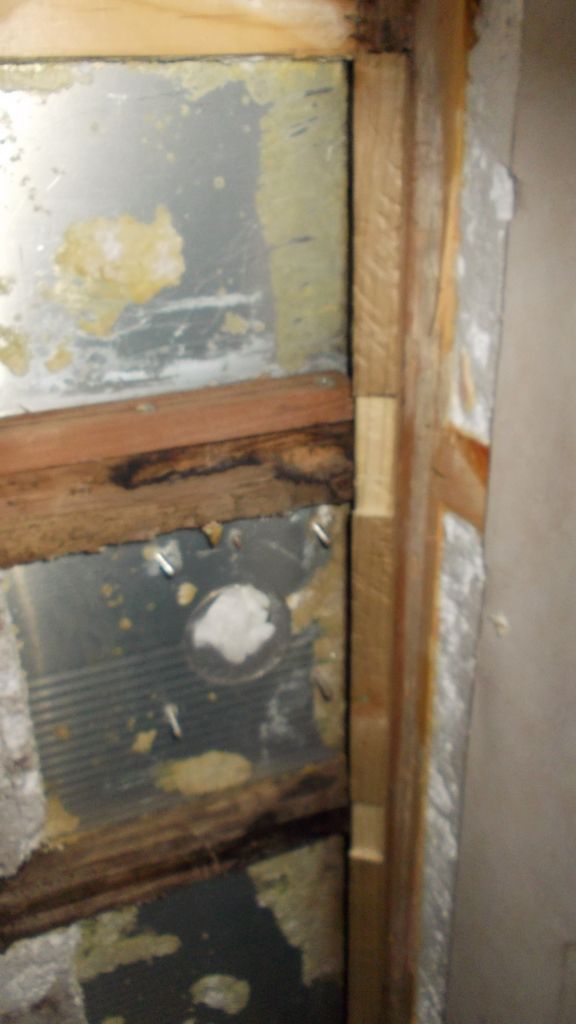
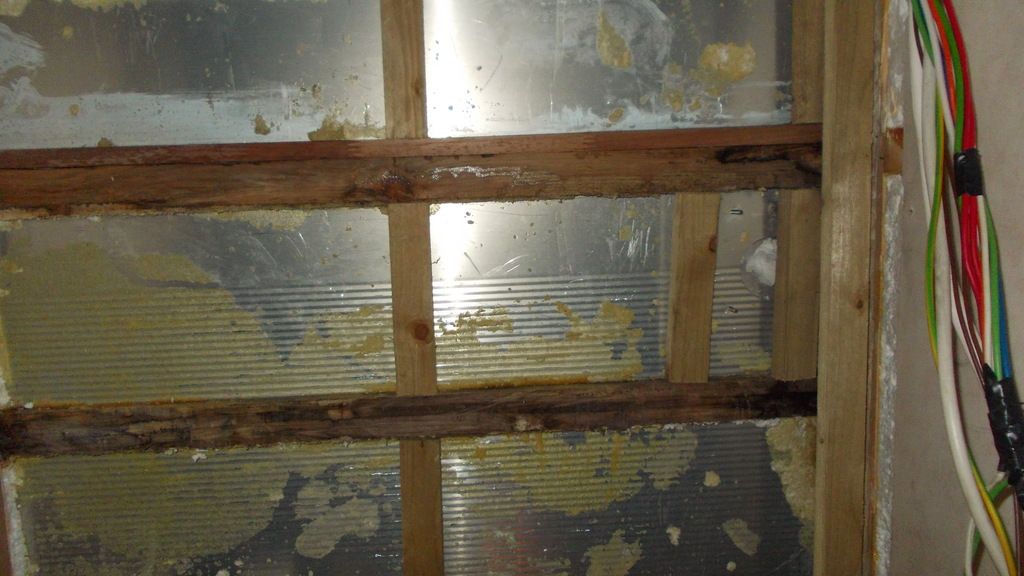
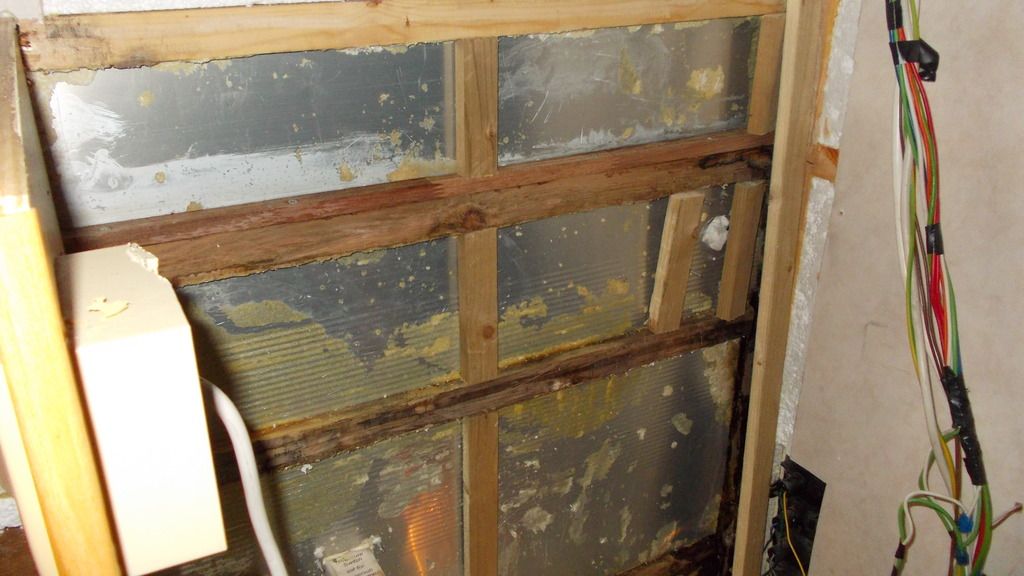
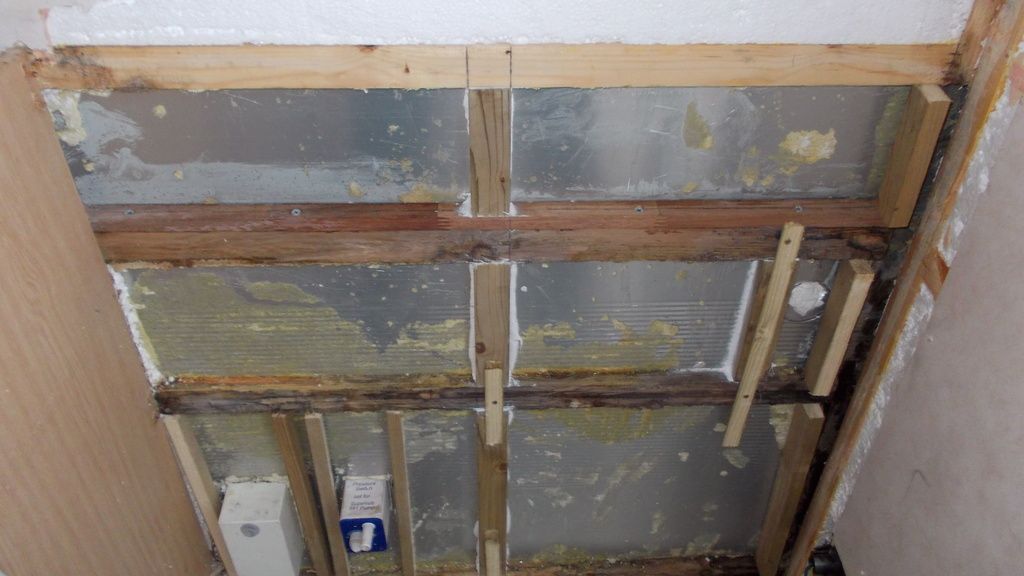
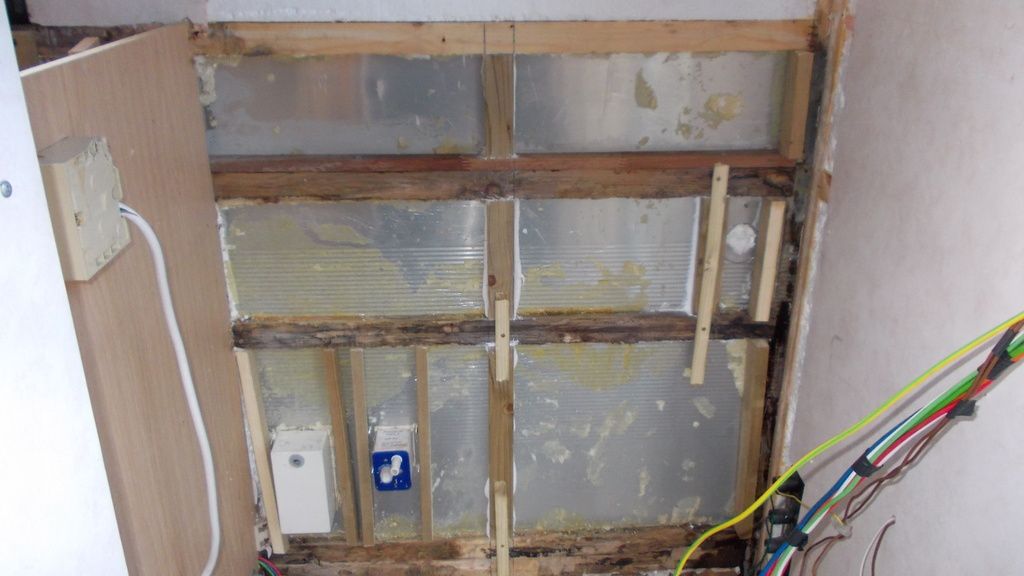
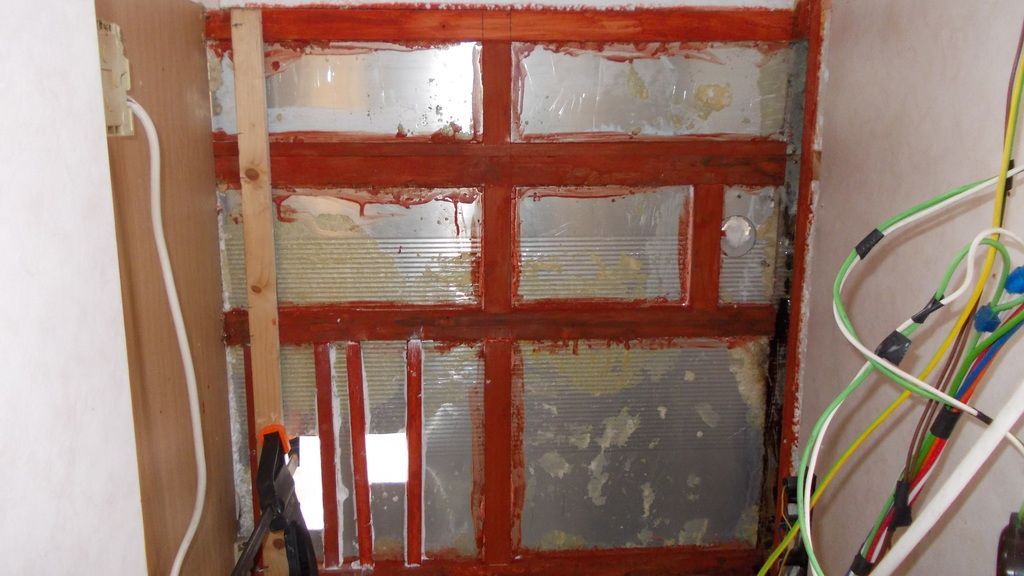
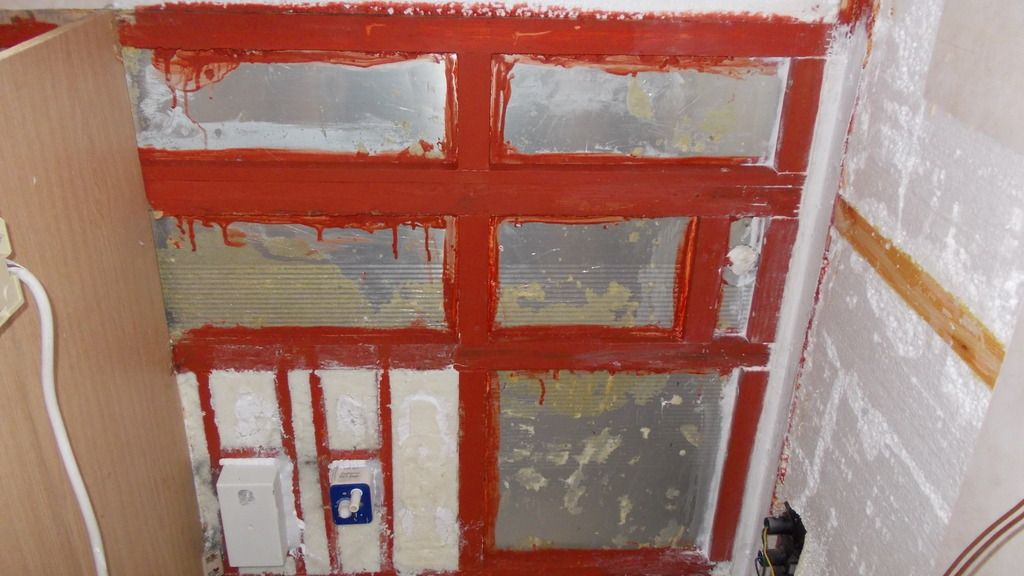
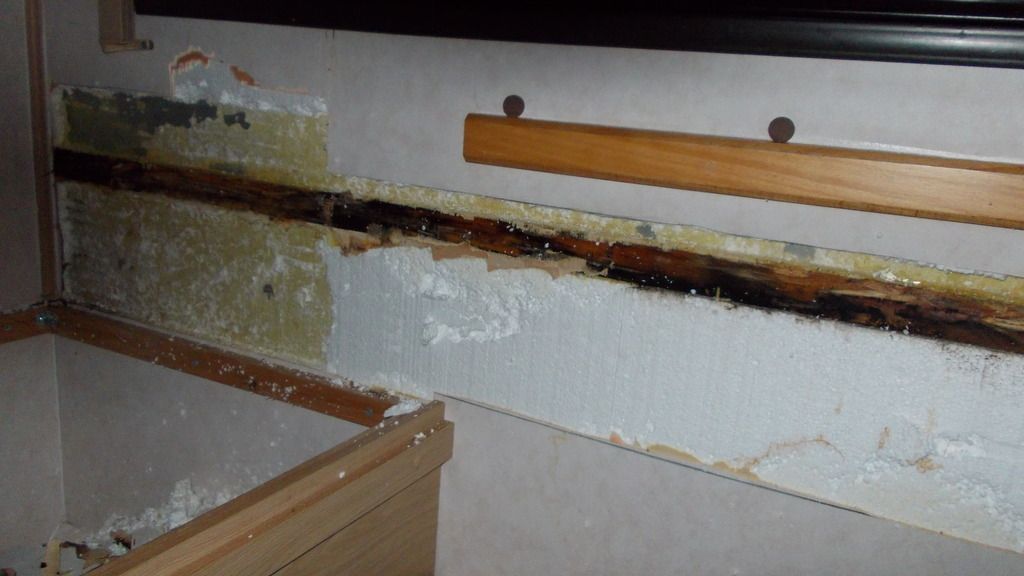
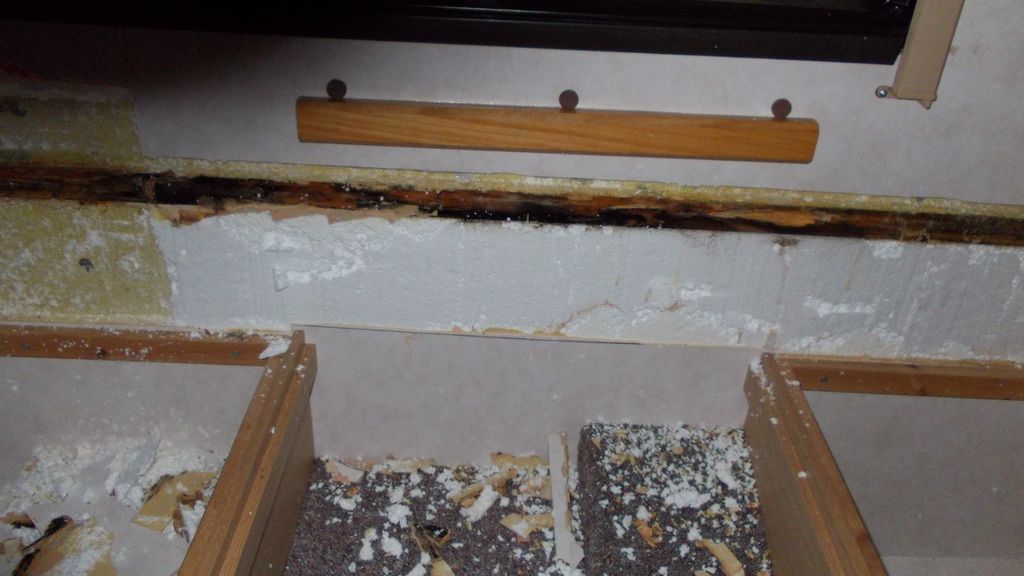
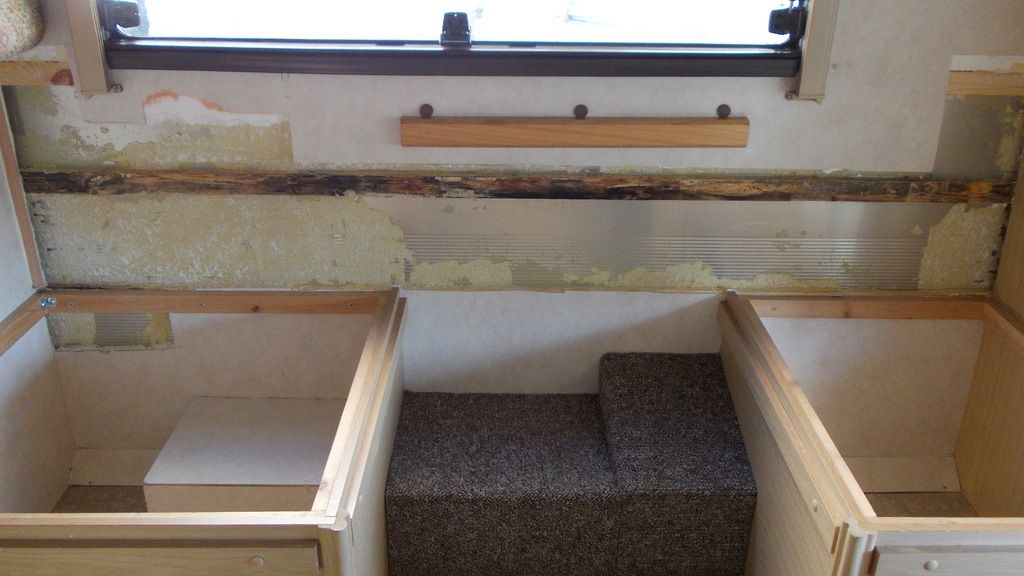
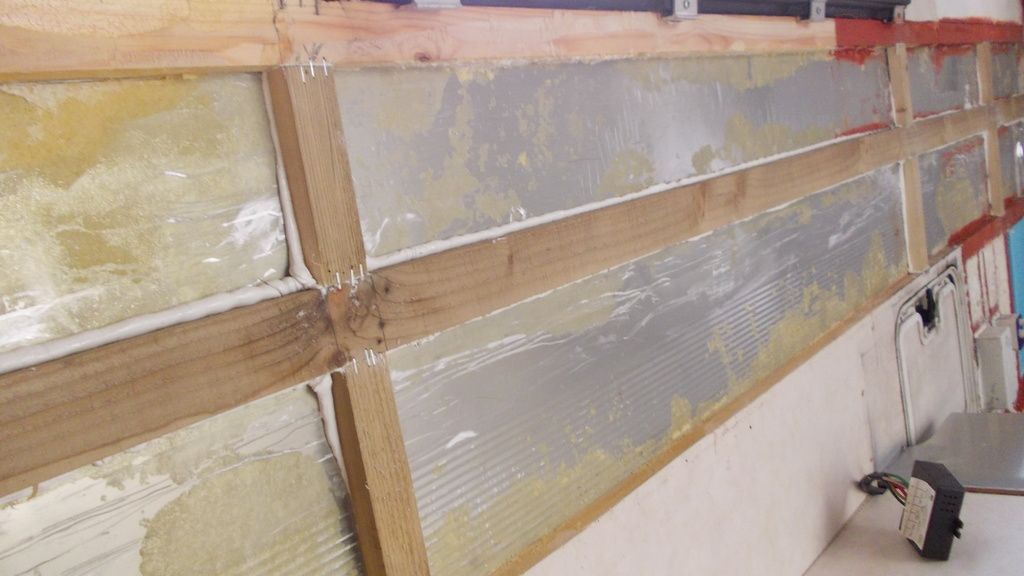
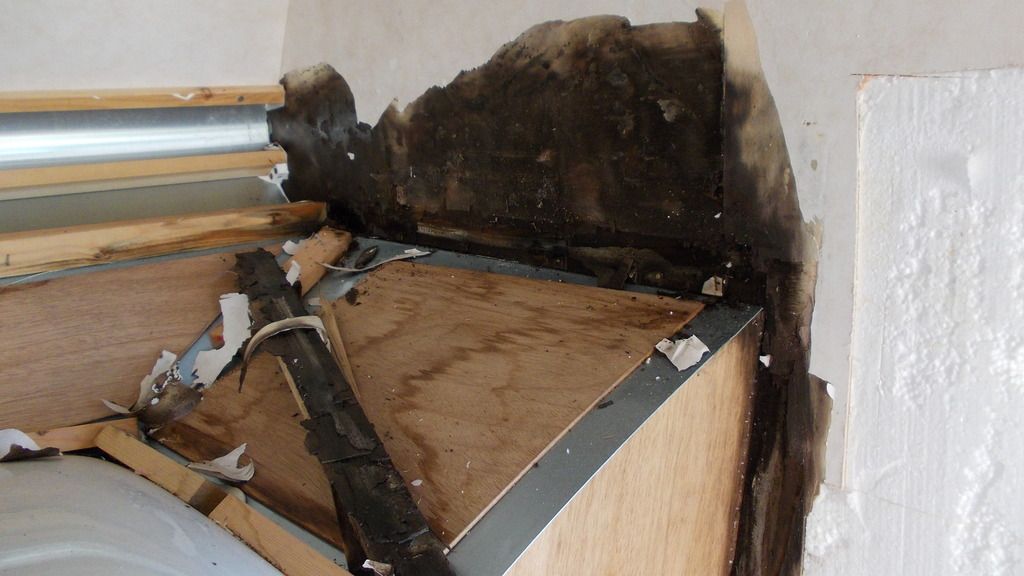
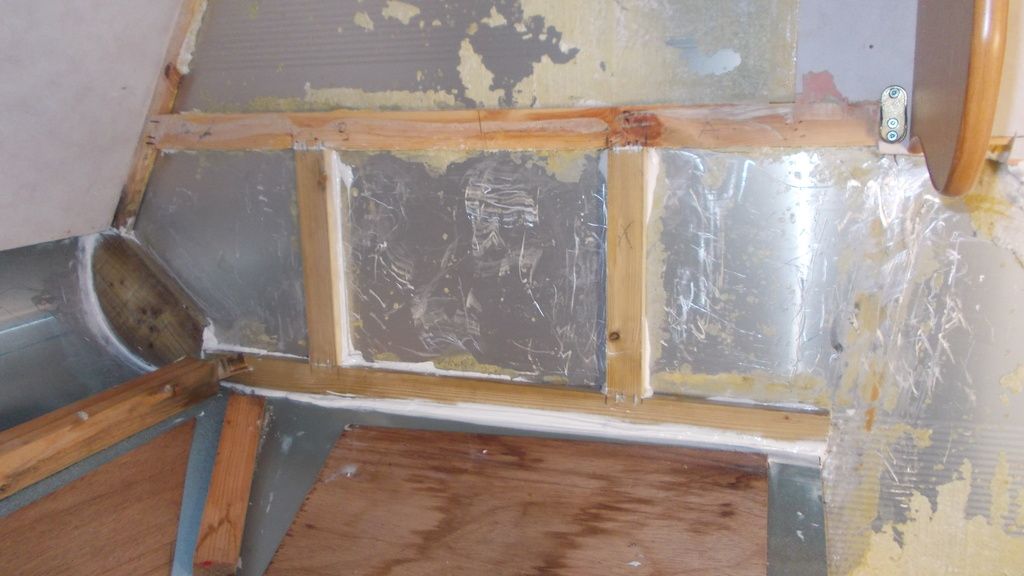
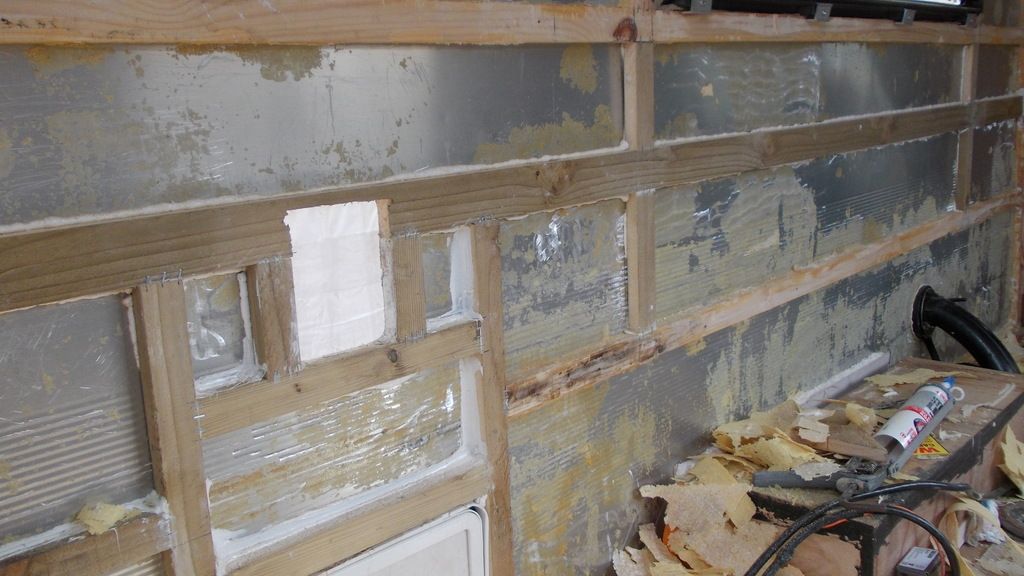
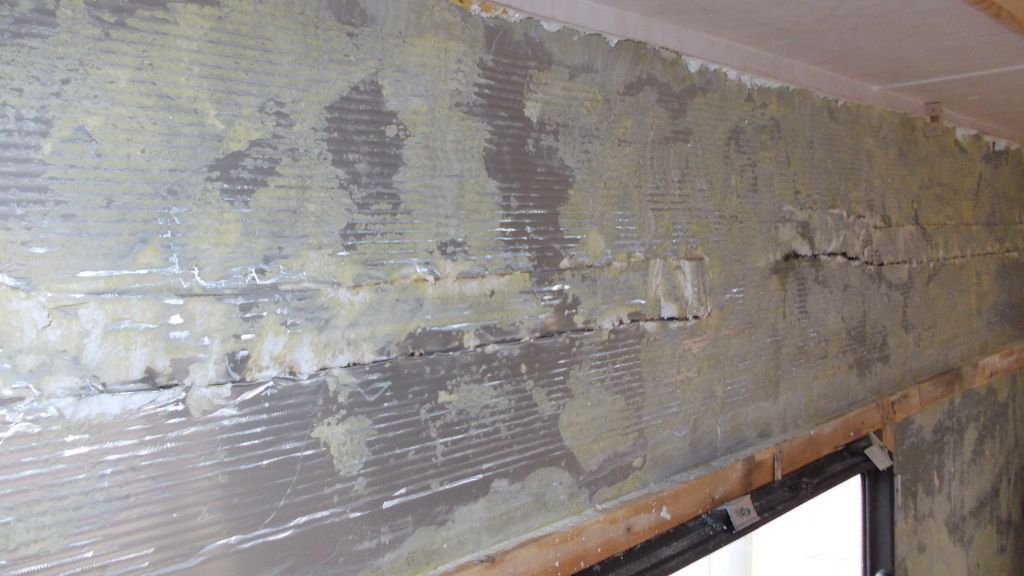
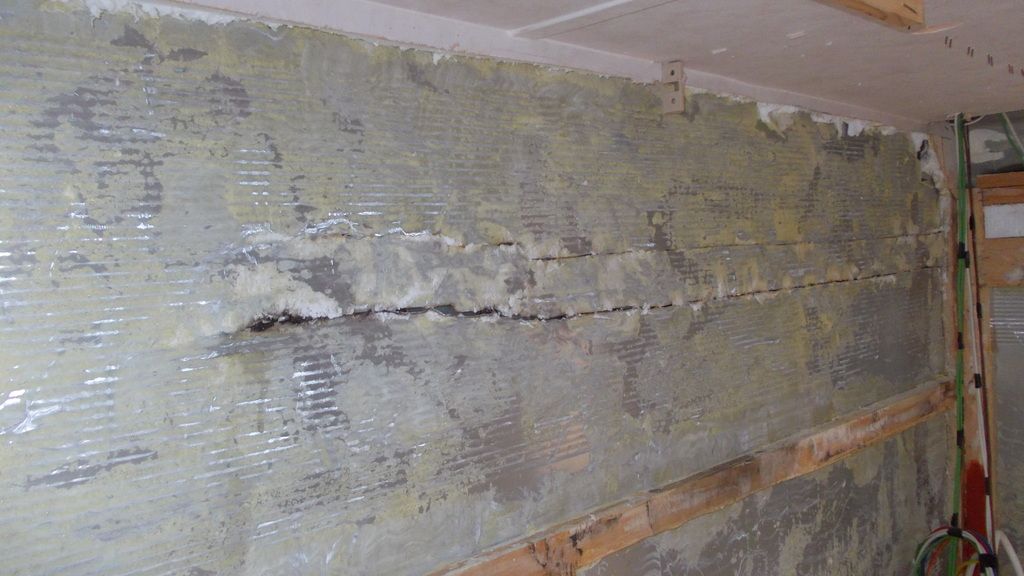
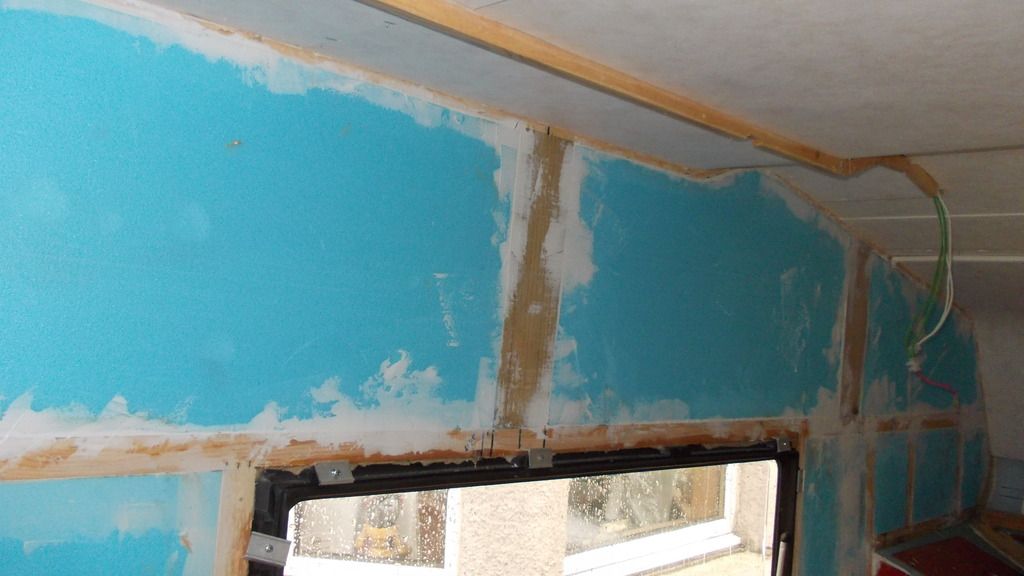
All plywood that has any water damage will be removed. The timber frame will be dried and then treated with some wood rot preservative though, to be honest, it's not in bad condition once it's dried out. I spent about five hours peeling off the wall boarding from the inside of the van, this was sodden and had gone black so what you see in the photograph is really the cleaned up version. I've had a heater running most of the day and, in fact, is still running now in the back of the van trying to dry it out. Once I find out where the leak is coming from I can then make the decision on what wall boarding I shall use, personally, I would prefer to use marine ply then cover it with something because the stuff that's been used already is next to useless.
The next plan of action is to try and find where the leak starts, I've got a sneaking feeling it may be coming from an outside light that the rubber seal has split (wouldn't that be nice) but to find out I need to remove more wall boarding. Once this has been achieved I can then concentrate on repairing the damaged furniture that I had to remove. While this is all happening, hopefully, the bodywork will be drying out. I know, at some point, the floor will have to be replaced in the back area but this will entail starting work on the other side of the van which I'm not too keen about as I am a firm believer of one bit at a time but that's a long way ahead.

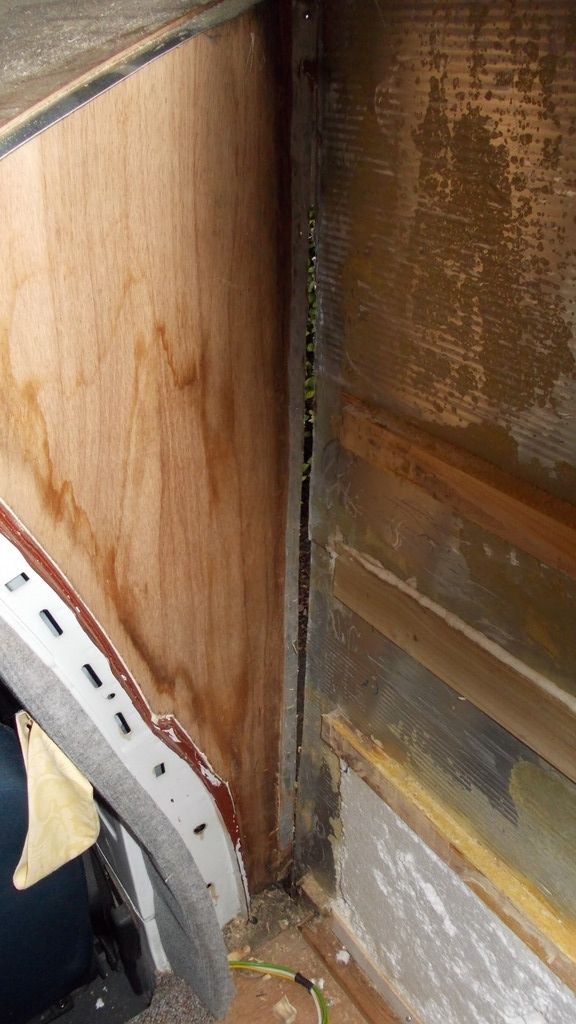
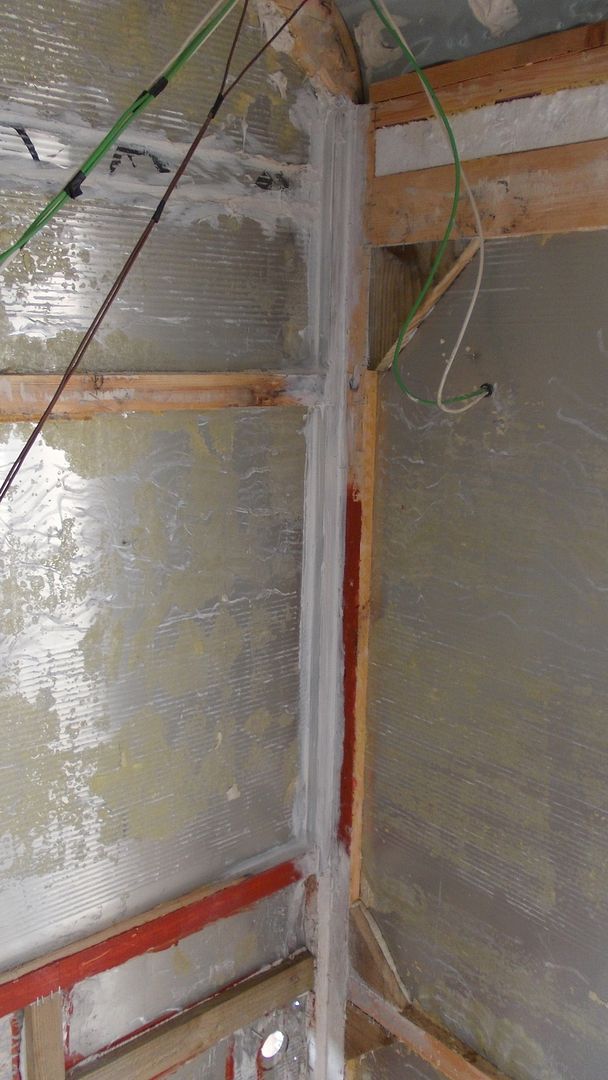
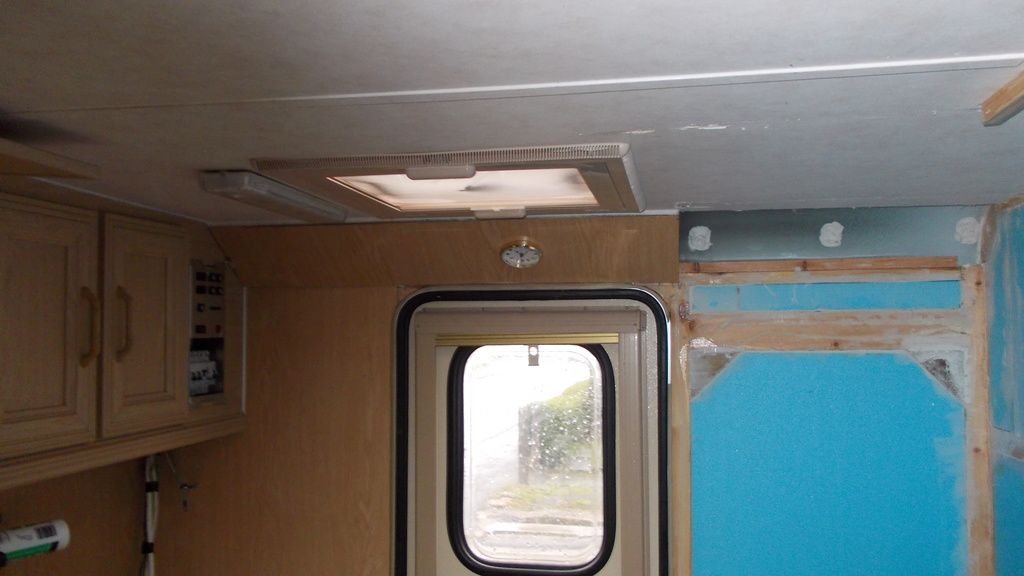
Still chasing the leak. Working from the corner and going upwards it was inevitable I would get to the roof but what I found I certainly didn't expect.
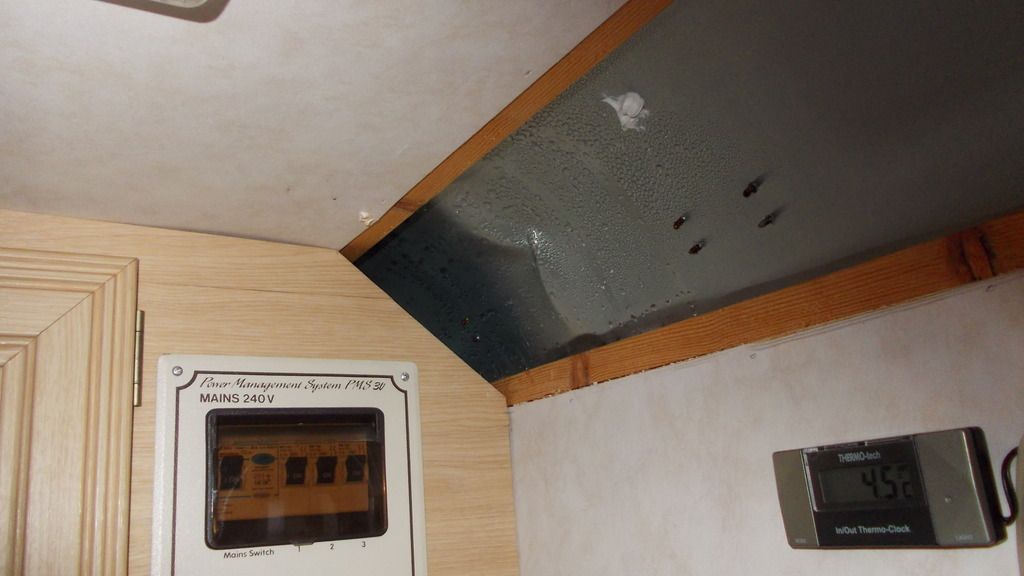


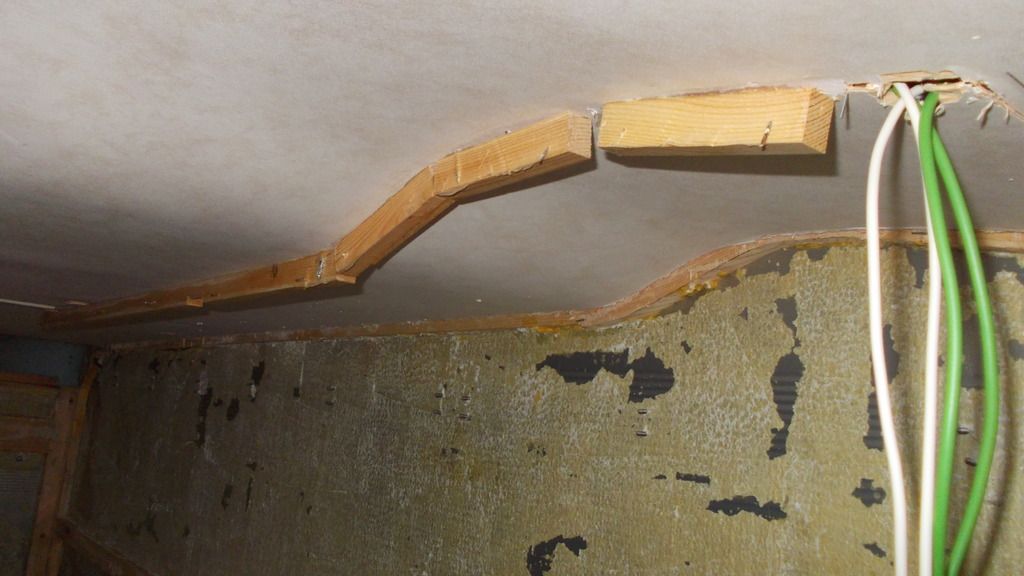
If you look carefully you can see a dent, it doesn't look much but on closer inspection it was quite a large area. This had just been filled in and painted over. The other thing you may notice is condensation.
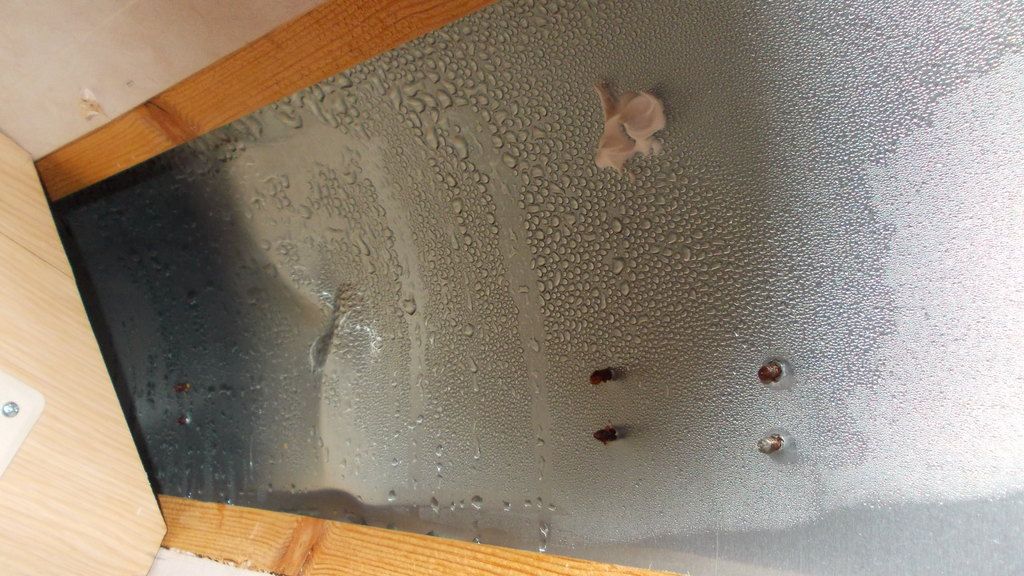


I think you must agree, quite a lot of condensation so we're getting there. I've now got to find out how it's getting in but that will be after I've knocked the worst of the dent out and see if there are any holes that have been covered over by the filler.
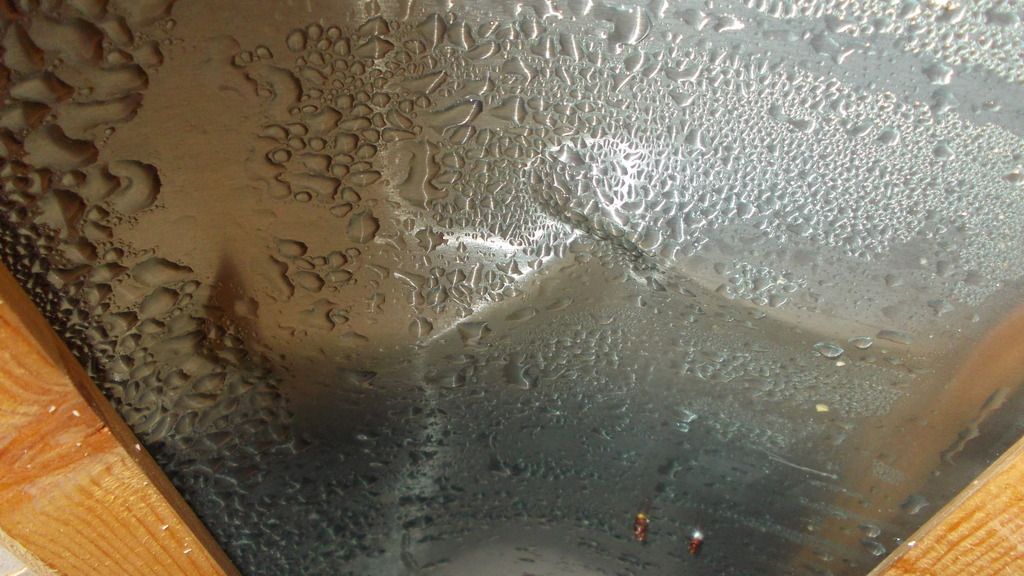


Managed to knock most of the dent out but as you can see, from the amount of filler that I had to remove, it wasn't a small dent.
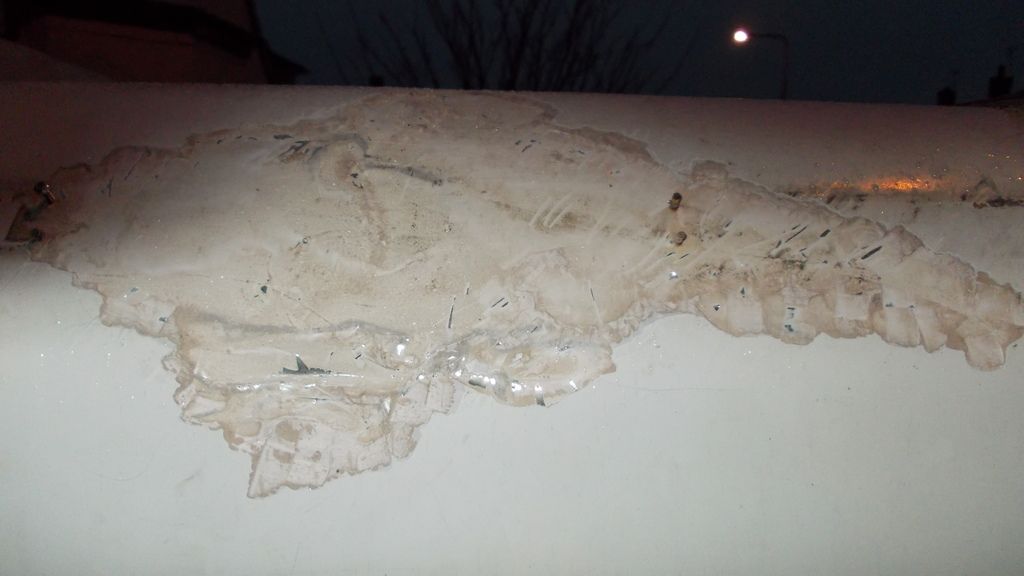


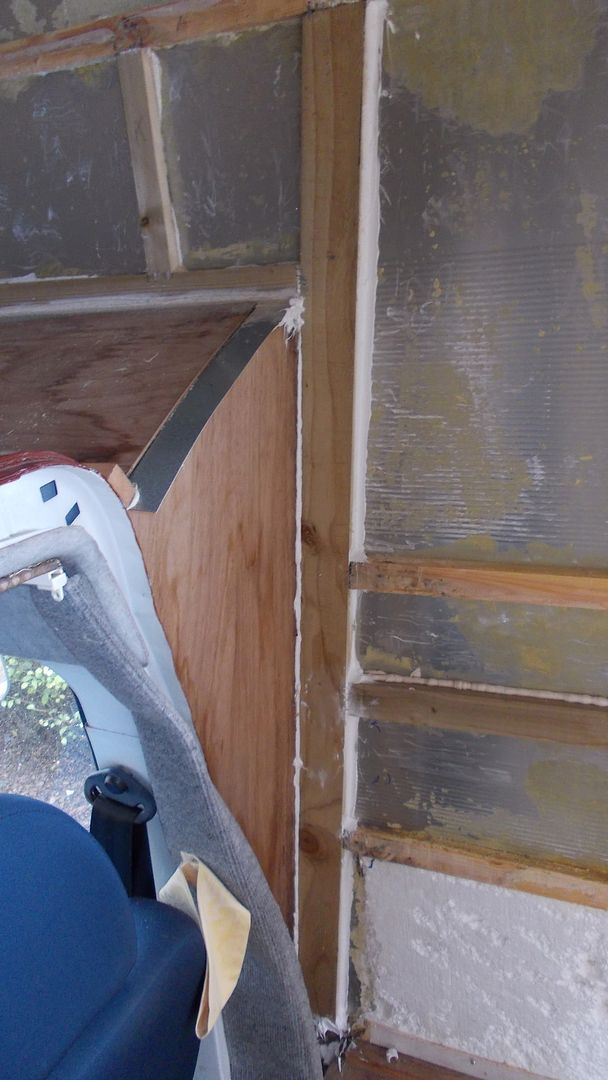
The investigation procedure has moved on considerably. As you can see from the this picture, watertight in the corner.
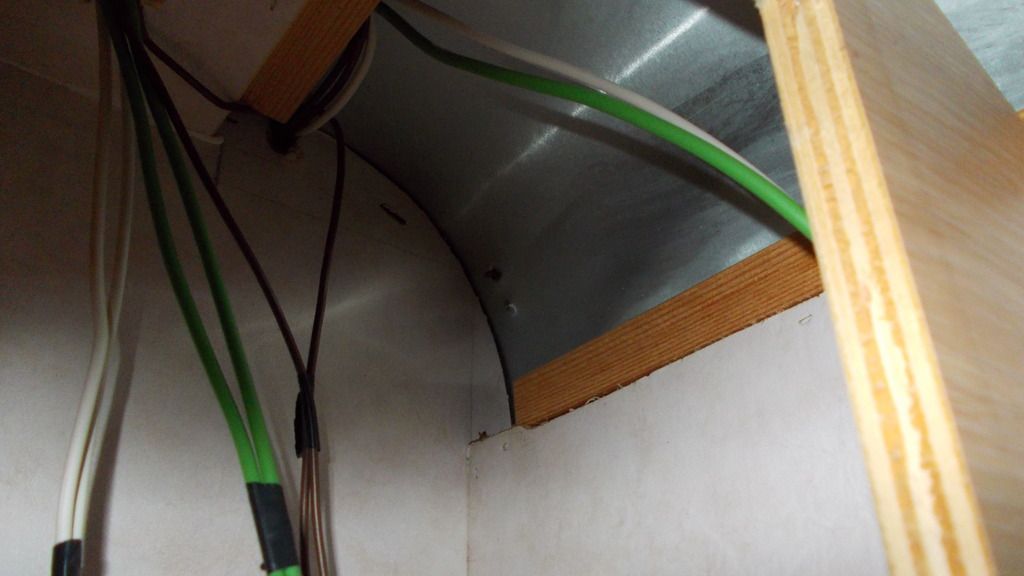


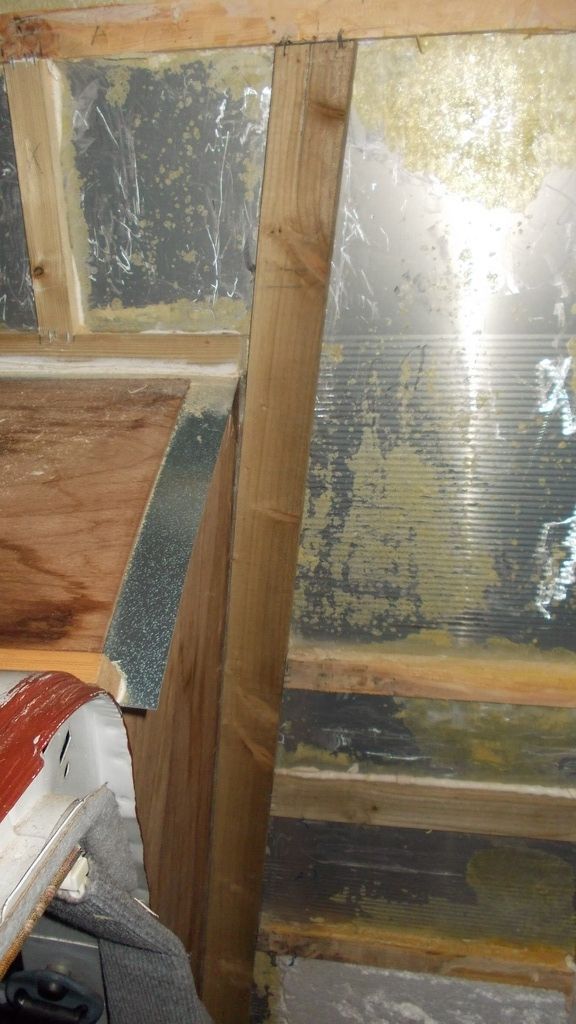
This picture shows the corner of the window with the polystyrene removed where I initially thought the water was coming in from.
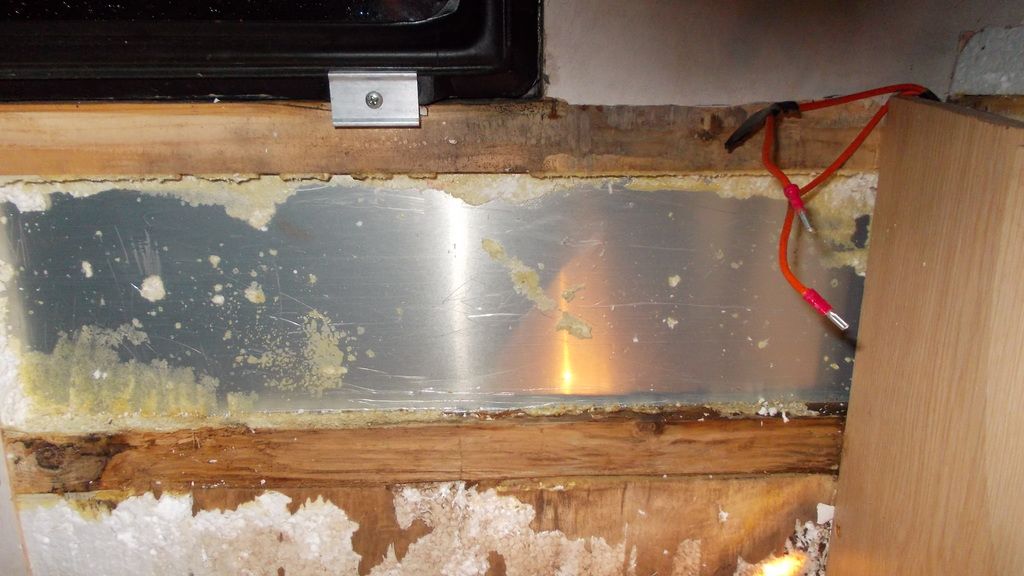


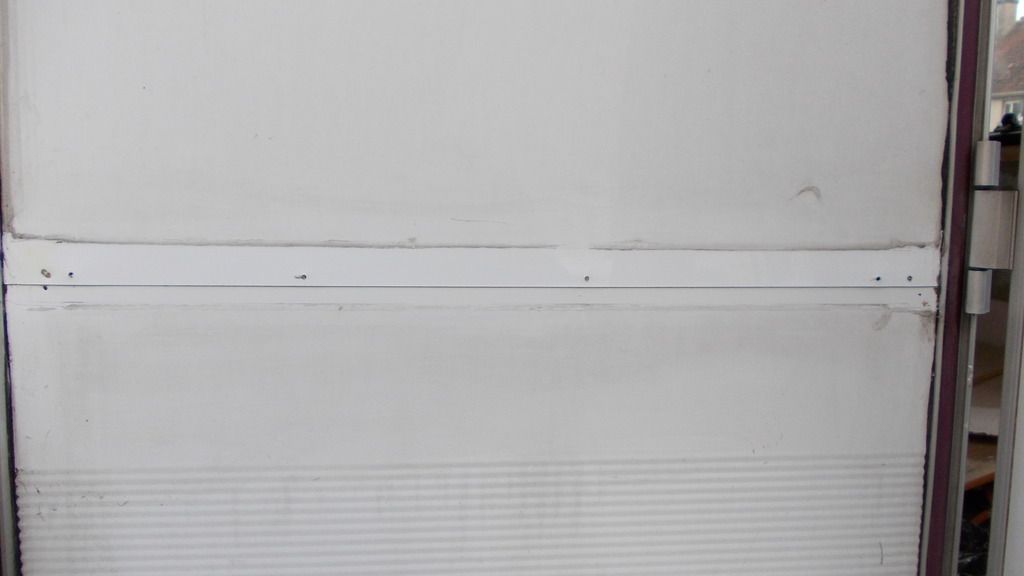
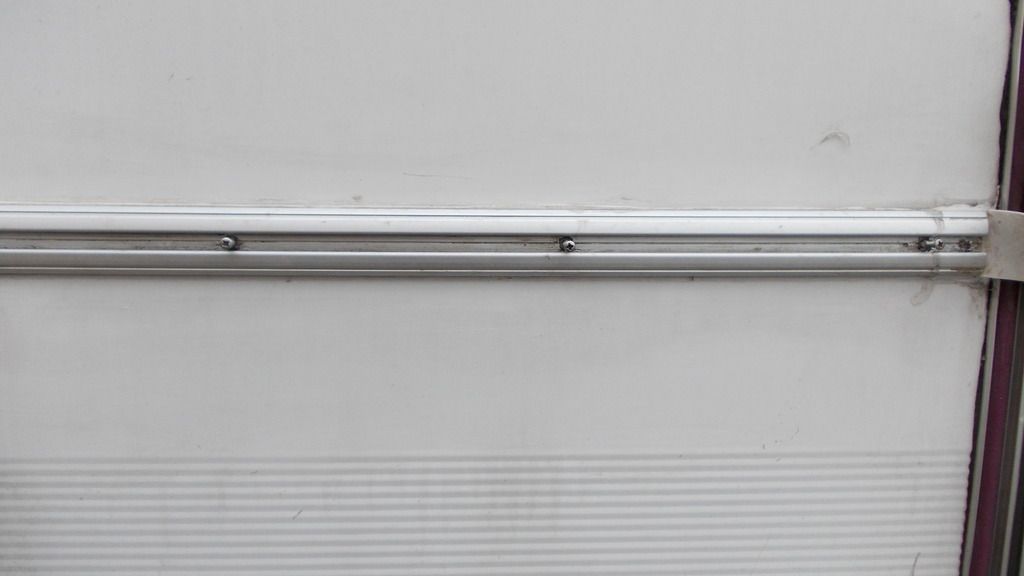
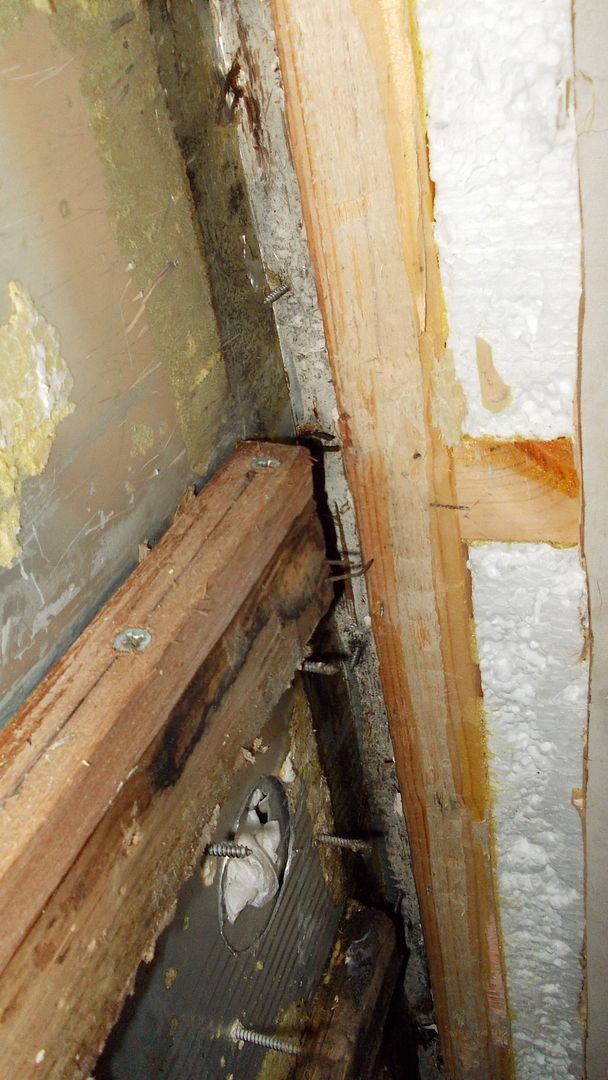
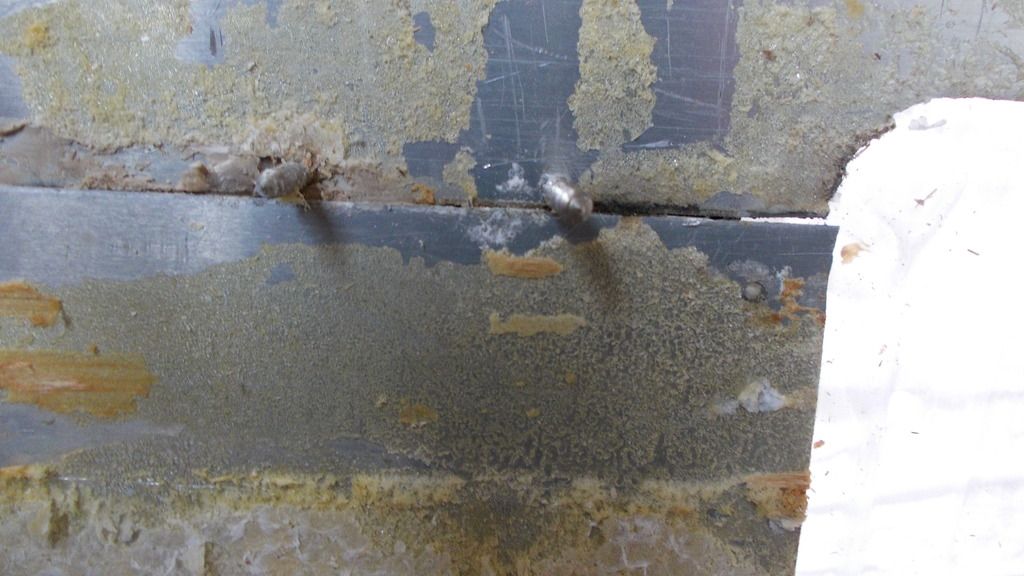
And now the true culprit. The screws that hold the beading on the outside of the van, as you can see, missed the wood so not making a good seal.
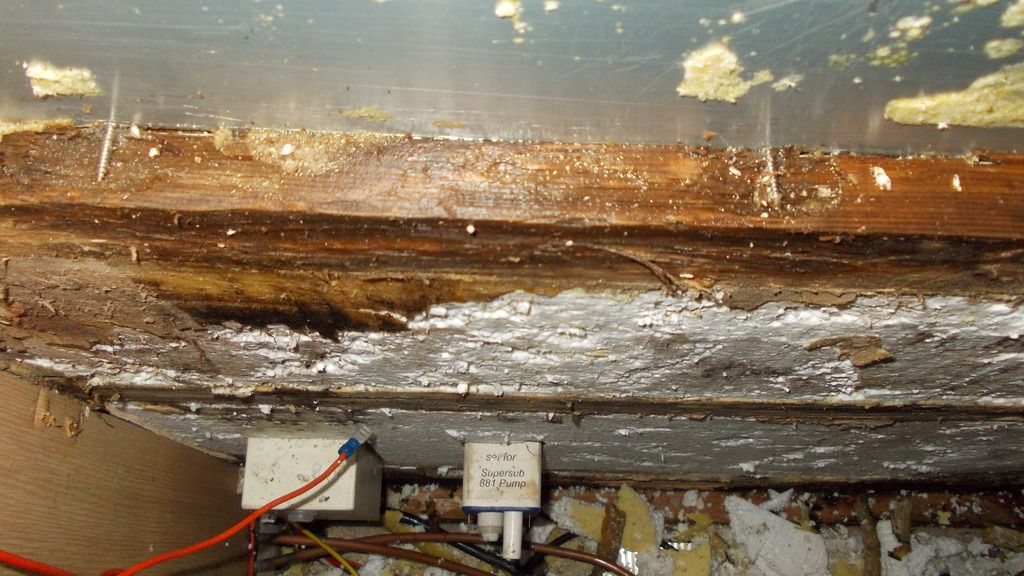


This picture is just a close up and, as you can see, water is beginning to form around the screw.
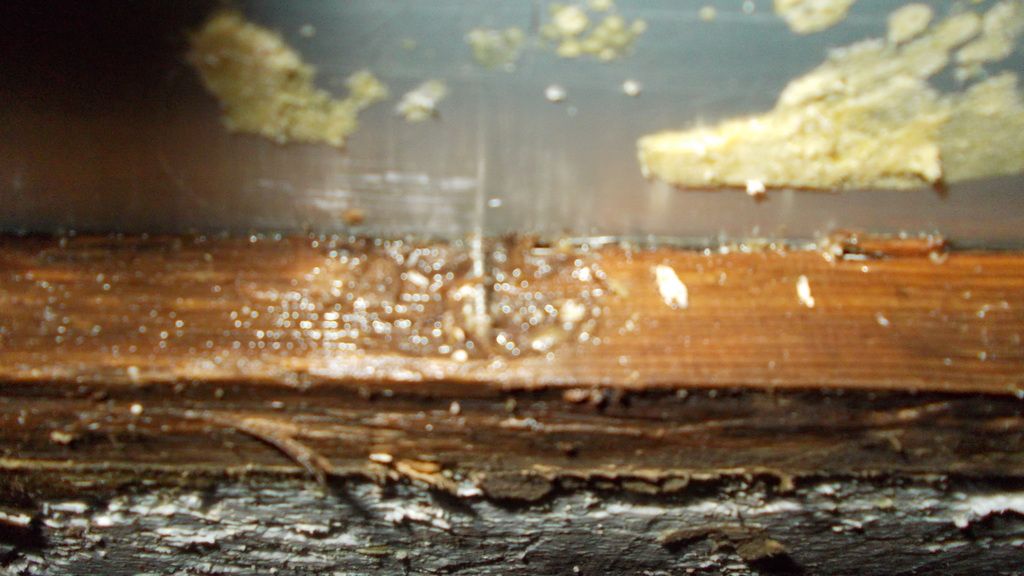


I believe this is one of the problems solved but I think I still might have an issue with the sealing on the corners of the outer van.

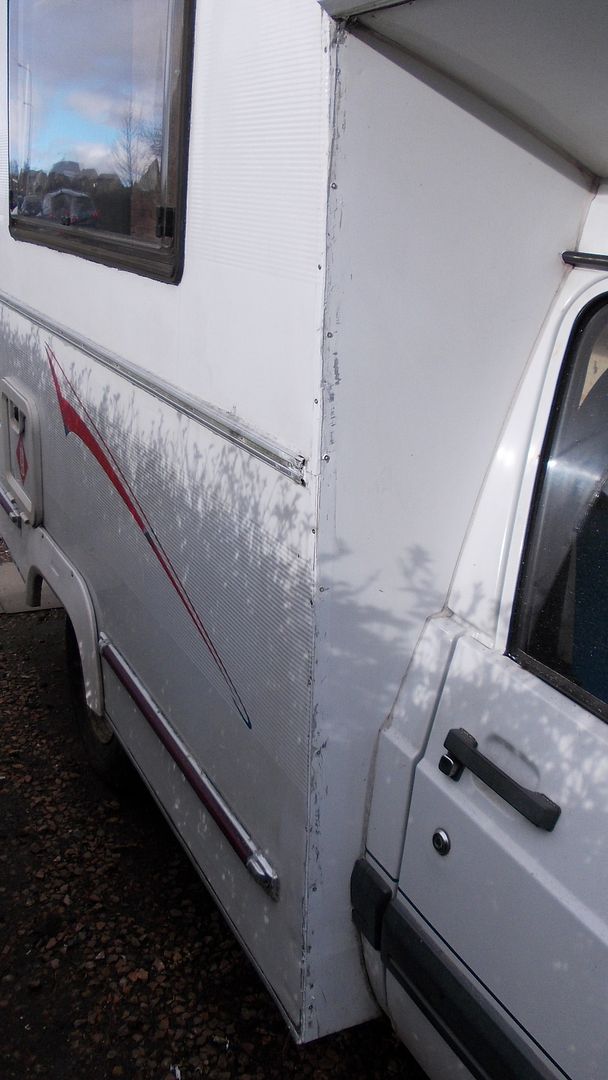
A decision had to be made after watching the water coming in last night I knew I had to seal the van. I did not want to remove the sealing strip along the side, although I knew it was not fixed securely due to the screws missing the cross batten so my only option was to try and dry the wood out as best I could and screw another piece of batten on top of the existing one and this would give the screws something to bite into when I came round to replacing them but in the meantime, hopefully, it would hold the strip in place.
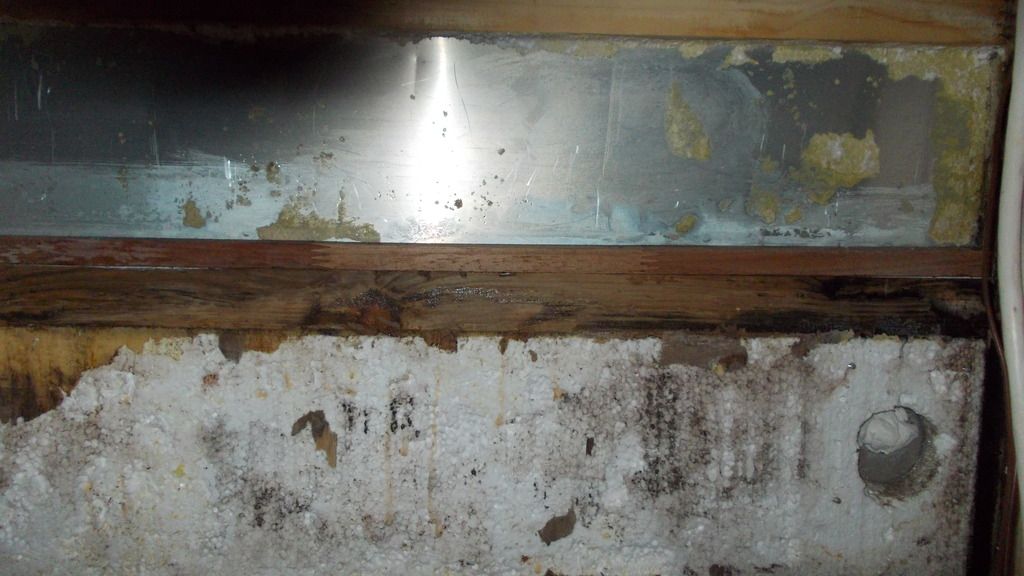


As you can see I opted for gluing and screwing. I used a large amount of water resistant wood glue and then screwed into the existing batten.
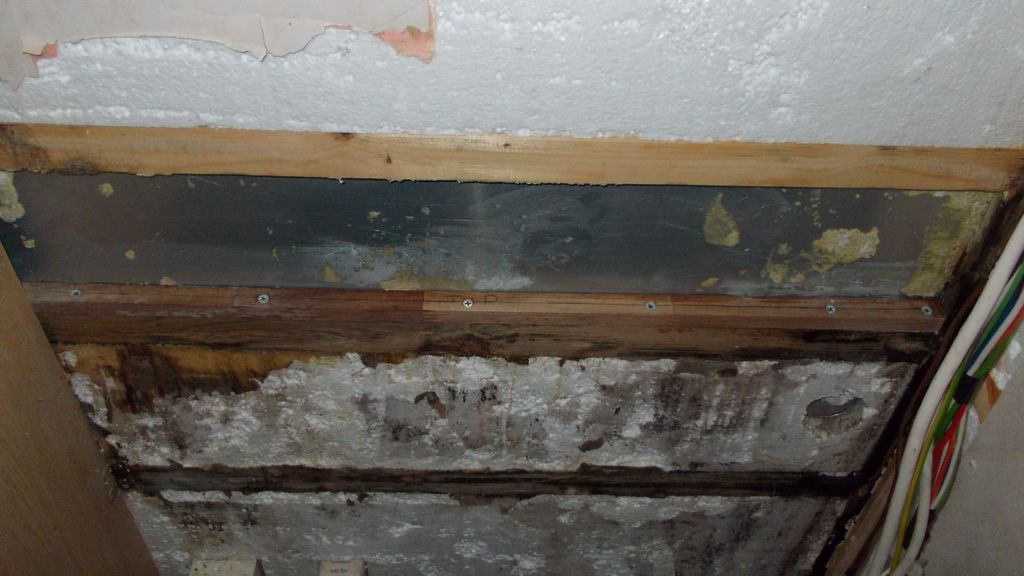


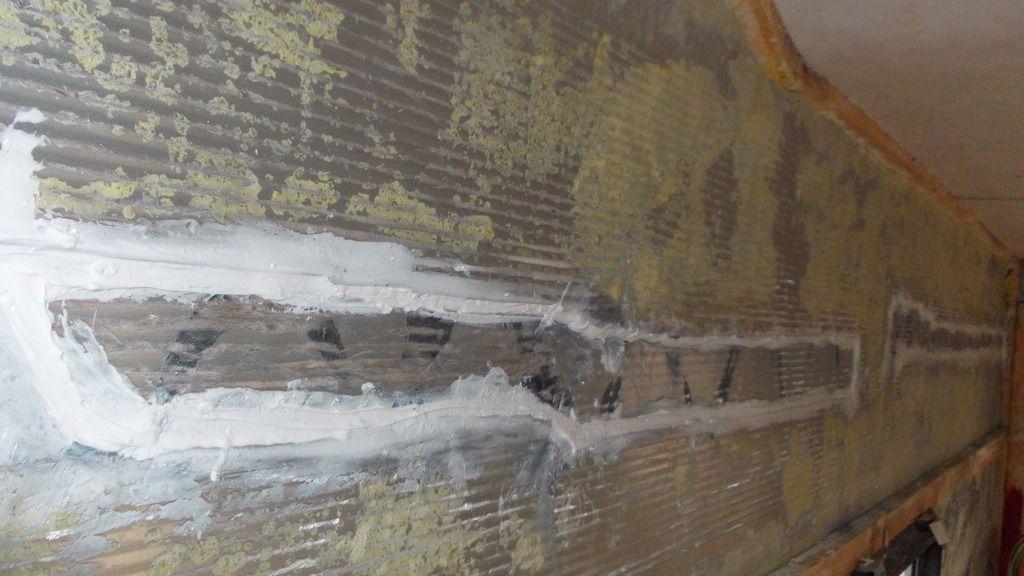
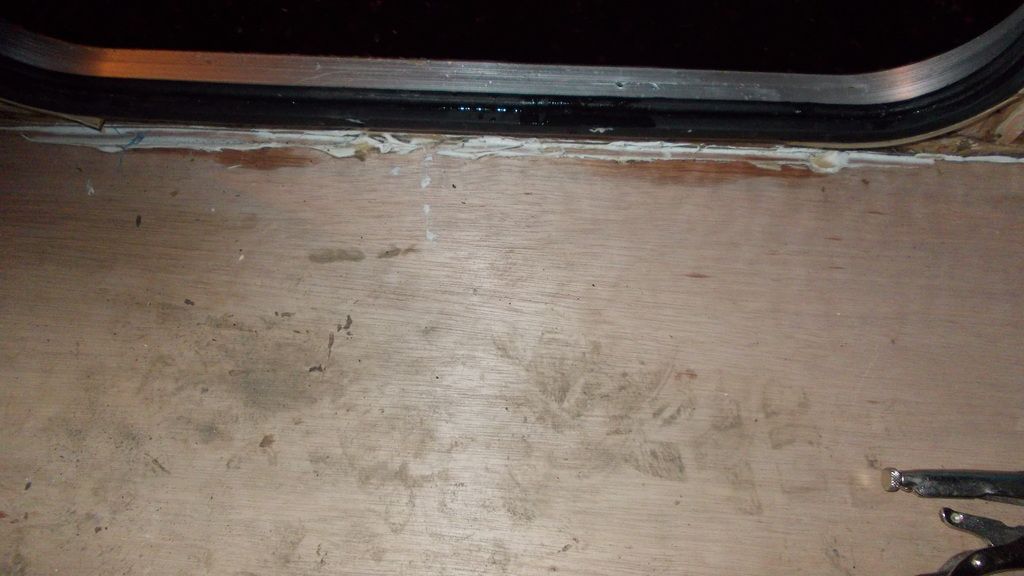
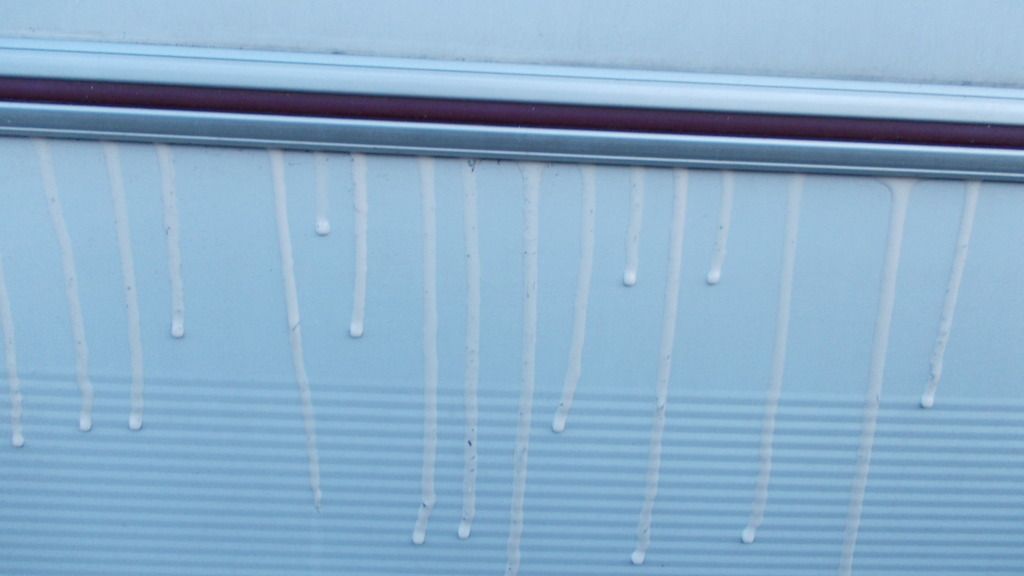
This picture here shows how much glue was used and how bad the joint is; to say I was shocked at how much glue was pushed out would be a slight understatement but shows the severity of the leak behind this sealing strip. This will be removed and resealed properly but, at this present time, I shall go round the outside with a thin bead of mastic.


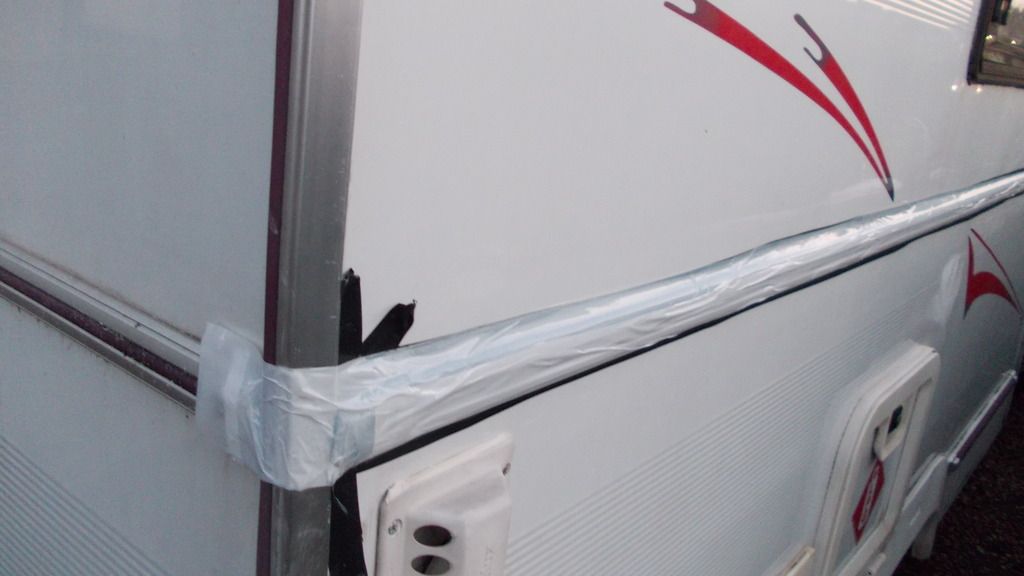
This picture shows how I've got it sealed until I can mastic it; basically went round it with some PVC tape trying to prevent any dampness getting in and tomorrow I shall peel it off and go round it with mastic just as a temporary job.


I've now got to wait and see if it dries out. If this is successful then I can temporarily fit some of the furniture back in.

At the moment I need to concentrate on the habitation area, it's covered in bits of damp wood and polystyrene and is absolutely filthy. To say it's depressing would be an understatement, you must remember I only bought this eight months ago and to be told on Monday it was my decision whether it was economically worth repairing was a bit of a shock. Having said that, the estimate was a shock as well

smile.png

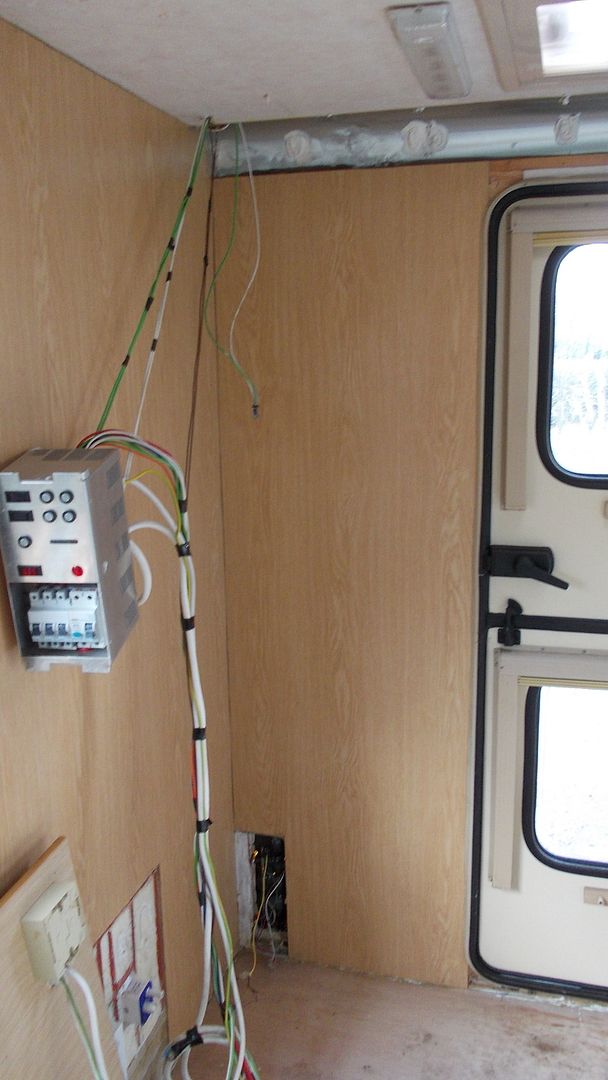
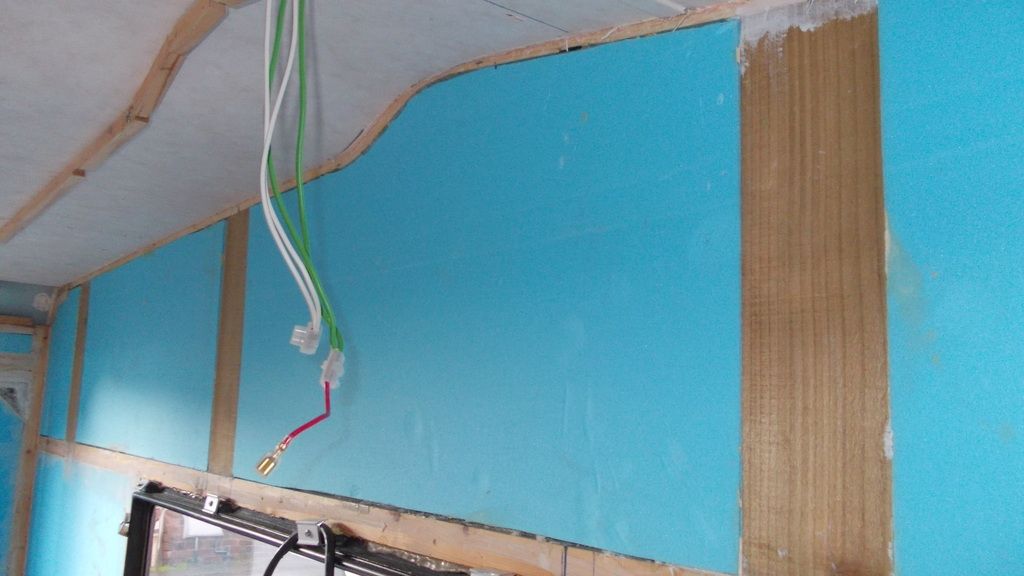
So after a quick flick round with a duster tomorrow I'm hoping to sort out the wiring as there's loads of dangly bits that need to be secured. If I can get one side dry I'll be a happy man. The biggest problem here is the weather, if it was dry and sunny this job would be so much easier but I can't seem to get anything to dry out inside. Once I've cleaned up inside I can put an oil radiator in and that may help and, to top it all, this is our only form of transport.......don't get much better.

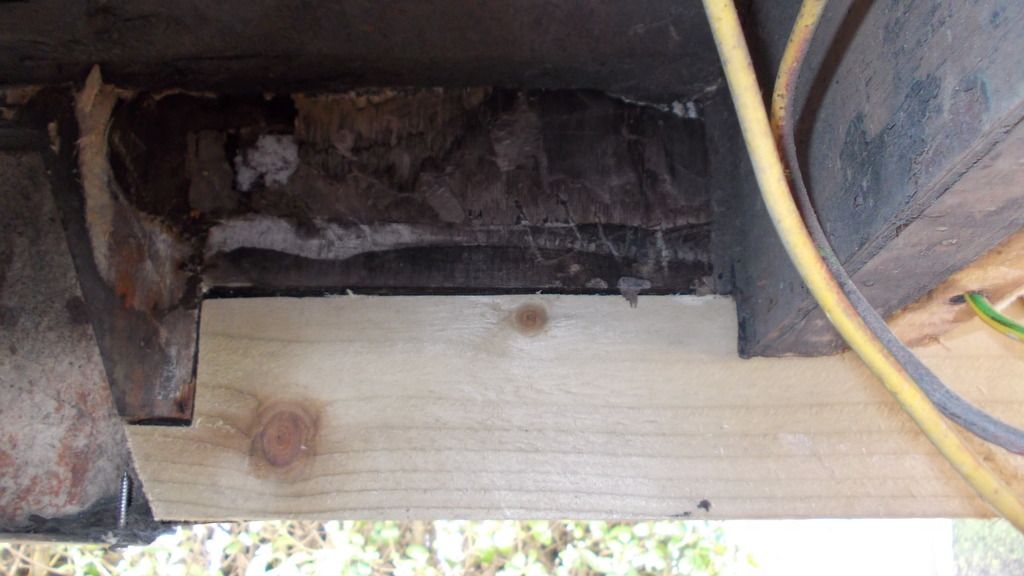
After a week and a half of drying out I could see that some of the wood was unretrievable so I made the decision to remove the worst of it. As you can see it's a straight forward job.
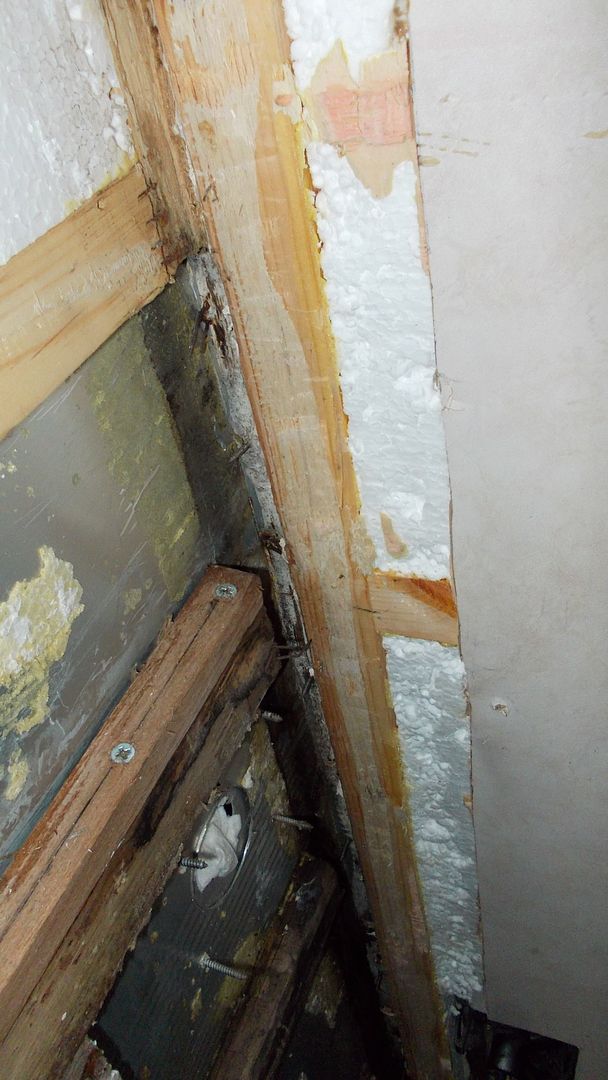


Surprisingly the wood adjacent to the rotted area looks perfectly fine, this is due to the type of glue that was used; it had to be a waterproof glue as you can see the wood is in very good condition.


So all I need to do now is find some treated wood, cut it to size and slid it in to place. I shall be using copious amounts of mastic and stainless steel screws. If I'm not happy with it's rigidity I shall beef the joints up with some small L brackets.

Structurally it's not in bad condition, yes there's one or two pieces of wood that need replacing but, really, not a great deal; the only down side is the wall boarding and, to see what's going on, that has to come off. On the plus side the van will dry out a lot quicker. What I have found is when I've peeled the polystyrene away from the aluminium there is quite a substantial amount of condensation where the polystyrene has not been glued properly to the aluminium so my thinking (and this is only thinking) is I may have to remove the polystyrene as well if I wish to dry the van out.

Rae
 

StreetSleeper

Forum Member
Today's job was to make the replacement frame, or parts of it.


As you can see the wood that I purchased was slightly oversized so I thought this would be a great opportunity to notch the joints and make a better joint.


So after preparing the wood it was just a matter of slipping it in place with a slight bit of easing and this is where it all went wrong; it was having non of it so the only way I can see this piece of wood being replaced is to cut a piece exactly square and slide it up from underneath. Now there's two ways this can be achieved, the first one is jacking the vehicle up ten inches so the wood can go under or the other method is to park up over my manhole in the garden, remove the lid, lower the excess wood down the manhole and then push the lot back up into the corner of the van.

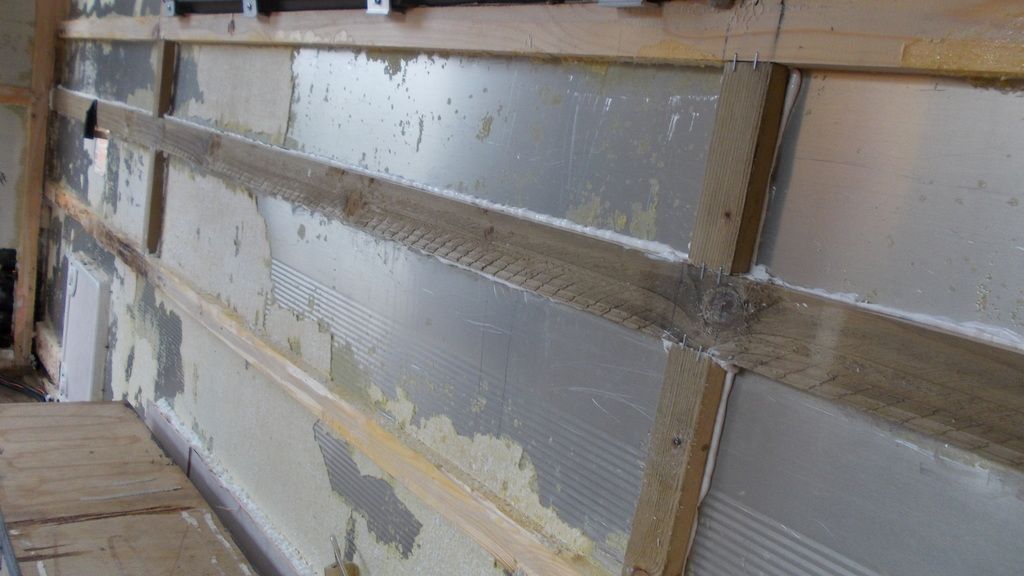
I managed to get most of the wood cut and the polystyrene and glue removed from the aluminium.


As you can see relatively tidy job, made some extra crossmembers to stiffen up the back end.


Now all I'm waiting for is my sticks like sh*t so I can put it all together.

I decided to concentrate on the cross members in the centre of the van as the picture below shows.


If you're wondering what the pieces of wood that are screwed to the cross members are, they're only there stopping the wood from moving out of position and will be removed once the mastic goes off.


All that's left now is the corner framework which, hopefully, will slide straight in and be screwed on the outside and glued on the inside. I noticed there was a slight leak coming from one of the boxes on the left hand corner of the photograph so I have decided to make a framework up and reseal both boxes.


This is the corner piece of framework I decided to completely cover it in mastic, hopefully when it's glued in place tomorrow it won't suffer from the damp; well that's the theory behind it. Now for those of you that are concerned about the extra weight I decided to compensate for this by removing the metal steadies from the corners of the van; I have never used them as my rear springs have been upgraded so I thought this was a fair exchange.
Slow start, the Sticks Like Sh*t hadn't dried; in fact, even tonight it was still spongy so I thought this morning it was best to leave it alone and turn my interests in a different direction, this being the wall boarding. My first port of call was eBay where I found a company in Grimsby that would deliver and supply wall boarding, the cost being £95.80 for four sheets and delivery £19.95 that works out at £21.95 per board plus p&p so I thought that was a blinding result. The problem I have now is insulation, when I measured the polystyrene it was 19mm thick, I can't seem to find anything the same thickness. I can get Kingspan at 20mm but I'm not sure where that extra millimetre will be an issue. There seems to be a special glue for wall boarding that O'Leary sells, I was hoping to get away with using Evo-Stik.

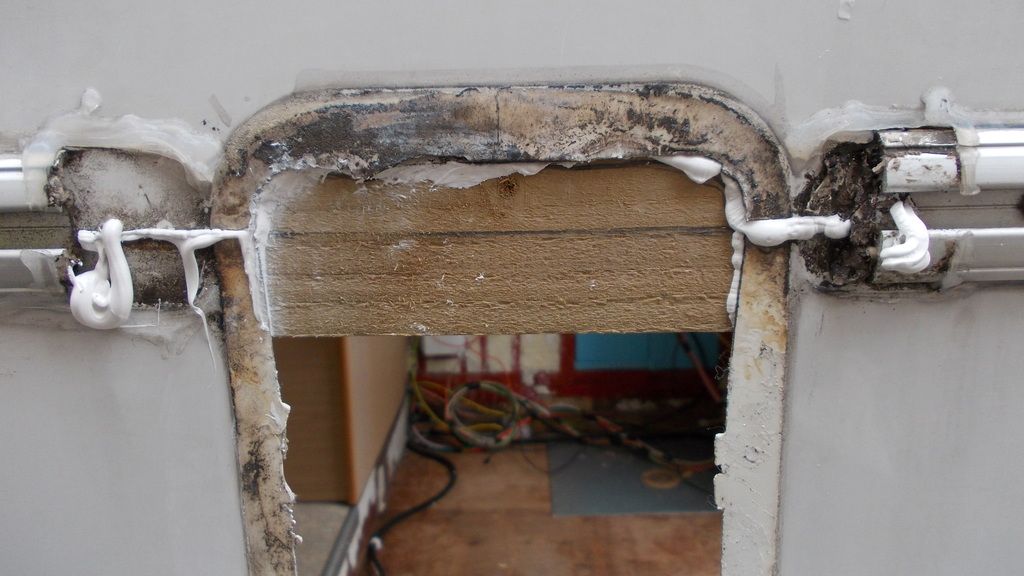
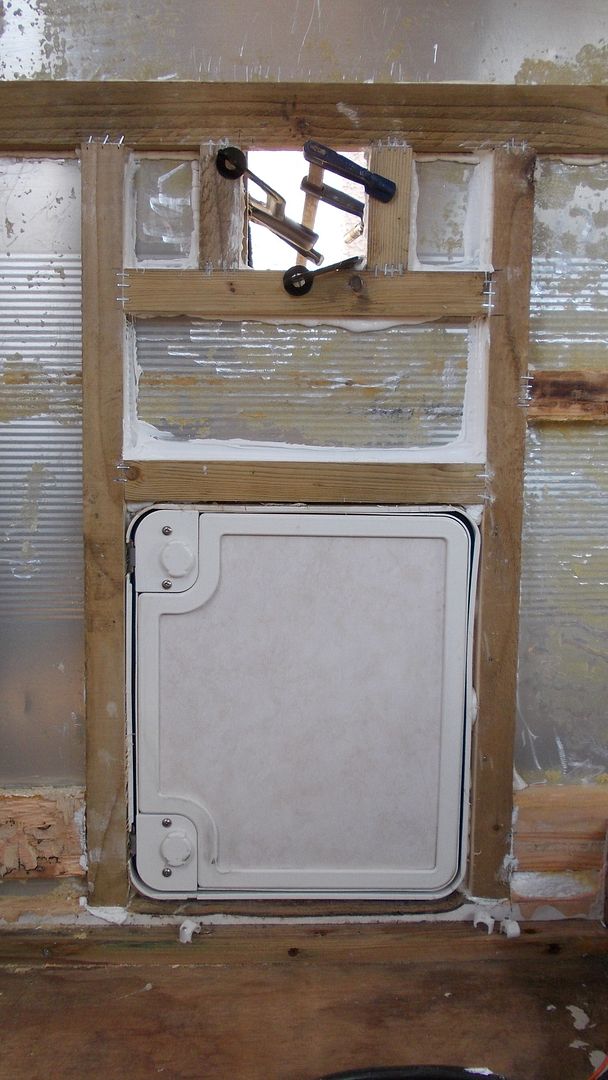
Having previously noticed there was a slight leak coming from one of the boxes I decided to remove them and replace the sealant. As there was lots of flexing when I removed the silicone I thought I might as well do a proper job and give them some wooden supports that I could screw into rather than just the aluminium.


I had to seal around the boxes using parcel tape to keep the weather out until the boxes could be replaced.

I managed to fit the two boxes on the side of the van. This alone makes the van a lot more watertight as, before they were put back in, the holes were covered with parcel tape.


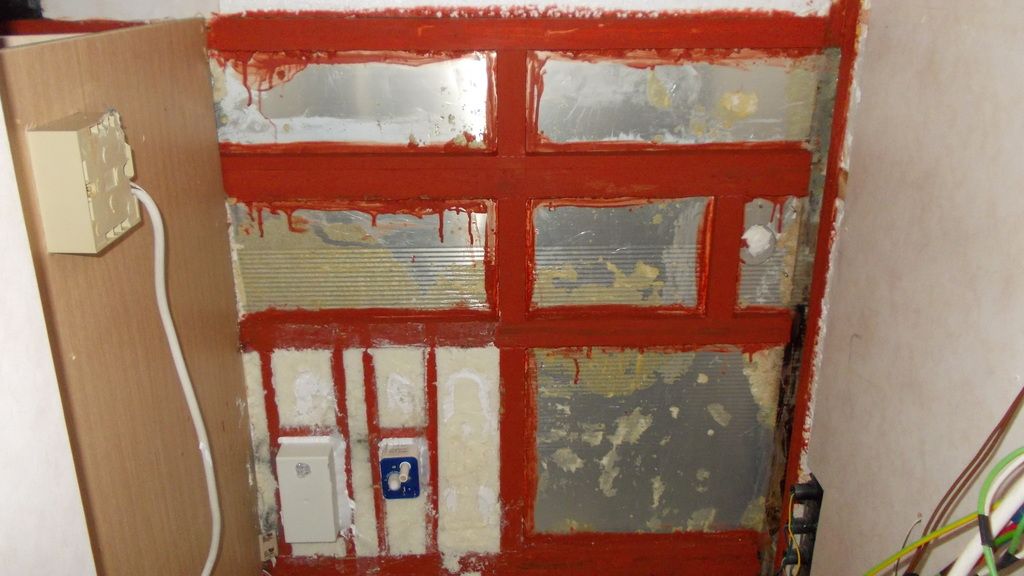
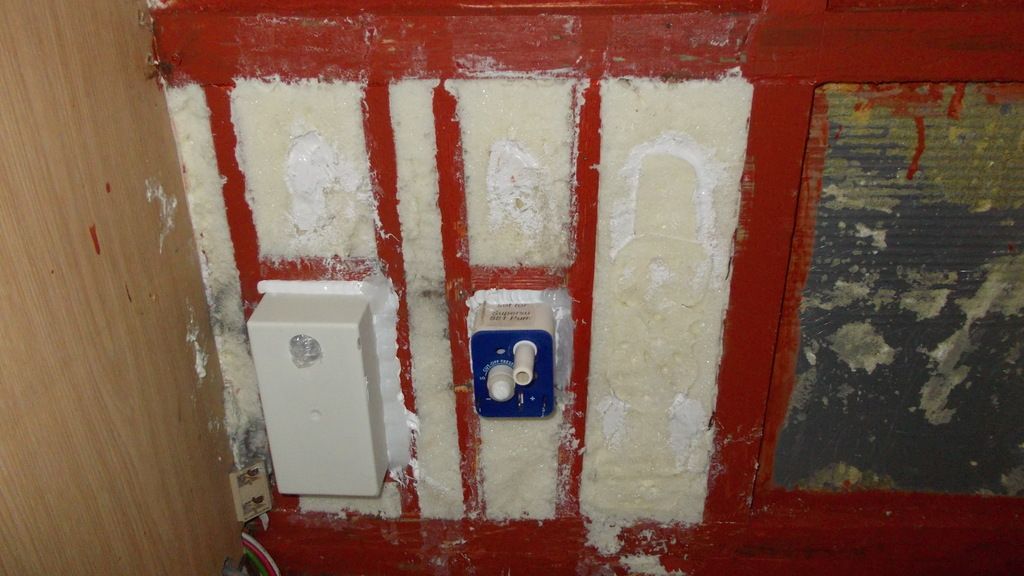
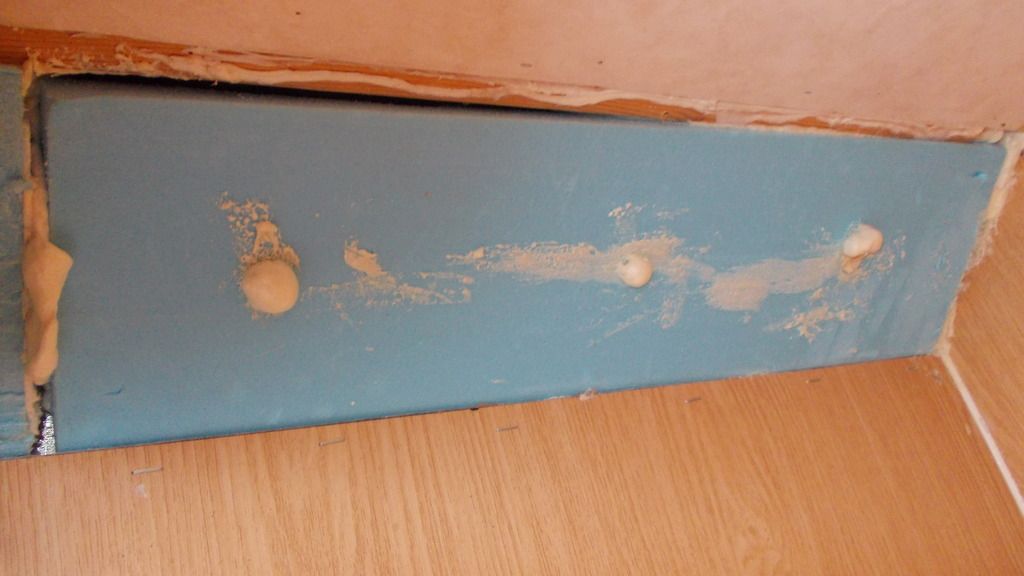
The pictures below show the internals. As you can see I opted for expanding foam and cut the excess off with a hacksaw blade. There were a few air holes but I filled them in using mastic and the offcuts from the expanding foam.


Last one is just a close-up showing how I squirted mastic in between the wooden framework and the boxes. I would be very surprised if I suffered any leakage from these two items; not only were they sealed from the inside they were also sealed from the outside. Having said this, I hope I never have to take them out.


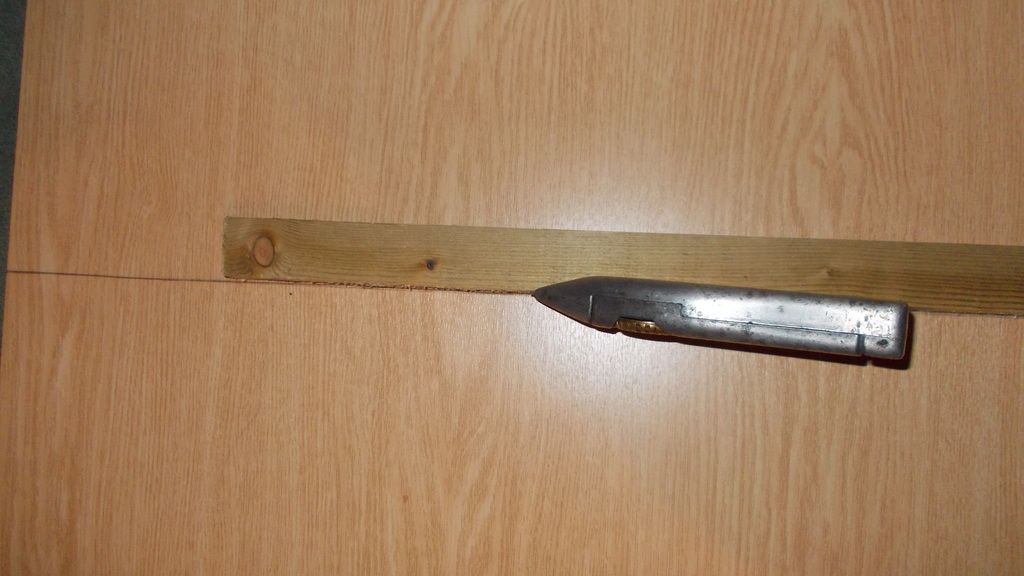
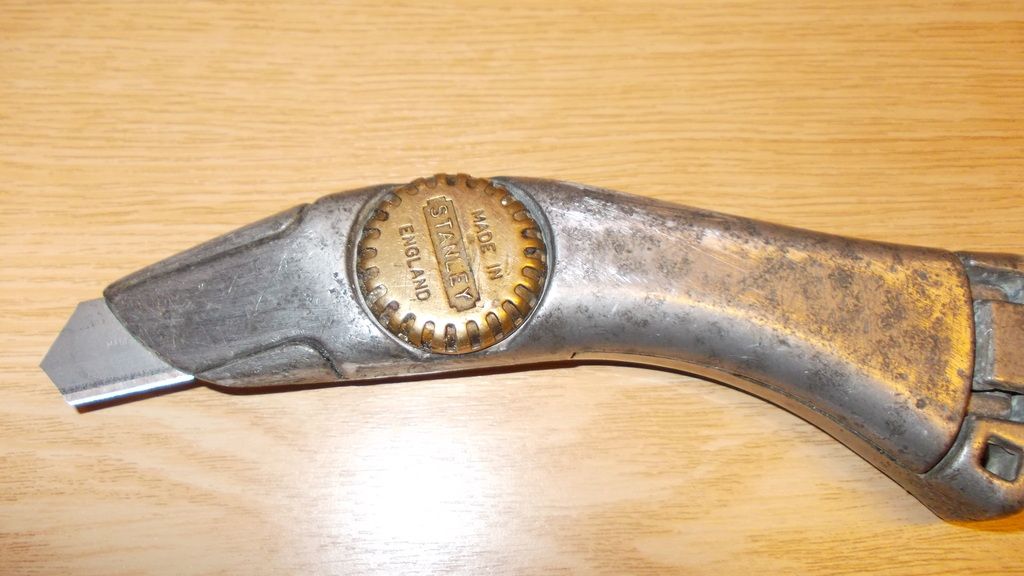
I wanted to experiment on how I was cutting the wall board, at the end I opted for using a Stanley knife and a straight edge.


As you can see, fairly straight forward. Pencil line down first, straight edge on top, I found kneeling on the straight edge and holding it with my other hand while I ran the Stanley knife down worked quite well. This took three runs and then the board just fell over where I had cut it. It wasn't completely all the way through but just a wipe with some fine sandpaper cleaned the job up.


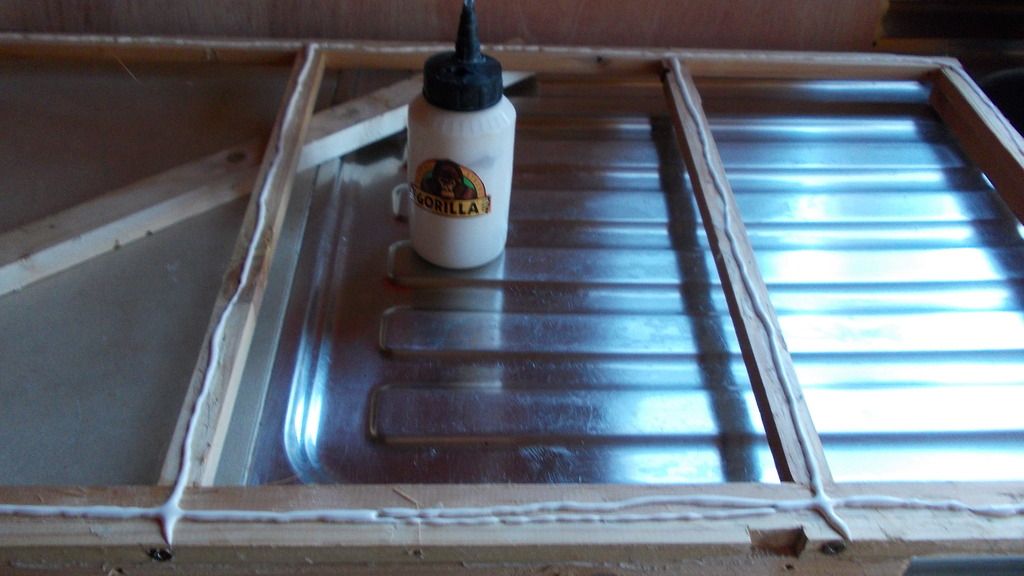
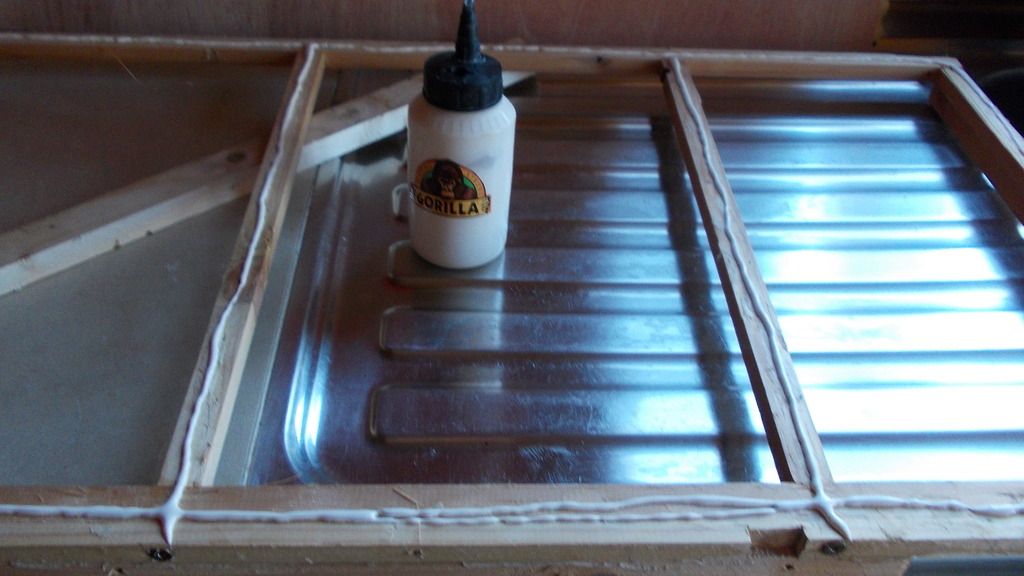
As she who must be obeyed was out I thought it was a good opportunity to make full use of the nice warm kitchen. As you can see, frame with the glue waiting for the board to be applied.


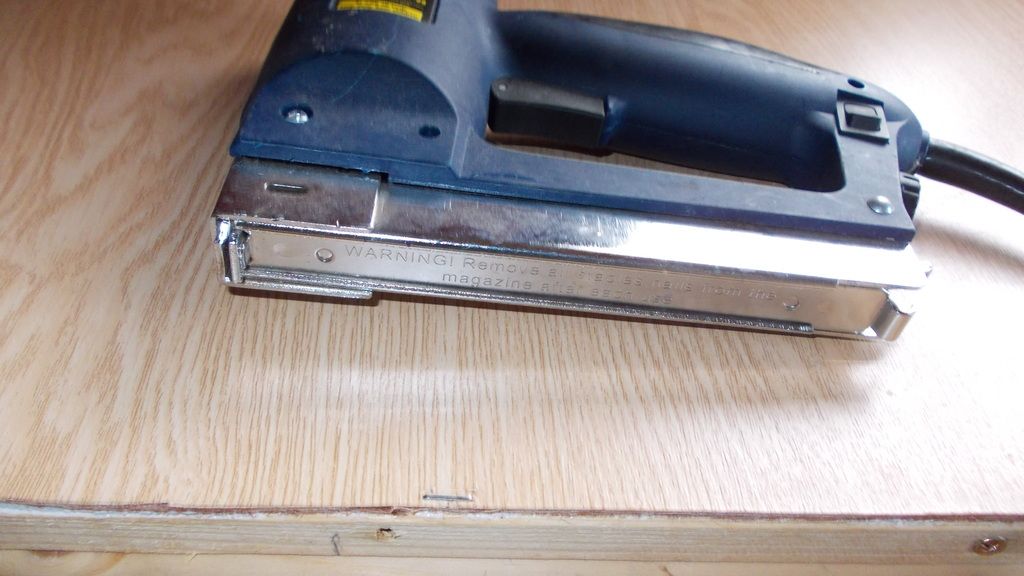
Last part of the job, attaching the wall boarding to the kitchen unit. Quite simple, laid it on top, pressed it down, put in a few staples just to stop it from moving, wipe off the excess glue with a damp cloth.


This may or may not work for everyone but I found breaking the tip off a Stanley blade gave me more favourable results: this was achieved by using fairly large pliers. Another thing I must say here I only used proper Stanley blades as I think they are a superior quality but that's only my opinion.

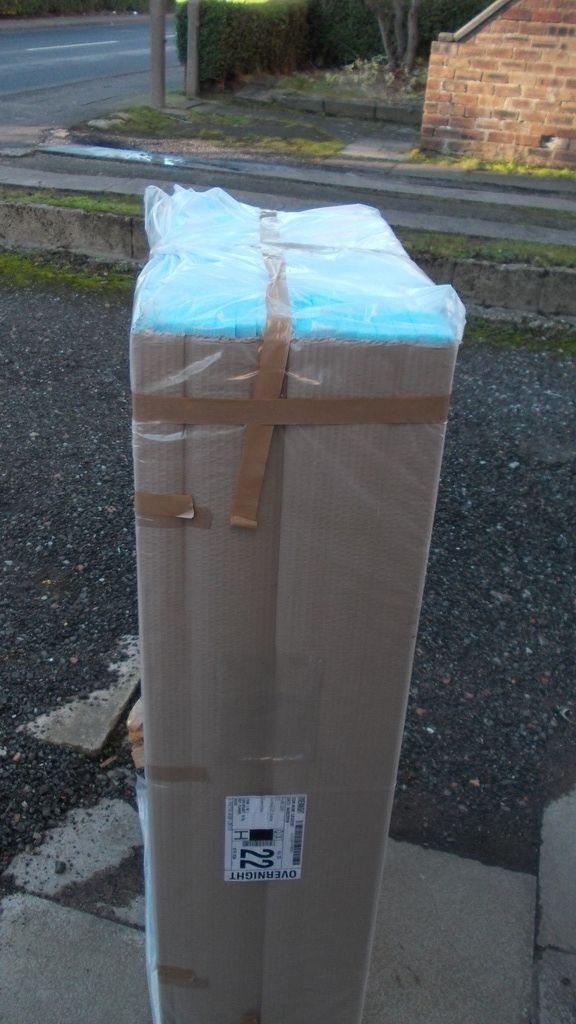
The insulation turned up today round about 4 o'clock so this gave me a great opportunity to work on the van.


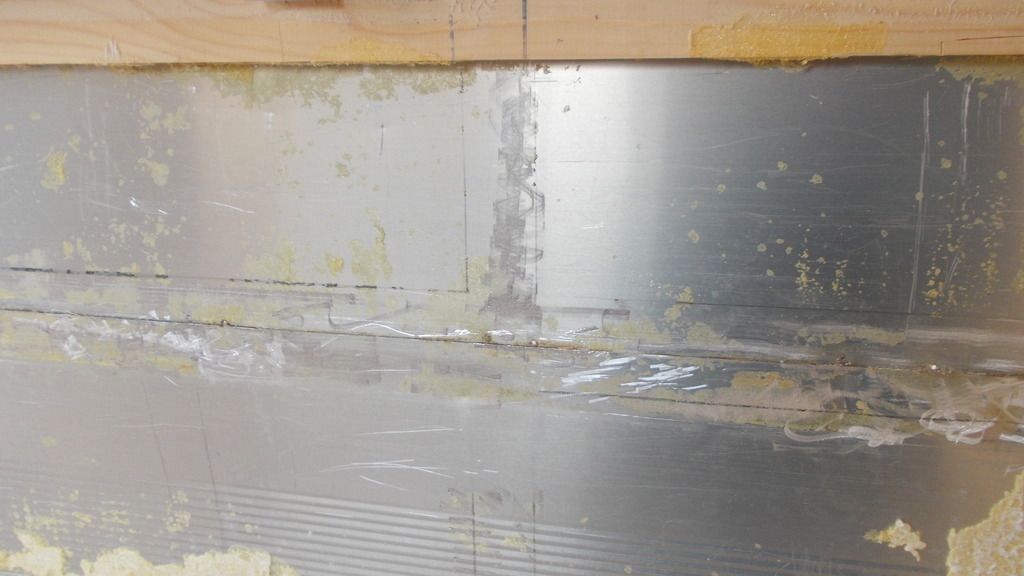
As you can see today's little job was tidying up the mess I had made previously. This job consisted of removing the remainder of the polystyrene and the glue; now the polystyrene was messy due to the way you have to break it up and thousands upon thousands of little white polystyrene balls seemed to go everywhere and stick to everything but that was the easy part of the job: removing the glue from the aluminium was the hard job. This was achieved by using a half inch wood chisel and gently scraping the glue off: very time consuming as you can't press too hard because you'll mark the aluminium on the outside.


Same old, same old. This is the wood with the polystyrene and glue removed; if you look carefully you can see the screws. These screws hold the outer sealing strip in place but, as you can see, it's only a matter of time before these will leak the same as the ones that I had to repair previously.


At the moment I'm trying to get the van habitable so we can get away for the St Andrews meet; all we need is somewhere to sleep and the rest we can make it up as we go along.

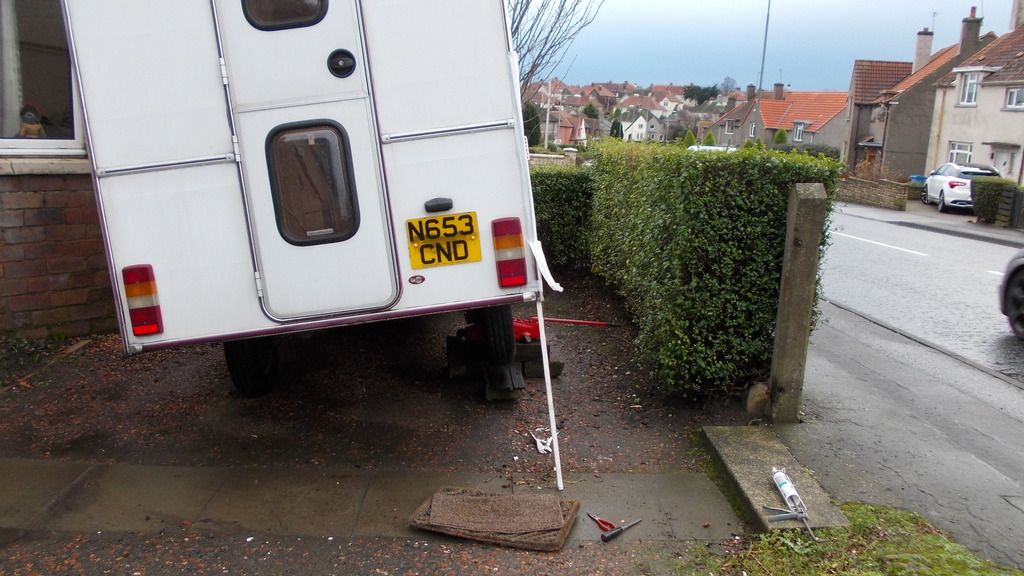
Jacked the van up and slide the wooden batten in from underneath.


As you can see, van suitably lifted, wood in situ ready to be pushed up inside where all the internal faces have been covered in mastic ready for the wood to be slid into position.

Rae
 

StreetSleeper

Forum Member
Add bookmark


As you can see the finished job. Fairly straight forward, went to plan, only variation I found some more rotted wood at the bottom which I had to remove and, at the moment, I've stuffed a plastic bag to stop any nasties coming in.

Now I can concentrate on tidying the van and repairing the kitchen unit ready for getting away next weekend.

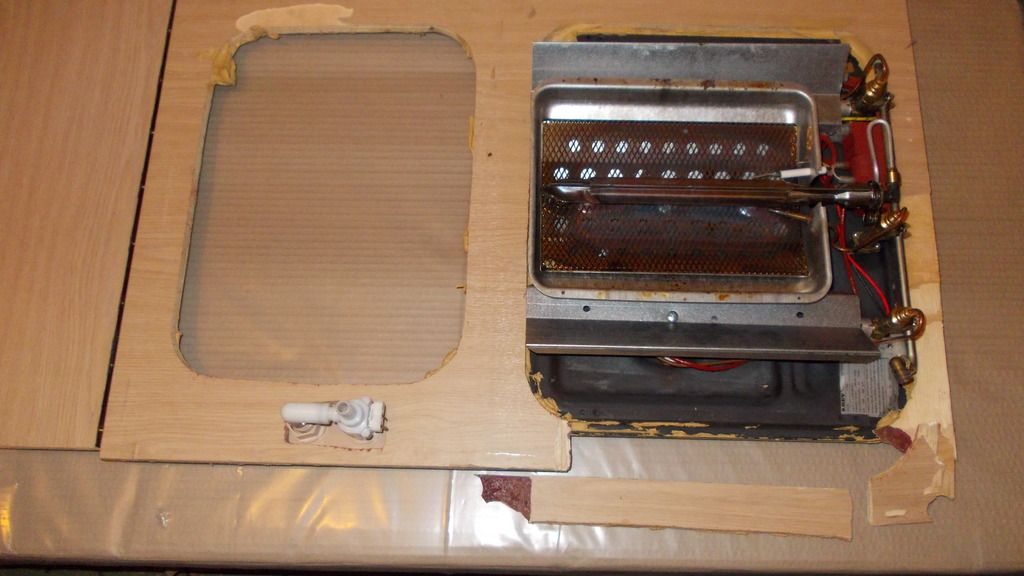
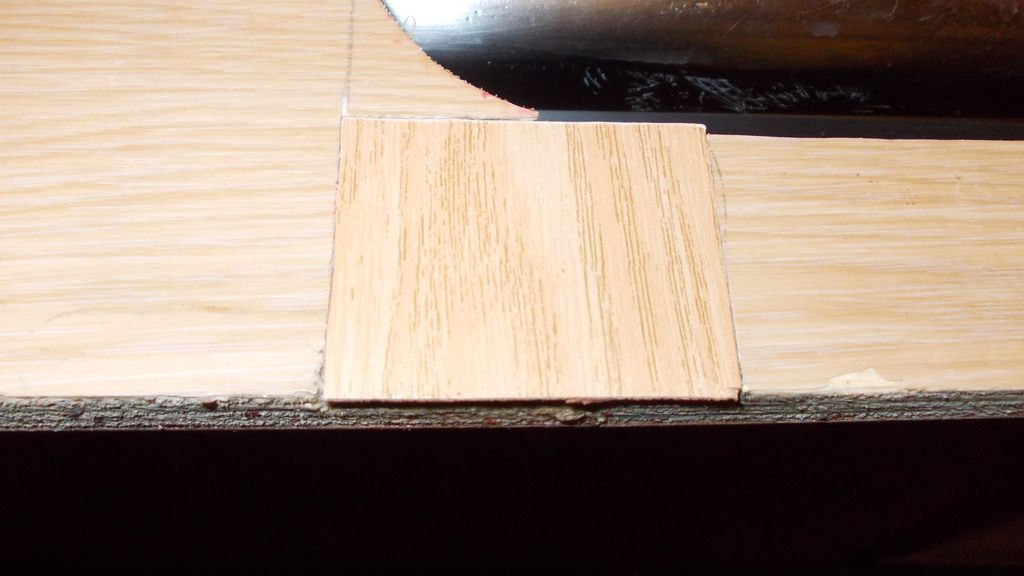
I decided to try and rebuild the kitchen worktop for the van. This was damaged when I had to remove the unit as it had been stuck to the unit itself and on carefully dismantling it I broke it in a number of places as you can see from the picture below.


I looked at replacing the worktop but matching it with the table and other parts of the unit the job was just getting bigger so I decided the easy option would be glue it back together again. As you can see one section has been completely removed, there are three cracks in the wood underneath the formica so one of today's jobs was to try stick it all back together and see if it could be repaired without looking like a bodge job.

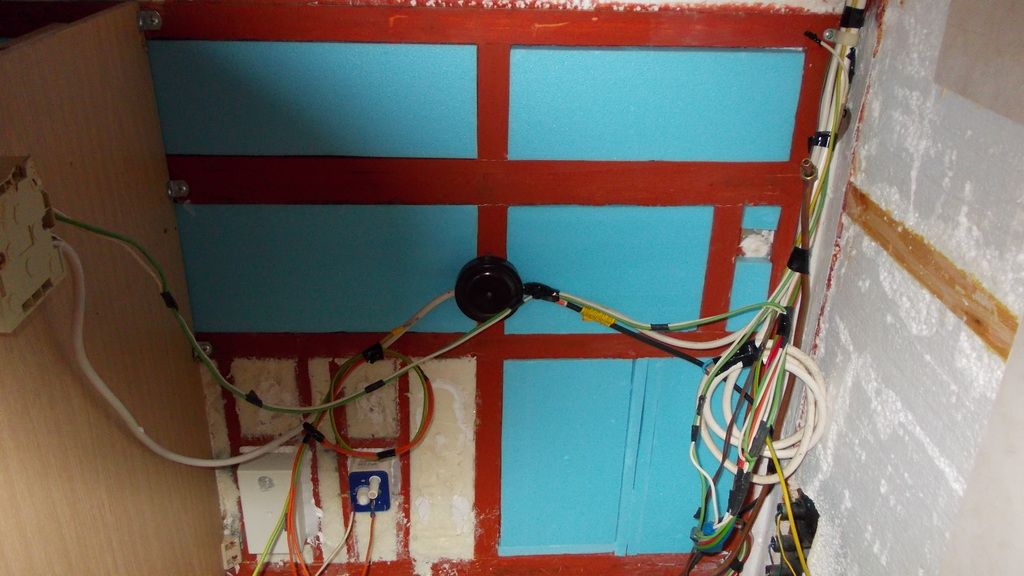
The last few days have been spent trying to make the van habitable for Ann and myself going away at the weekend to the St Andrews gathering. This consisted of sorting out the wiring and making safe, cleaning the vehicle from top to bottom internally and then doing it again. As you can see from the photographs below I have started on the insulation. At the moment they are only placed in position ready for when I do the gluing, they are a tight fit so, hopefully, they won't fall out.


Hopefully when I get back I can carry on with the kitchen unit.

Since the St Andrews meet we decided to use the van so no work has been done internally due to the mess that it makes, that's not to say I haven't been working on the van. I've managed to rebuild the kitchen unit which I broke when I was dismantling the internals of which I will post the pictures later.


As you can see same problem as the other side.


More investigatory work will be required as to find where the leaks are coming from.


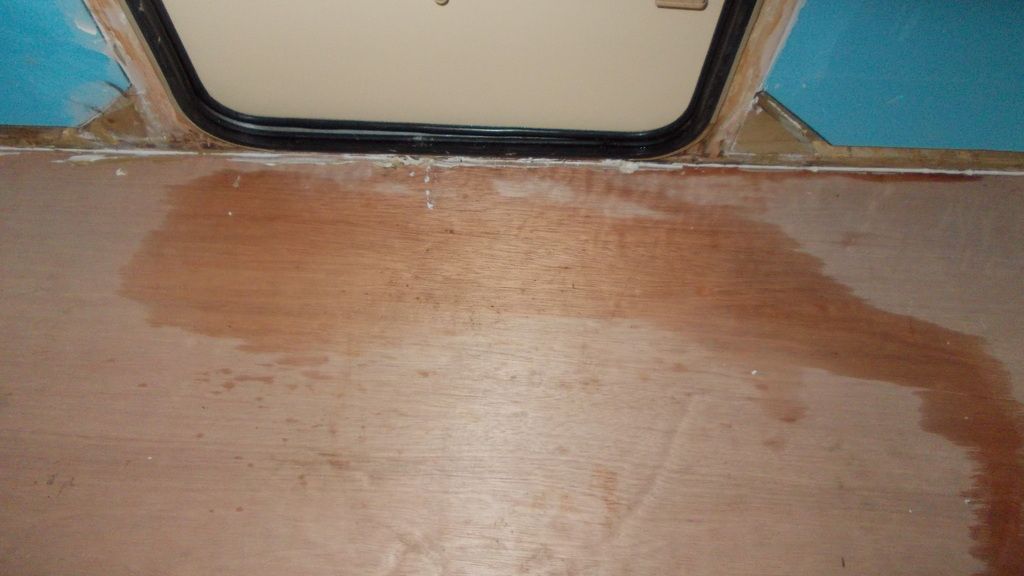
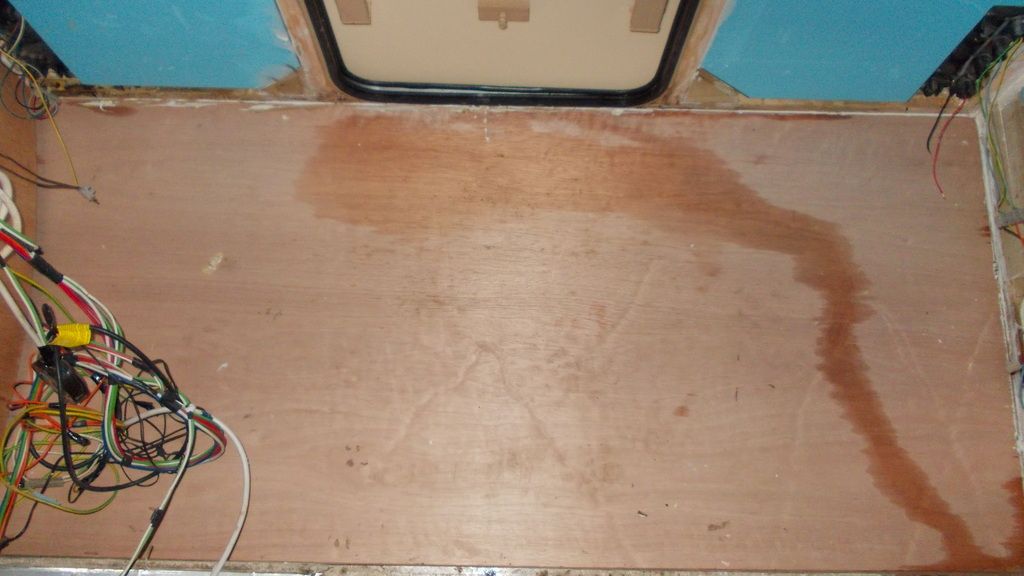
As you can see the water has gone the full length of the van and made a nice puddle at the far end which can be detected by the black area.

From the picture below, now the framework has been exposed, it's drying out quite nicely. There are a couple of sections that may need replacing but, on the whole, it's not looking bad.


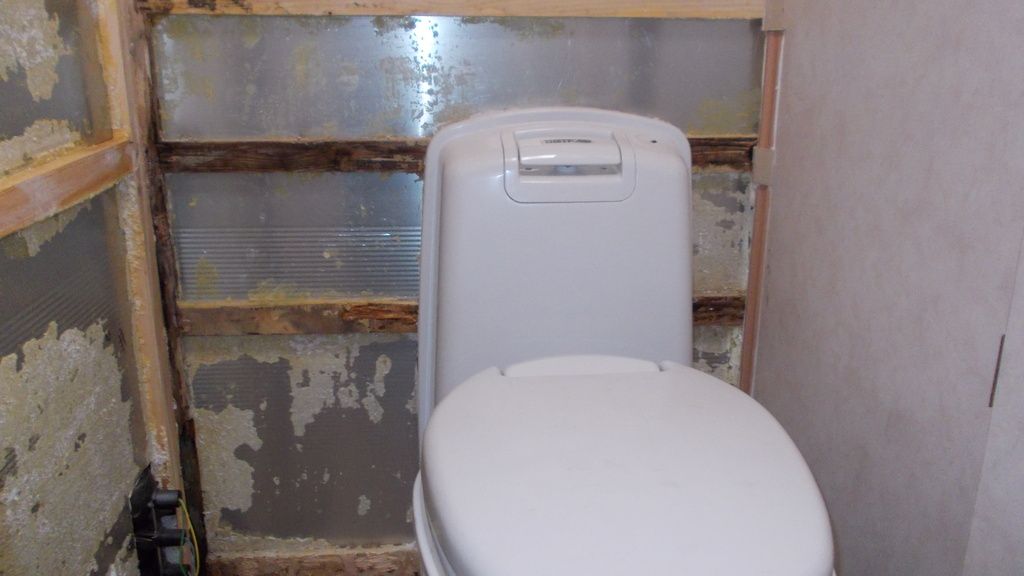
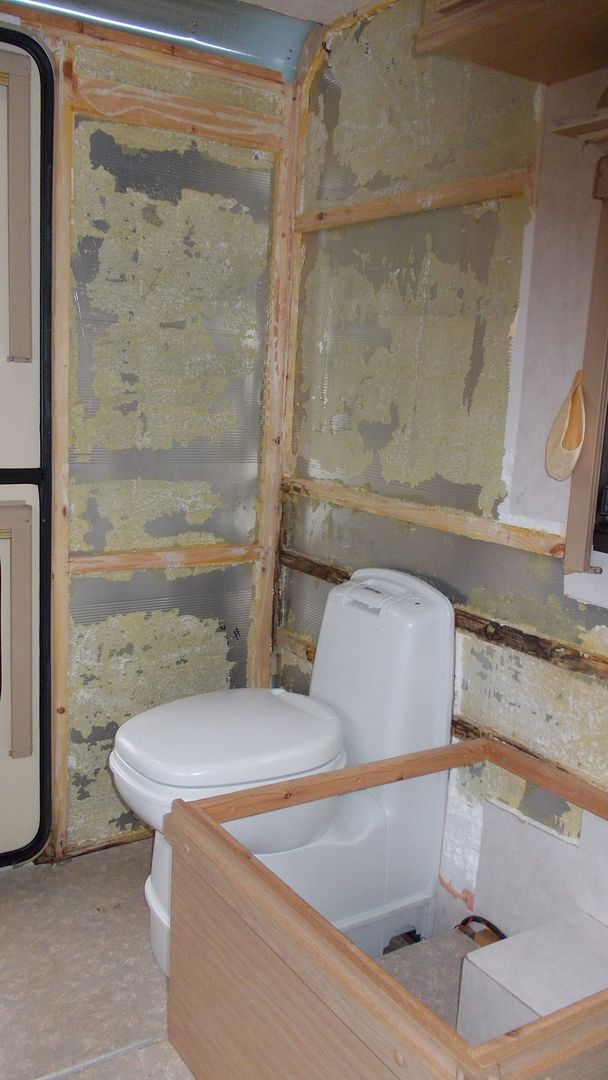
Toilet area.
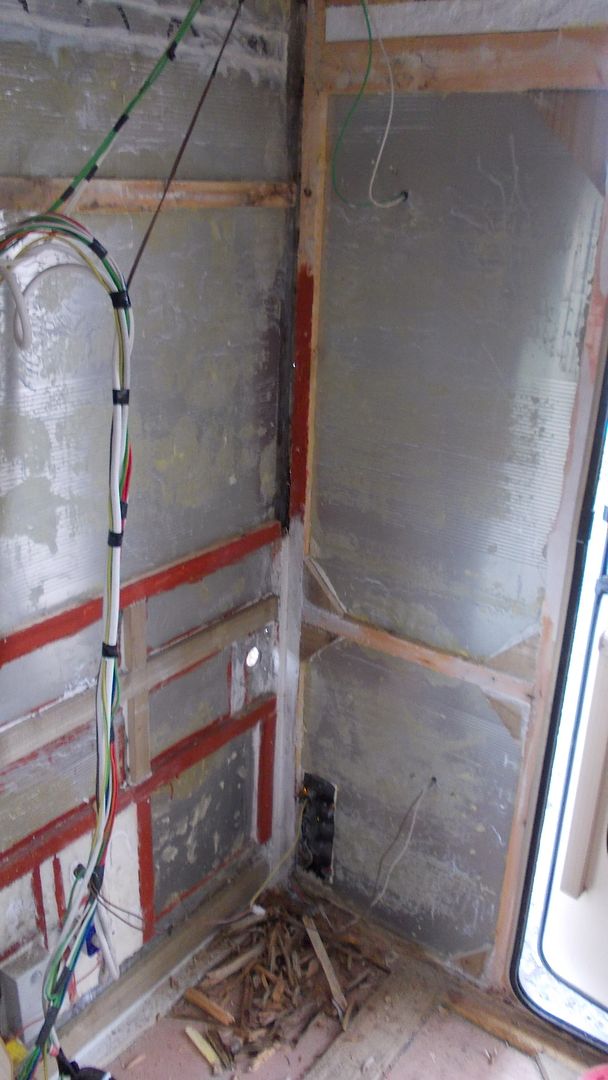
Usual problem in the corner, a vertical section of wood will have to be replaced but we've been there before so this time I should know what I'm doing. As for behind the toilet, I won't know until I've removed it.


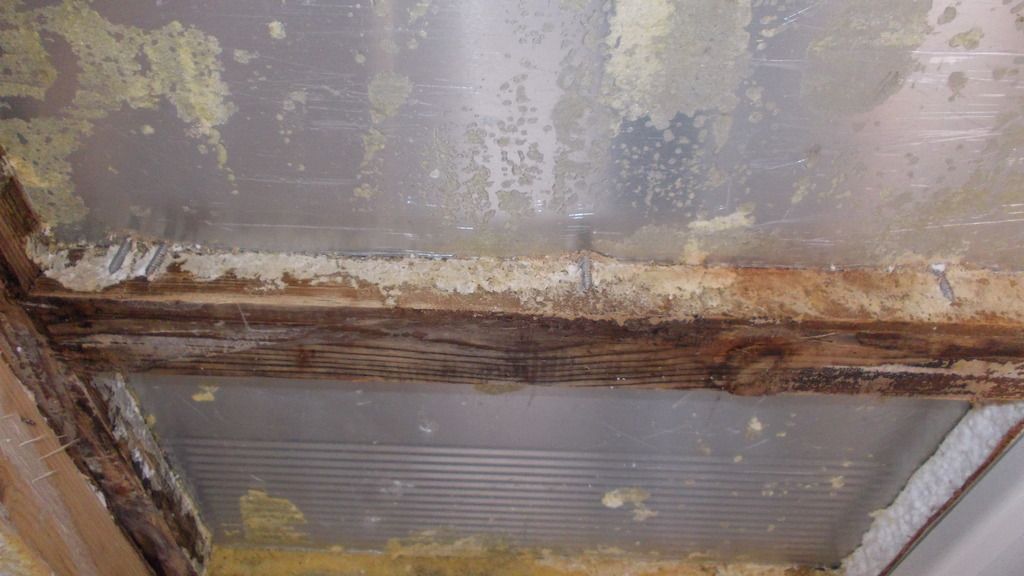
The main culprit.
Screws have been put in above the wooden frame.


It's amazing all the screws are exactly sitting on top of the wooden framework


Getting there.
Today's little task was to dismantle round the toilet without destroying too much of the materials. As you can see most of the polystyrene from the window going backwards and right round to the door has been scraped away.


My next job is to remove the bog.

One side of the van is now nearly ready for rebuilding, all that's left is above the cab area. As you can see the cassette toilet has now been removed, ready for when I replace the floor in the kitchen/toilet area.


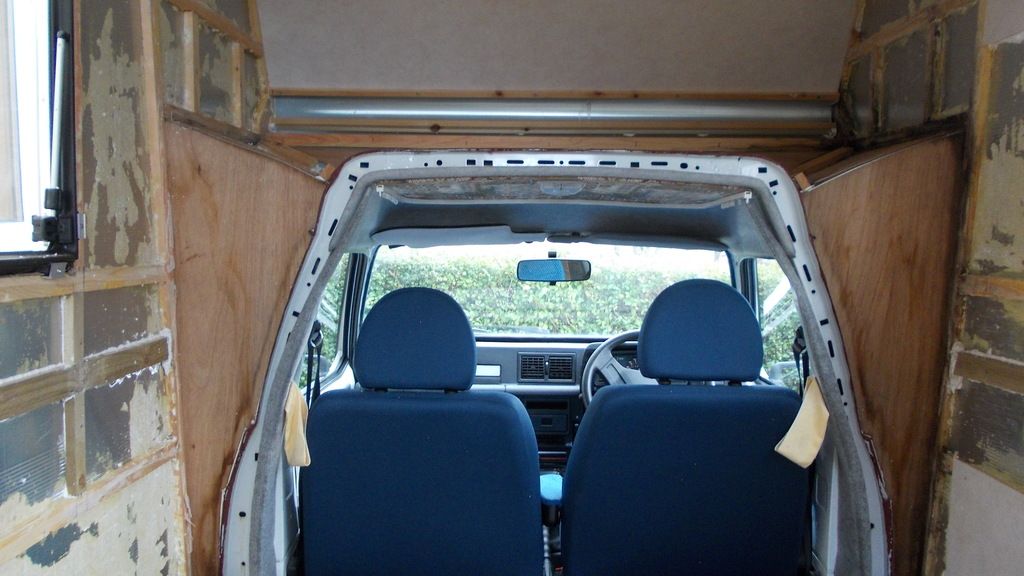
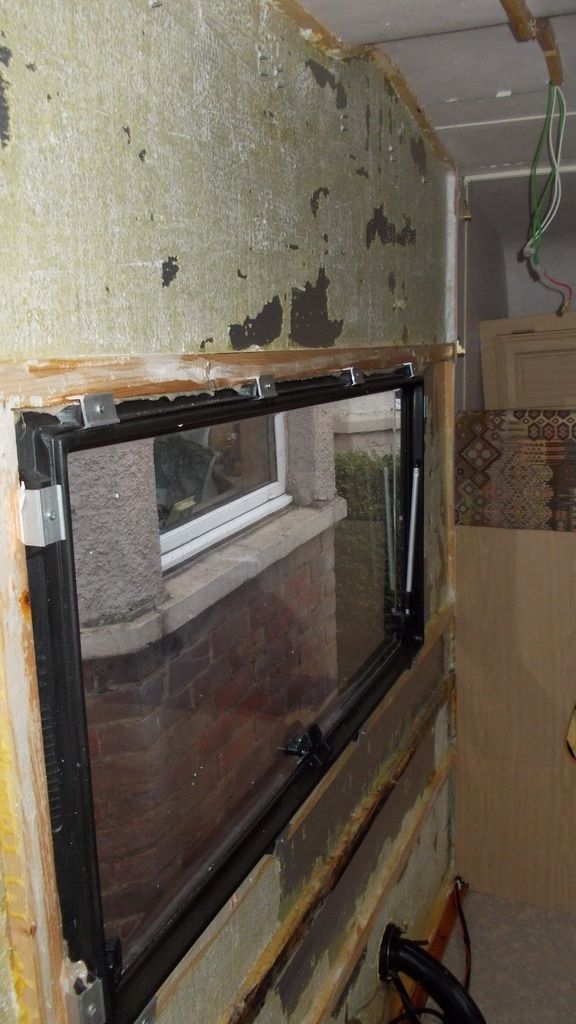
As you can see the van framework is in not too bad a condition and, at this part of removing the wall boarding and polystyrene, there seems to have been no leaks from the roof. There was some damp in the polystyrene from where an awning rail had been screwed on; having said this, I have not yet gone to the front.


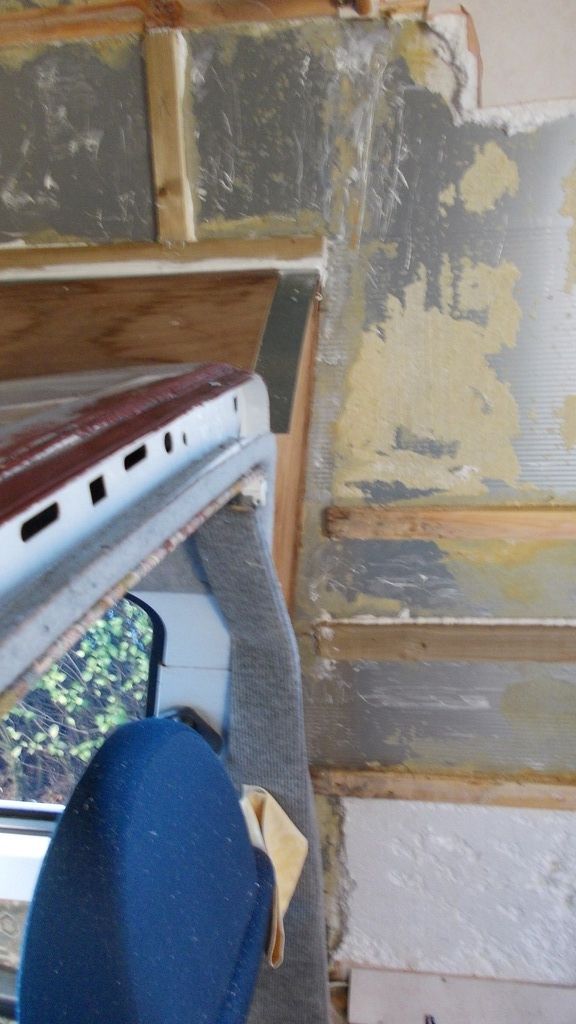
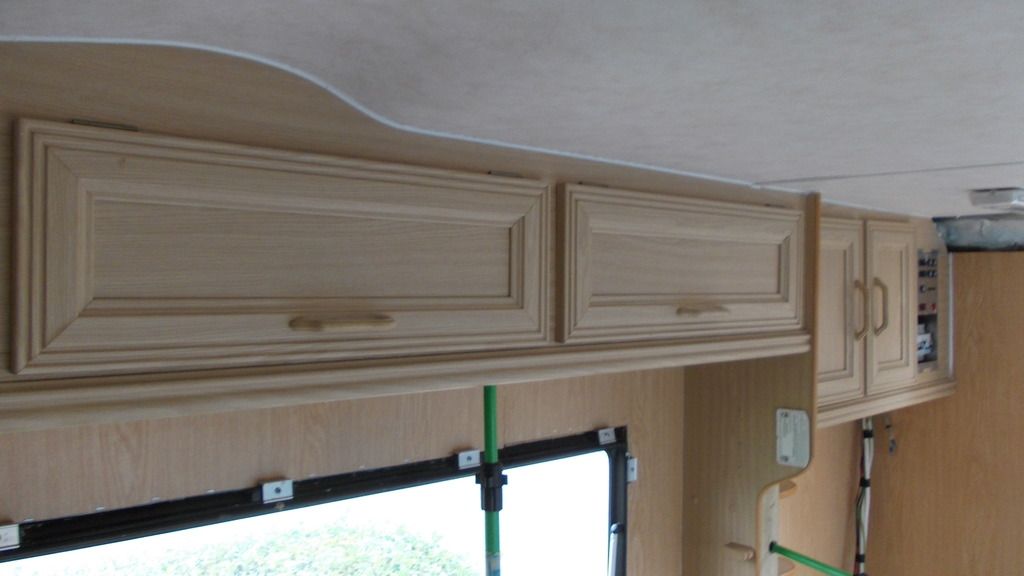
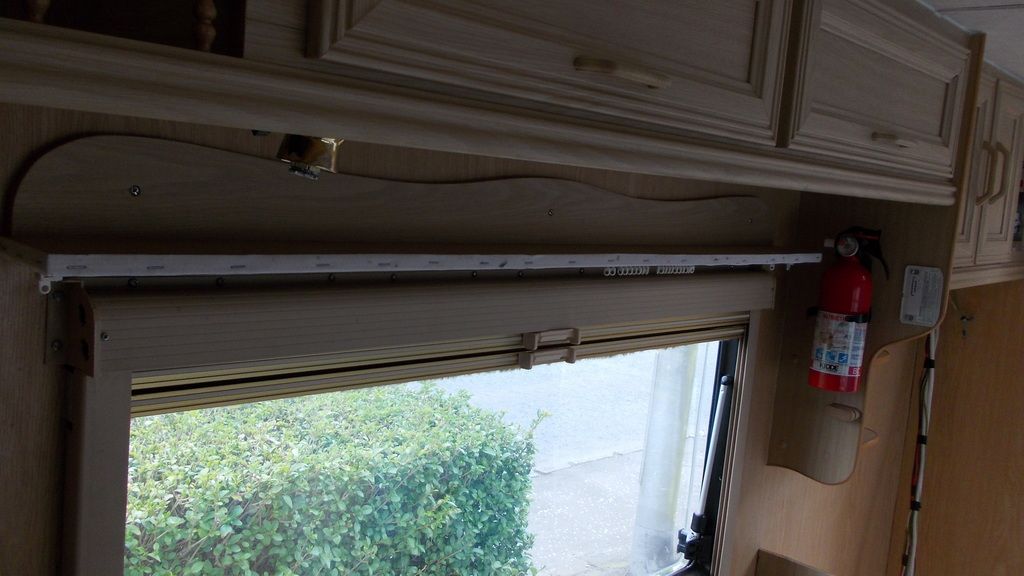
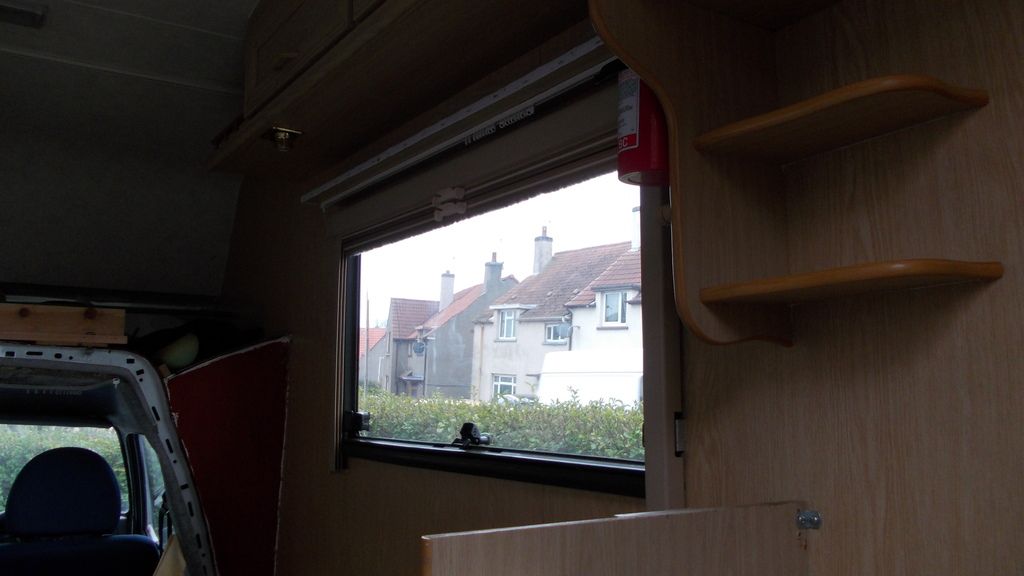
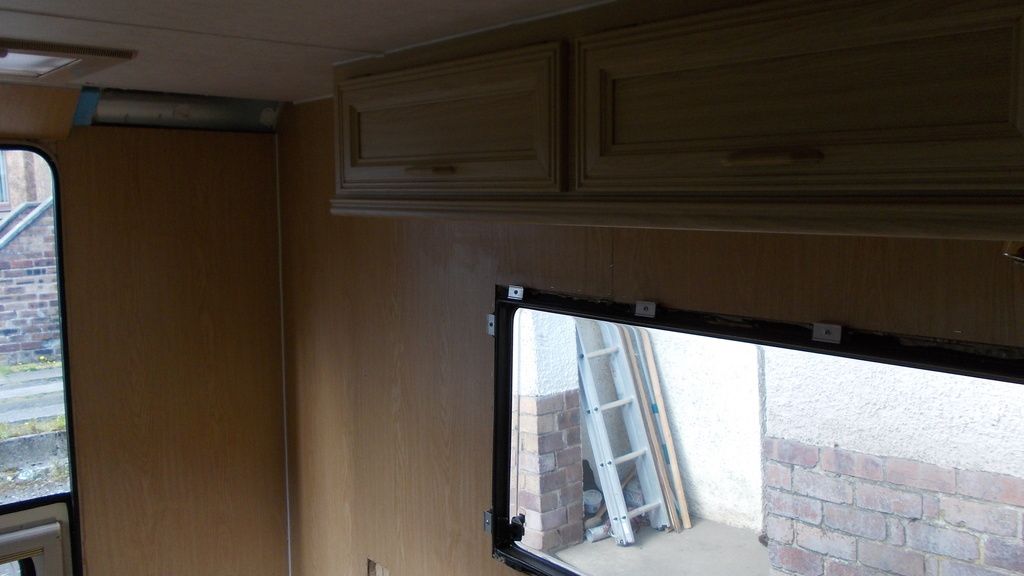
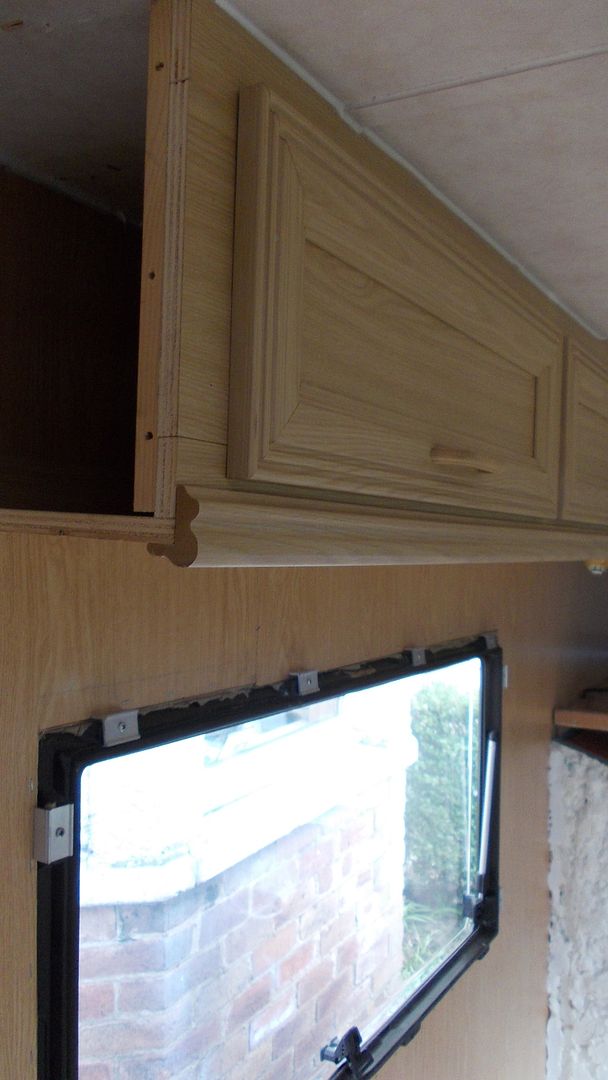
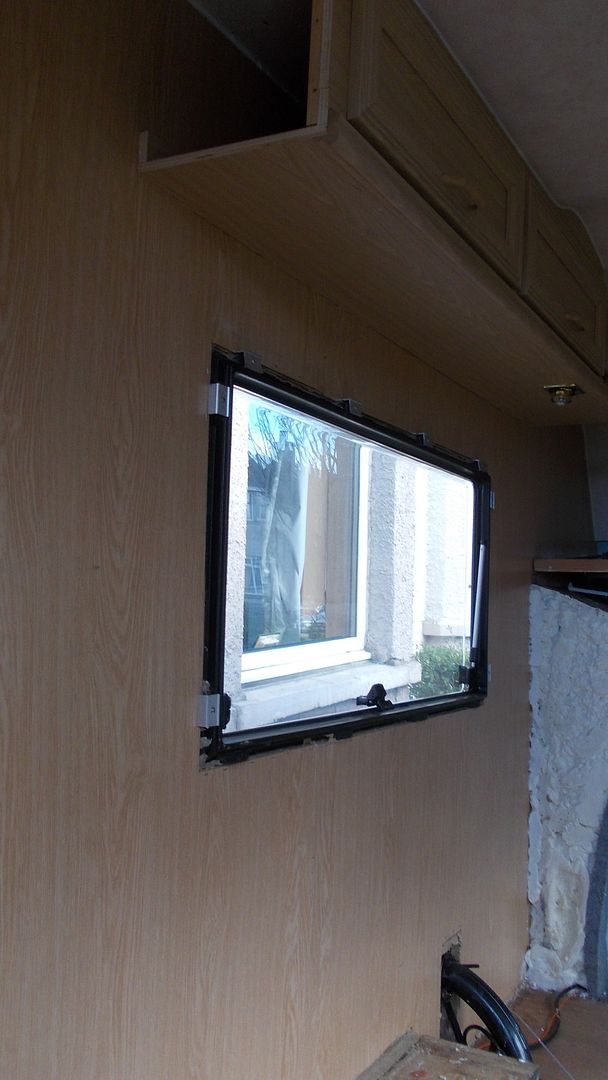
The hardest job so far, removing the cupboard above the window. I ended up cutting the wall board with the cupboard still attached and knocking the cupboard away from where it had been attached to the roof. As you can see from the picture below the remaining framework still attached to the roof.


Is this normal practice?

As you can see from the photograph below I removed a section of the rotted wood only to find there was no overlap on the aluminium sheet just butted together.


And to think I wondered why I had such a bad water leak.

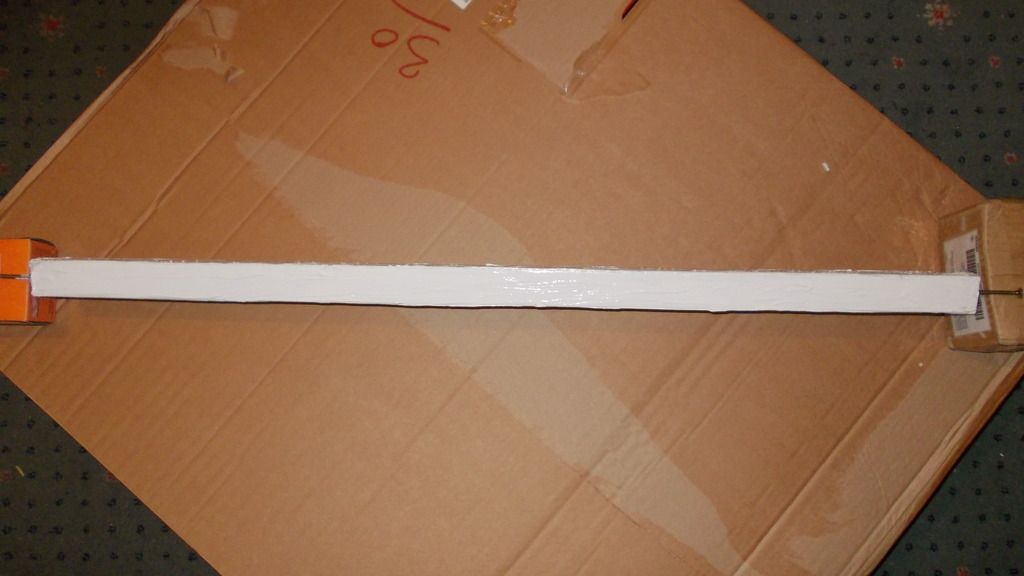
Got stuck in this morning. Bought 100mm X 19 treated piece of wood, cut it in half lengthways and this was to be my new batten, made four extra strengthening battens as well then ready for the off. The picture below shows where I've roughed up the aluminium so the glue can have a better join.


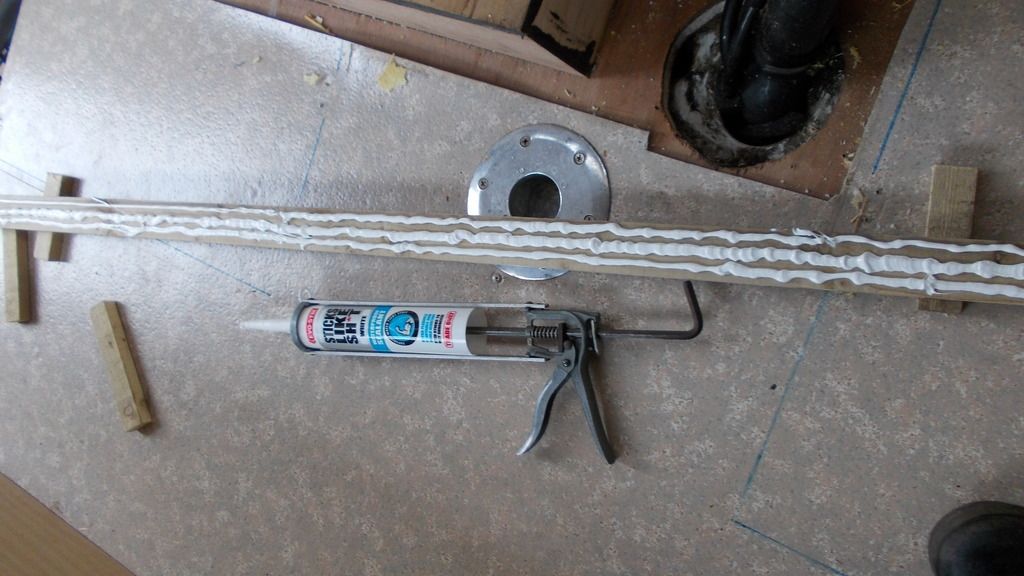
The batten ready for applying to the body. As you can see I did three runs; a thick one in the middle and two thinner ones either side.


A view from the outside. As you can see the glue has squirted out quite nicely.


Last but not least the finished job. There's still a bit more wood to be replaced around the toilet area and one more bit of wood to be fixed above the window so that when we get our awning we can have something decent to screw it into.


Rae
 

StreetSleeper

Forum Member
In my opinion today was a bit of a wasted day, because of what I found when I removed the batten on the passenger side, this inspired me to re-do what I had previously done to the driver's side. So after dismantling all my previous work I repeated the job I did on the other side.


Another downer was when I was removing the wall board at the front I noticed another black area so looks like I've got a leak above the cab.

Decided to investigate the damp area above the cab.........well, surprise, surprise.


A little more investigatory work.


Hopefully the water has come in from the bottom; if this is the case then the roof will not need work: or that's what I'm hoping for.


Decided to strip both sides out to see what condition the passenger side was. Though there are signs that water has been getting in there seems to be no damage.


As you can see, very little is left to be stripped.

Disastrous day.
Started off by removing the wall board that was still attached to the furniture. The only way I could get the furniture off the wall was to break it free from the van so using my multi tool I managed to get between the two surfaces ready for when I reassemble.


After all the furniture and fittings were wall board free and de-nailed and the majority of the silicone removed I started on the framework. As you can see from the picture below, cut out a template for the corner in the above cab area and then made it in wood.


Now this is where the disaster happened, was really getting into the swing of it and then it starts to snow, not a lot but enough for me not to want to start opening up the side of the van. By this I mean taking the plastic strip out of the centre of the aluminium and removing the screws, so put the tools away and called it a day.

By far the hardest challenge was today. Getting the D shaped piece of wood out without distorting the aluminium was a pure nightmare, ended up cutting it into little bits then breaking it out using a screwdriver.


As you can see D shaped wood has been fitted and a new batten and uprights as well.


All that's left is to replace the batten that runs vertically and hopefully this will be done some time tomorrow. Once this is all achieved it's back to the toilet area where I need to replace two sections of rotted wood and then we're on the home straight; hopefully, all that will be left then is the floor at the rear.

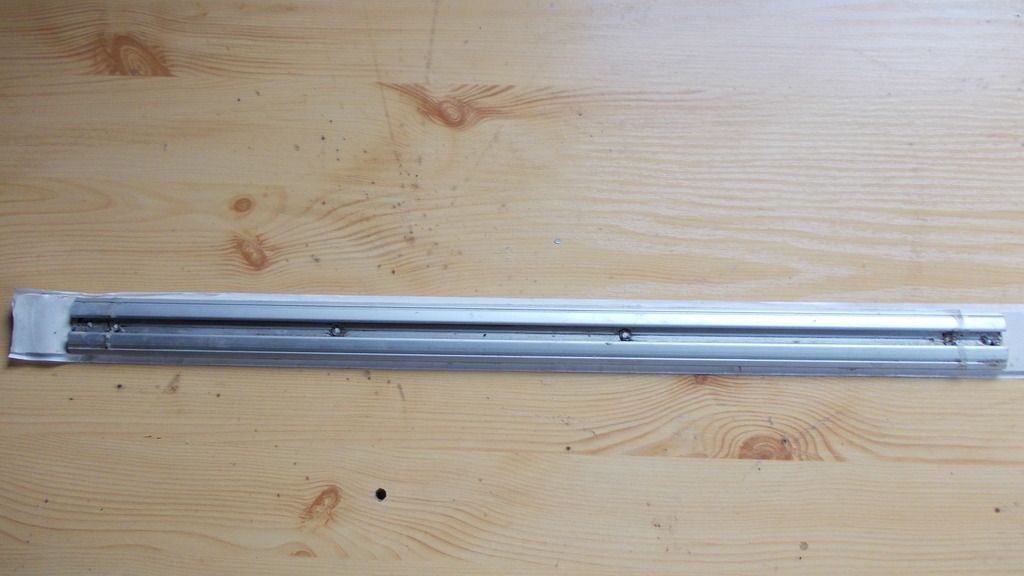
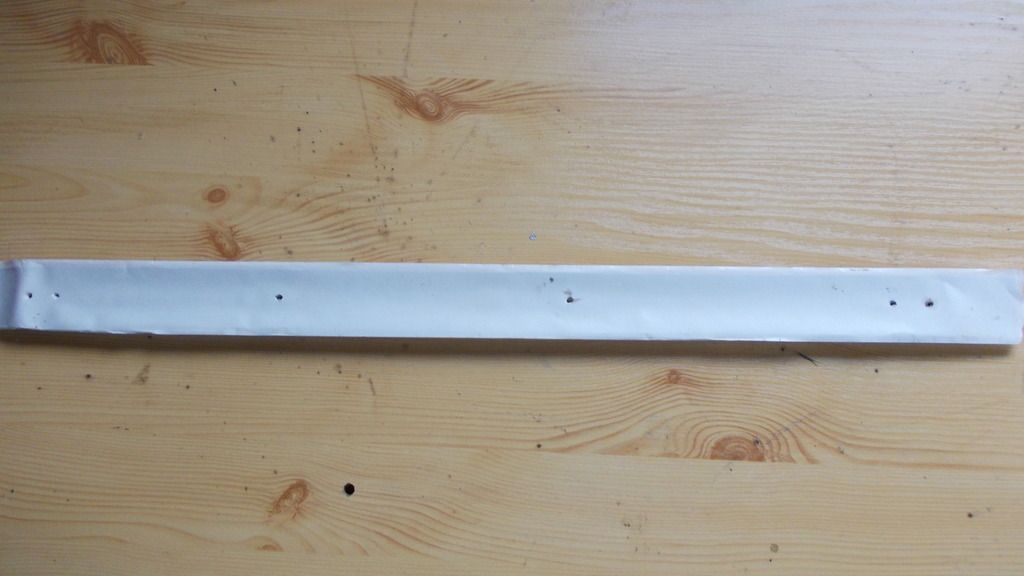
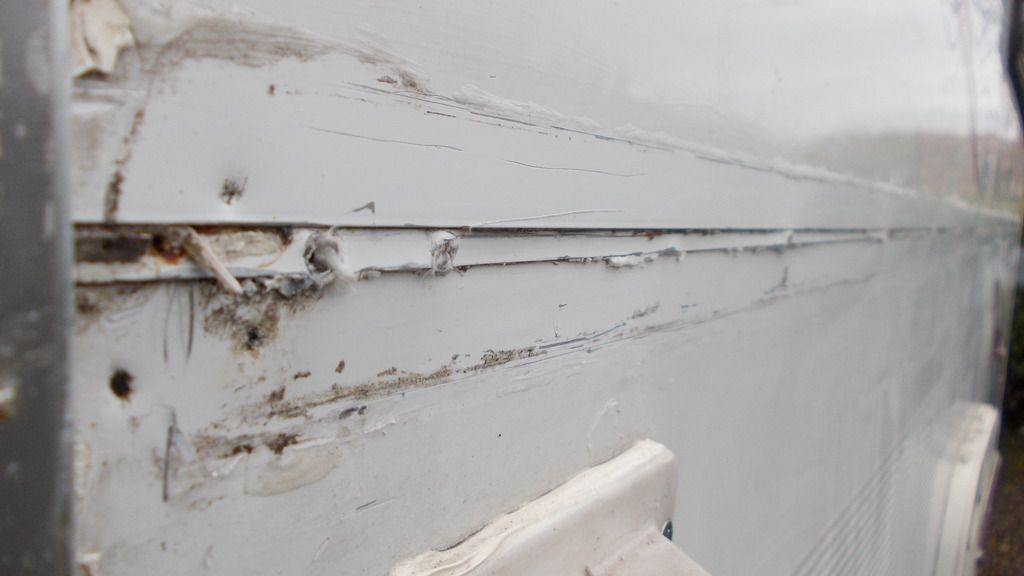
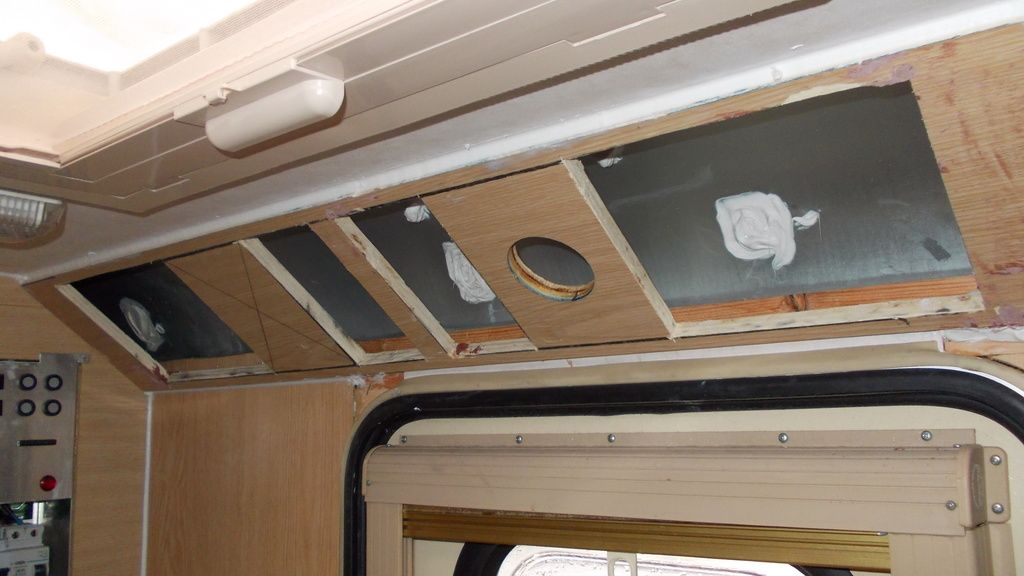
Think I might have bitten off more than I can chew here. To get the new piece of wood in I had to unscrew the aluminium strip from the outside and remove it from the body; this was achieved by sliding a scraper in between the aluminium strip and the body. A very tedious and hard job. One side came apart quite easy but the other didn't, this in turn meant I had to use some force which, in turn, bent the aluminium strip and the body came apart. As you can see from the picture below a rather not so nice gaping hole in the side of the van.


The state of play before the light decided to fade. Wood cut and held in place with a couple of screws; hopefully it won't rain tonight. If you notice I made this batten a lot wider so I could remove the water damaged ends of the joining battens. Hopefully this job will be finished by tomorrow but to say I'm not happy would be an understatement.


Tomorrow I shall post a picture of the aluminium strip; I threw it away three times but it kept coming back

smile.png


smile.png


smile.png


Completion of the front of body/rear of cab.
As you can see, all the wood work is now finished. This is, in fact, a picture of the second piece of wood that I made; the first piece got wet last night and decided to change shape......considerably so, rather than try and make it fit, I just went ahead and made another. There is nearly a tube of mastic in that one area of wood that I replaced today: yes, a lot of it squeezed out but I know it's sealed.


Outside the van. Had to put a few screws in to hold the body to the frame but, as you can see, fits quite nicely.


Next area will be replacing the rotten wood that was in the toilet area and making a proper framework for the cassette door.

Finished taking out the rotted wood round the cassette toilet area and replaced it with a framework; hopefully, this should stop the flexing round the door.


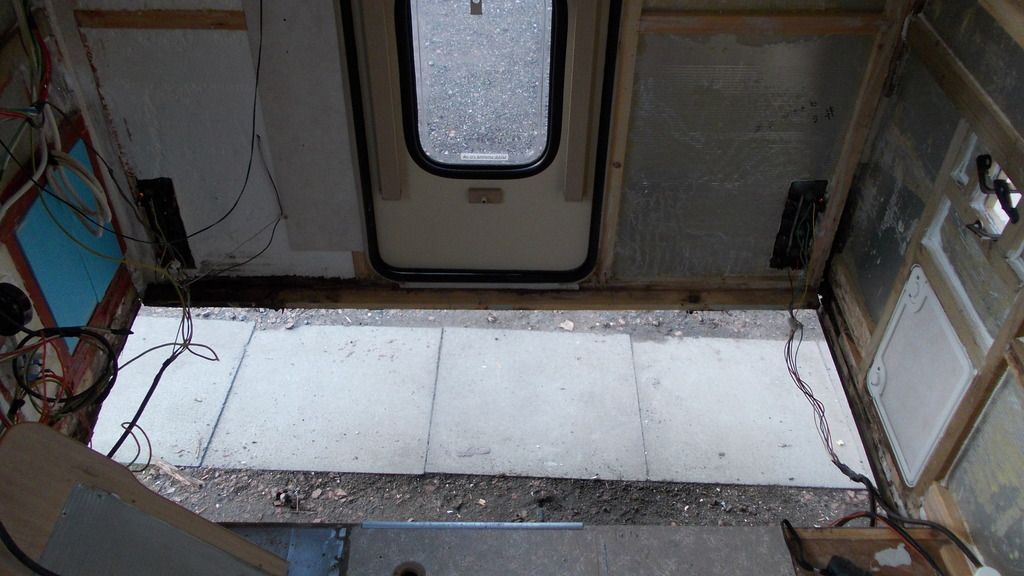
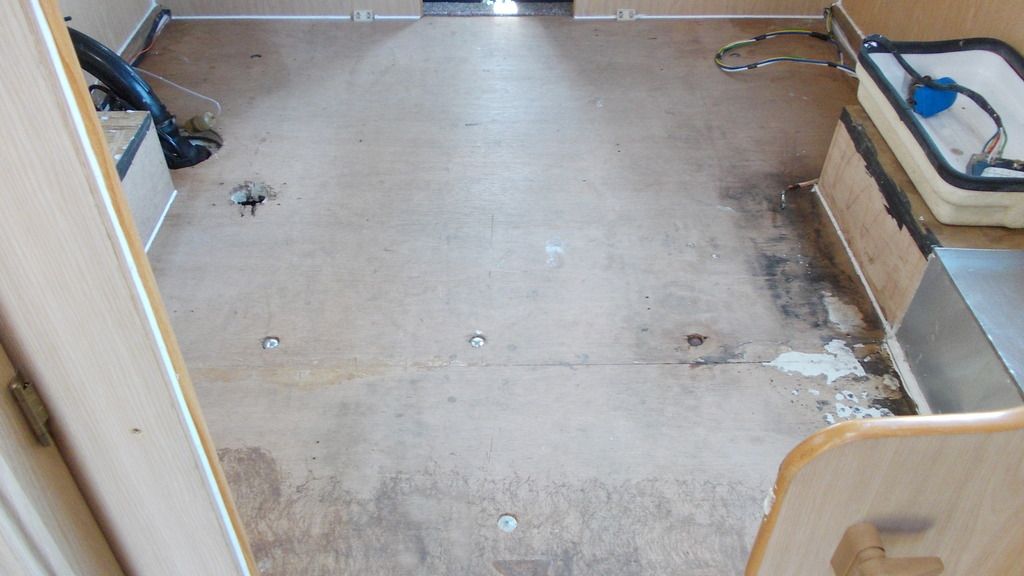
Last but not least; the floor is out. Quite a bit of rotted wood in the corners that will need replacing and still one upright in the corner that needs to be removed and replaced but, hopefully, we're getting there.


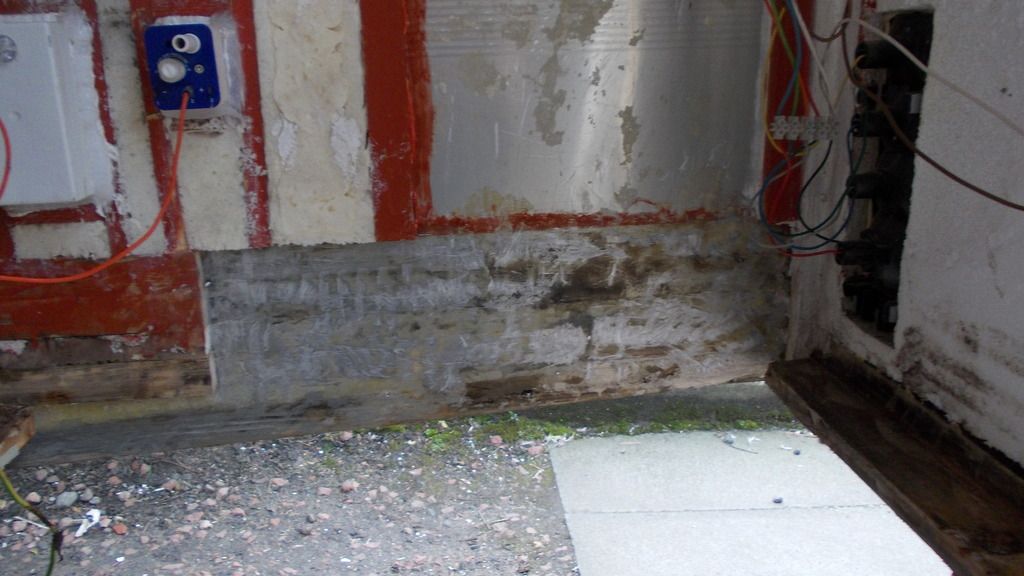
I started removing the rotted wood in the corners. The picture below shows where I originally started. Looking at the job I wasn't happy with the work I had previously done and, being as I have replaced most of the water damaged wood around the van, I thought it might be best to replace this area as well.


As you can see from the photograph below another part of the van has started rotting; this will have to be replaced in the very near future.


Rae
 

StreetSleeper

Forum Member
Still at it.
Today's job, do the remainder of the back end, this will be in two parts; the floor and the frame. Today was the framework. As you can see from picture 1 bottom half of framework of passenger side in situation.


Driver's side. I used a complete piece of wood from the wheel arch to the back corner.


Done and dusted, everything glued. All that is required is a couple of battens for the floor to sit on.


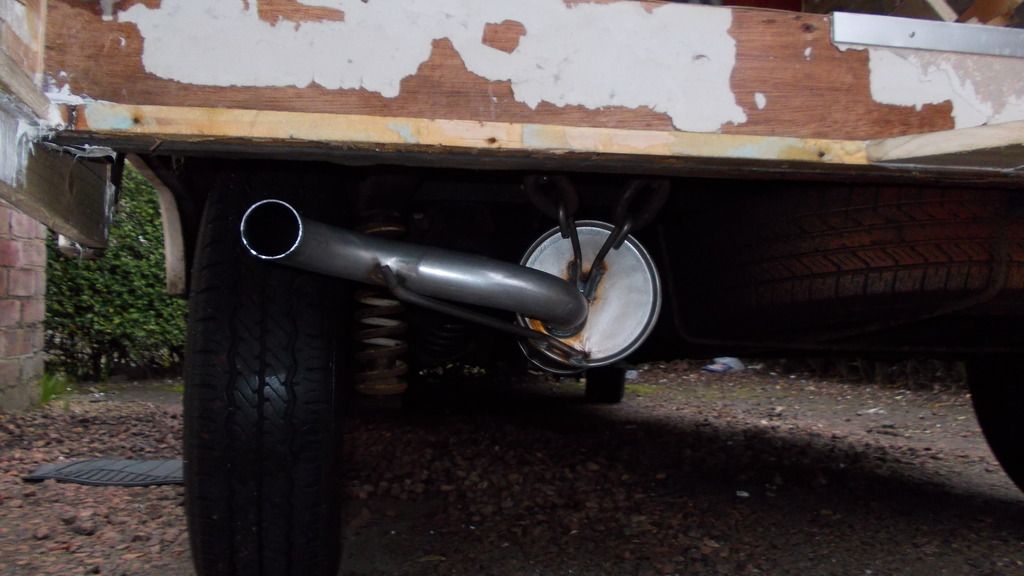
Hopefully, tomorrow, I shall be fitting my exhaust; this should be made a lot easier by not having a floor fitted.

By far the hardest part of the restoration, removing the plywood that was stuck to the framework of the underside of the floor area. This was achieved by laying on my back with a wood chisel and a hammer carefully removing small strips at a time.


Occasionally I got a lucky break where the damp had got in but it seemed I was there for hours. Fortunately all done and dusted so when my exhaust arrives and it gets fitted I can then put the floor back in.

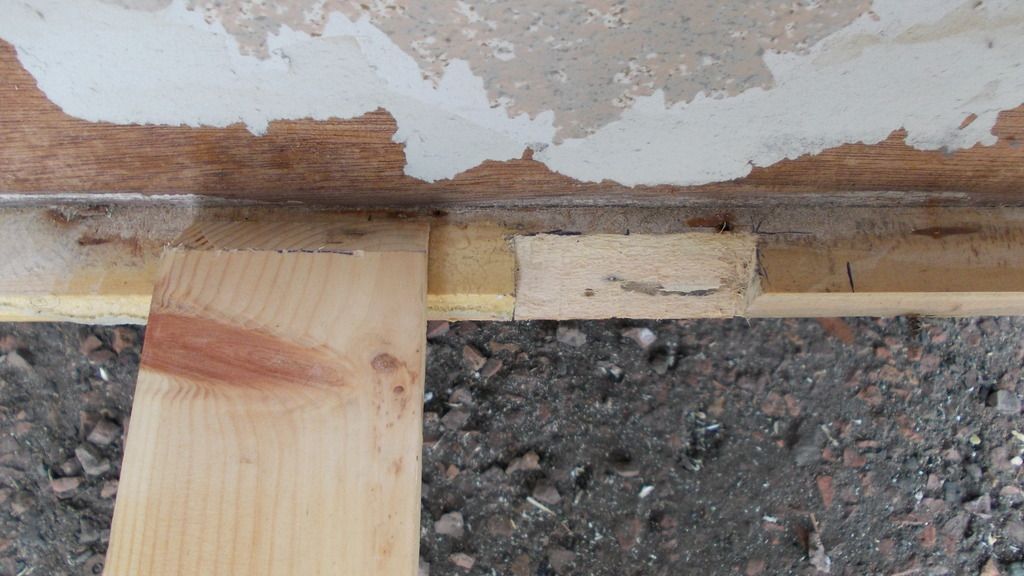
Had a bit of spare time on my hands before the exhaust arrived so I took this opportunity to do some work on the floor, at the rear. I decided that a butt joint was not adequate and so I opted for the 45 degree chamfered edge and notch the wood on the opposite side.


As you can see overlaps quite nicely.


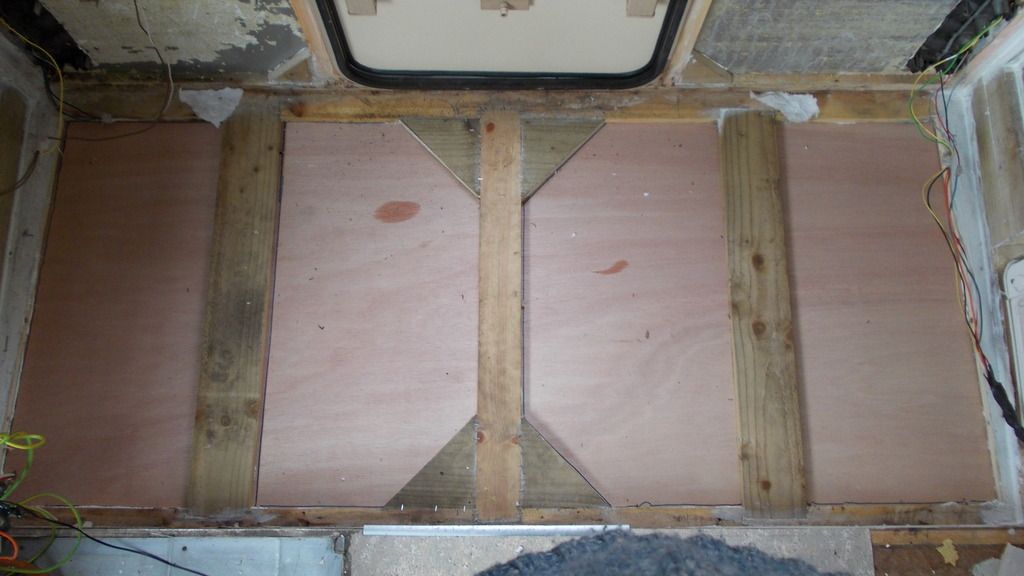
Put some corners in just to tighten the back end up. This is the floor nearly finished. Framework is complete all the way round, just requires two more cross members and the job will be finished apart from the insulation and the plywood.


Exhaust finally arrived, late afternoon but still found time to put it on: things are definitely moving on now.


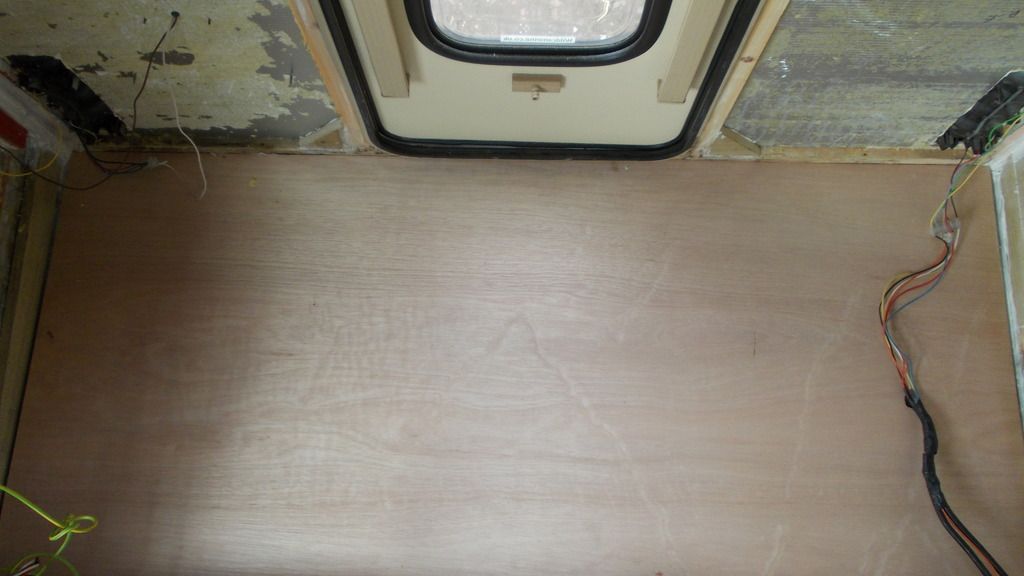
It will be 10 weeks on Monday from when I first started and today, hopefully, is the last of me replacing the woodwork and it now should just be a matter of replacing the insulation, wall boarding and the furniture. Easier said than done but that's the plan. As you can see from the photographs below the floor has been fitted.


At this precise moment the top layer of flooring is just sitting in situ. I shall fill the void with the offcuts of insulation as and when they occur.


Going to take a couple of days off to celebrate; in other words, I'm completely knackered

smile.png


smile.png


smile.png


Another tedious job, removing the glue from the aluminium but now all but one area, where the lockers are still attached, has been done.


By the time I'd finished hands were tingling (not a good sign) and my ears were ringing so I decided it was time for a break.


Still waiting on information about the awning but my next job will be to try and take the remainder of the awning rail above the door at the rear end off.

Decided it was time to start to seal the van, a straight forward job just a matter of removing the old trim, cleaning both surfaces, putting a mastic sealing strip on and then screwing it to the van.


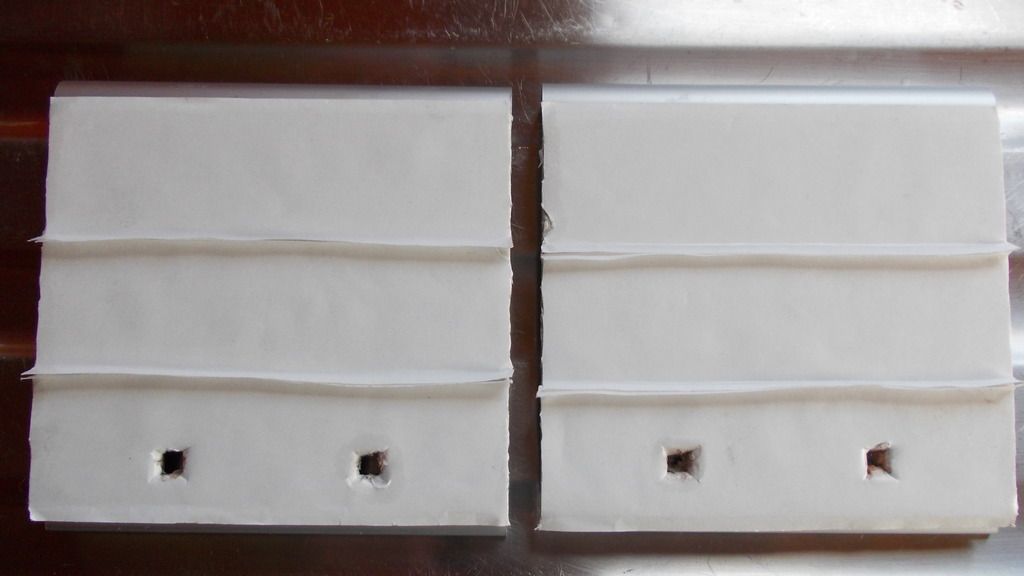
Ally strip on mastic sealing strip.


Rear side of the above photograph; notice paper is still attached.


Body cleaned ready for application.


This is when I removed the paper and now the strip is screwed in place.


Passenger side, ready for fixing strip in place.

Rae
 

StreetSleeper

Forum Member


Strange, looks like the van has two skins; more investigation work needed.


All grey horizontal strips have been resealed......another day's work done.

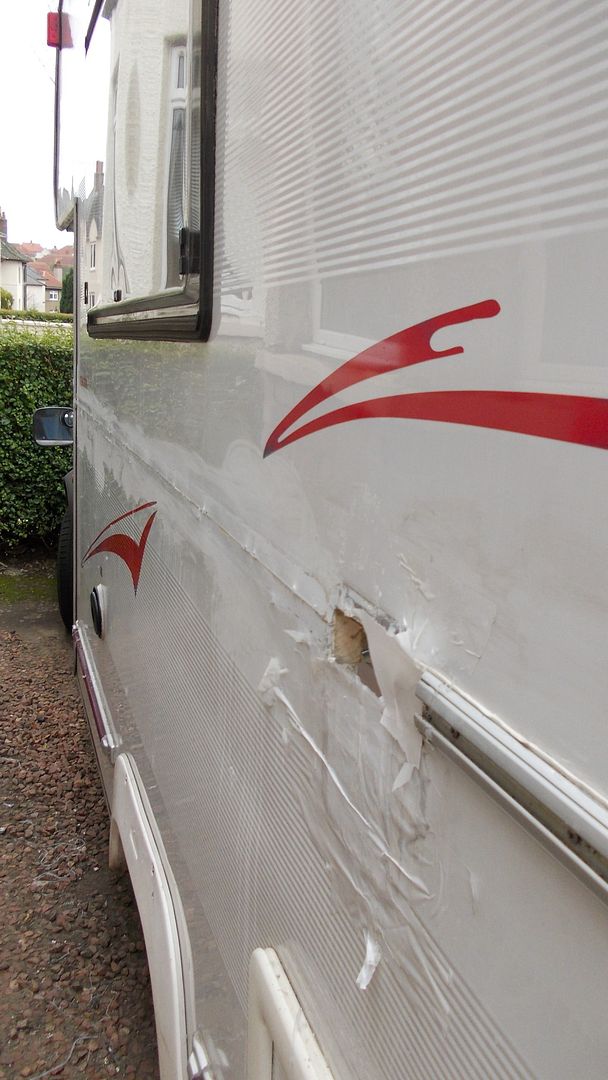
After finding another skin when I was resealing yesterday I felt it was time to take the remaining locker off the wall and see what condition the last section of the van was in. As you can see from the photographs below the van, indeed, has been in a scrape.


Quite a sizeable scrape along the side.


Close up of the front.


Close up of the rear.
To say I'm gutted would be an understatement, had I found this out at the start it would be very doubtful whether I would have carried on with the restoration.

After sitting down and having a cup of tea I went back out and cleaned up the wall board area that meets the roof to see what condition the wooden frame was like in the roof area. I have to say there has been signs of water damage but that must have been some time ago as the framework is perfectly dry. There is one dodgy bit in the back corner going down that I may have to replace.


As you can see all the wooden frame is now clean and looks in good condition. I removed the damaged aluminium and resealed the edges. This was done because the damaged area was very uneven and had been stuck down so I opted for a clean approach so the polystyrene would have a flat surface to be glued to.

Getting there.
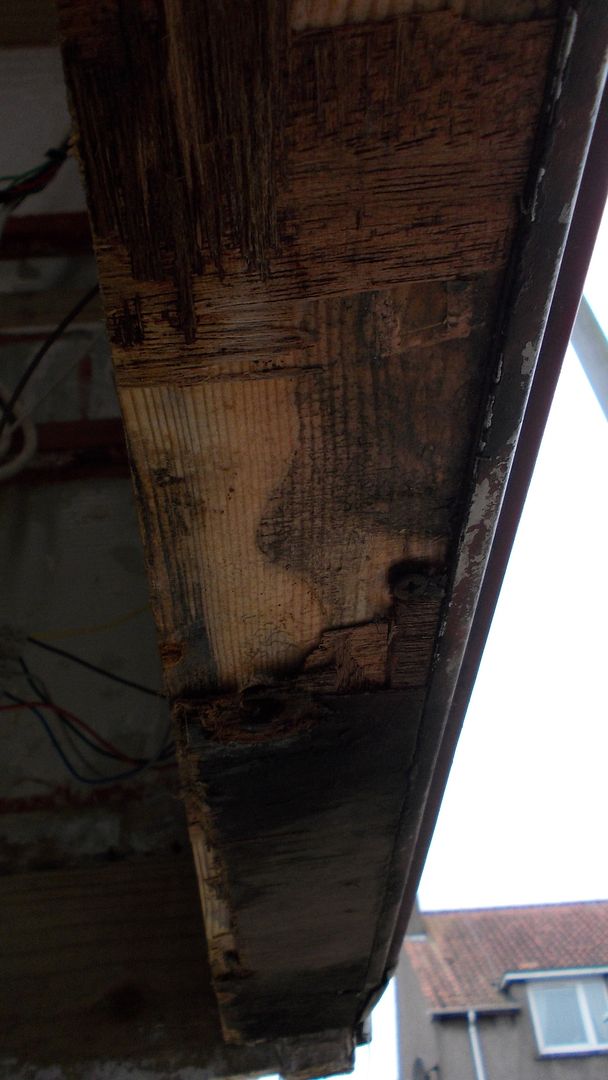
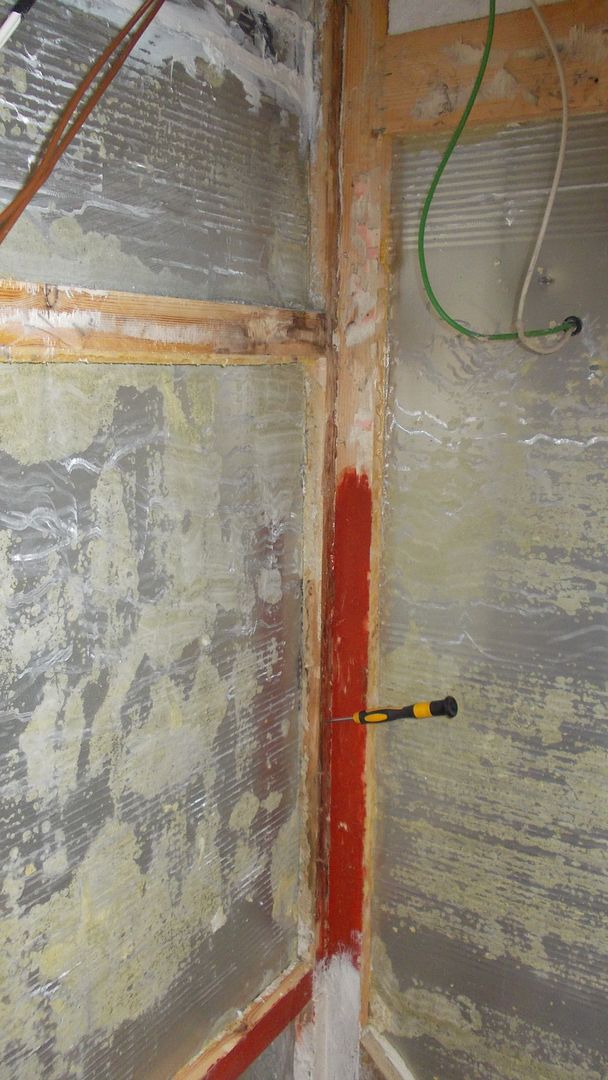
This picture shows how rotted the wooden frame is (stuck a screwdriver in).


Wood removed; note how dry it looks on the floor.


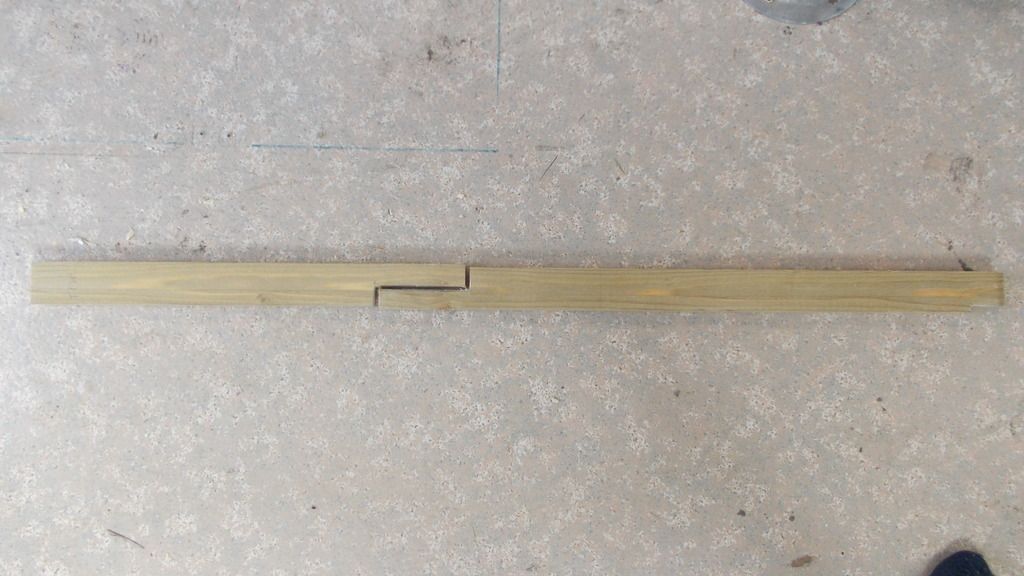
Could not get new piece of wood in in one strip so had to joint it.


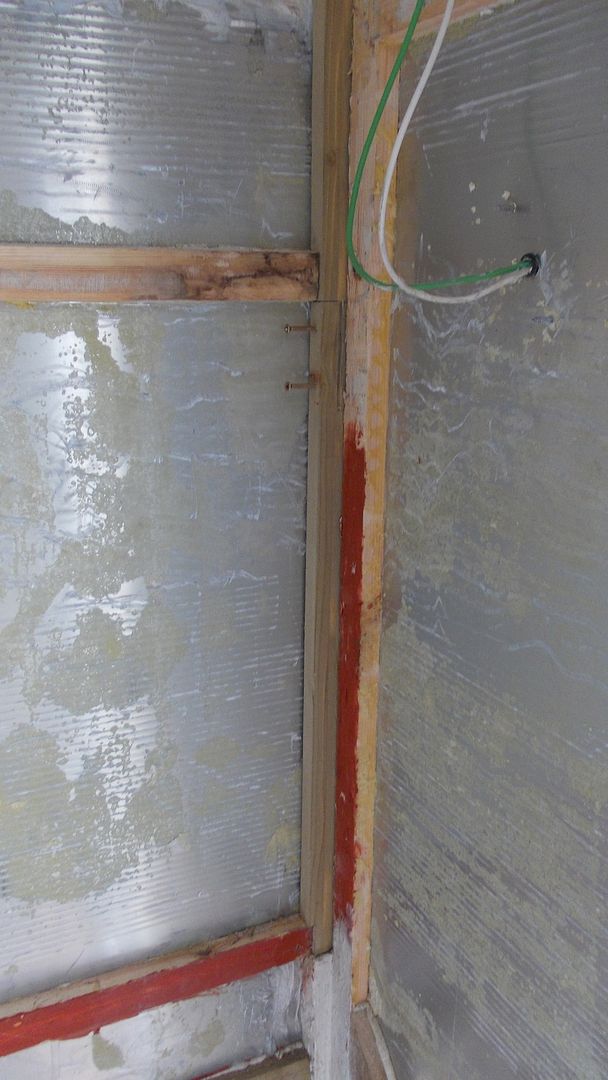
In situ. ready to be screwed and glued.


Job done. Sealed inside and out.
The thing that bothered me yesterday was both ends were really rotted bad but when it came to the roof it was all right; you think it would all be the same.


Looks like I'm getting there but this had to be sorted first.


This is the problem.


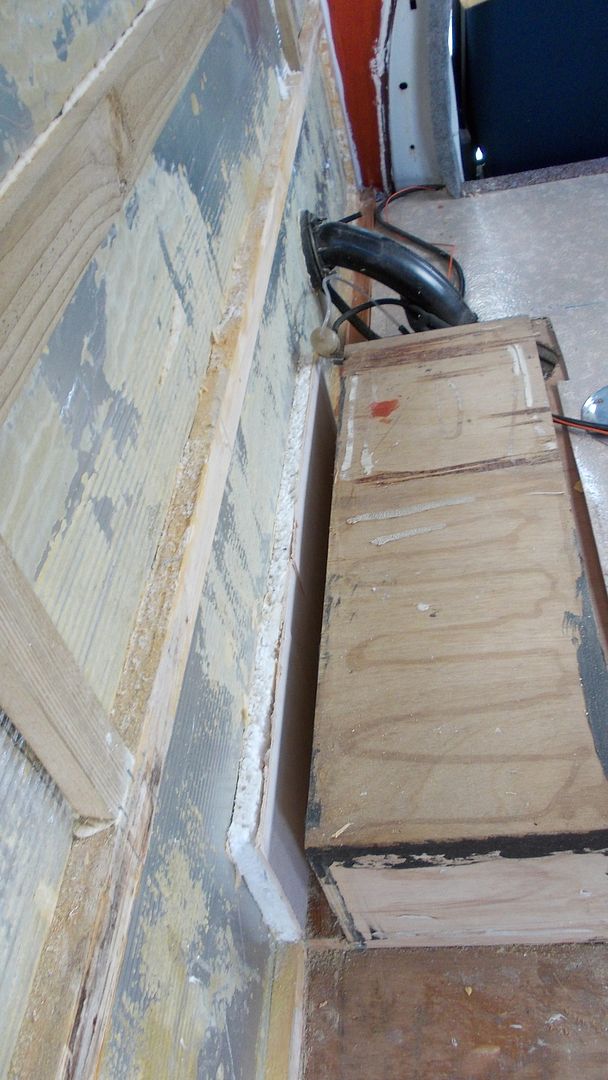
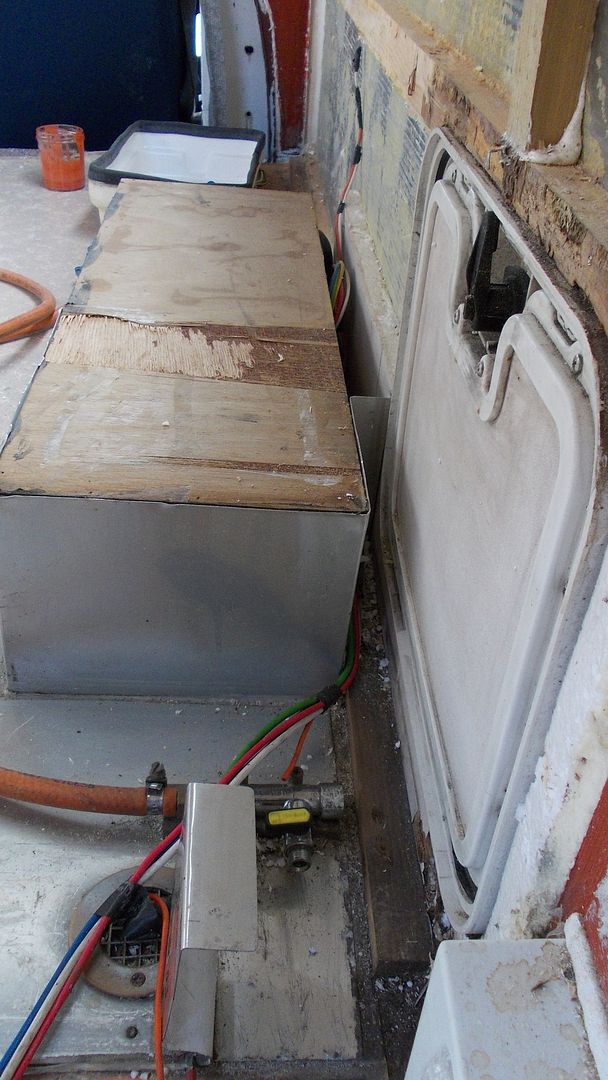
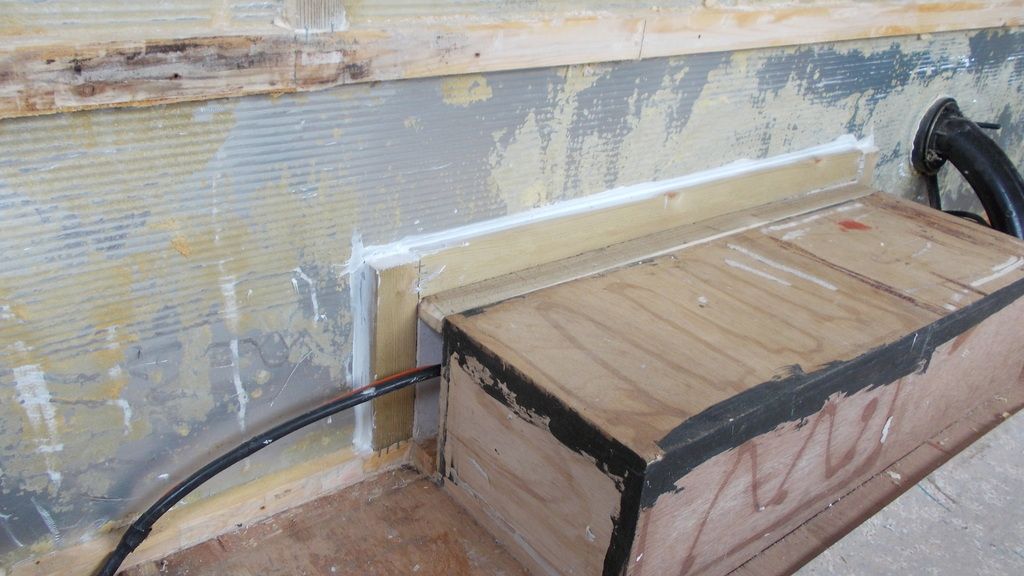
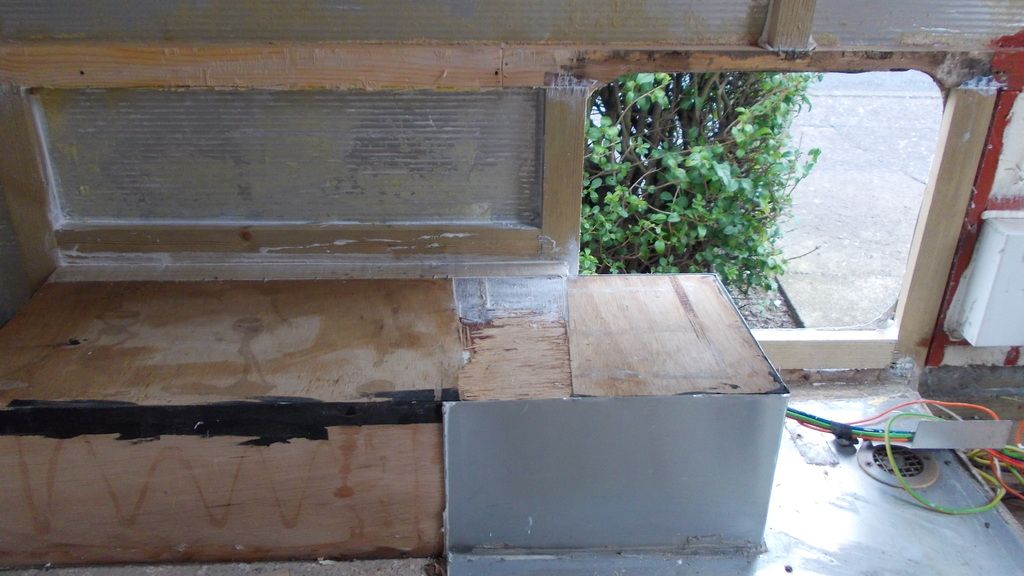
As you can see, wheel arch has a 20mm gap and then the wall board is glued to the floor; could see no way of removing it so decided to leave it in place and make a frame round it so the new wall boarding had something to stick to.


I left the gap open so the cables could still go through.


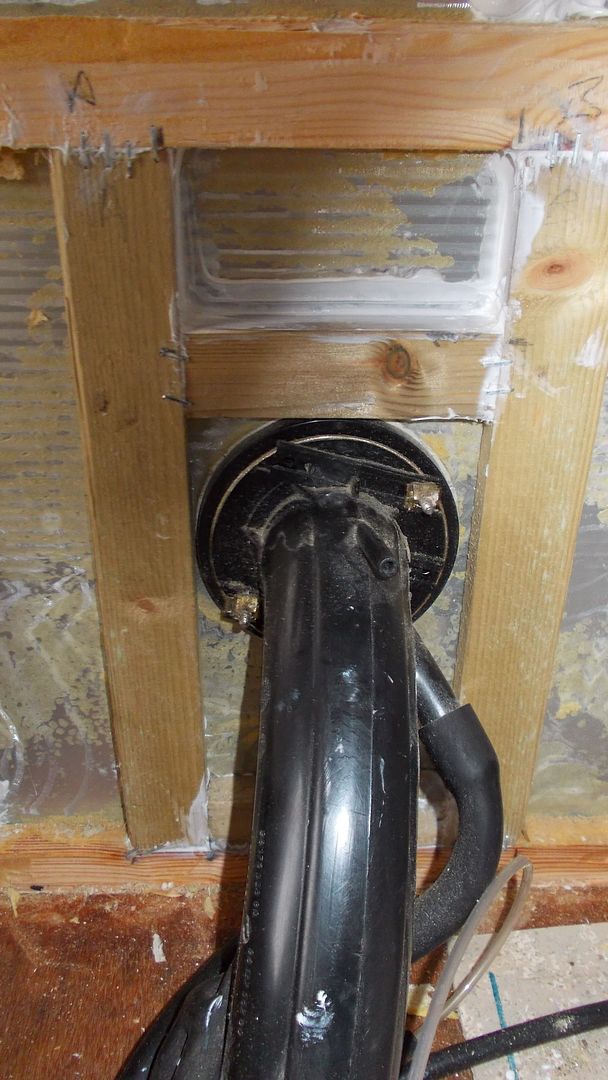
In this picture I've made a framework round the filler pipe only stopped today as I ran out of mastic.

Mastic arrived so I was straight out there.


Filler pipe now boxed in.


Repeated the same job as I did to the other wheel arch with the added job of boxing round the gas locker door. Getting the door frame off was an absolute nightmare but managed it at the end.


Last piece of woodwork in the back end, all that's left now is the floor to go down and the awning rail on the inside and that's the living area ready for insulating. I still have now to work on the area above the cab and there has been mumbles from she who must be obeyed about fitting doors so I would imagine now would be a good time to make a framework up.

Rae
 

StreetSleeper

Forum Member
State of play.
All the repairs needed to the woodwork have now been completed, it's just a matter of rebuilding above the cab, insulating the walls, putting the wall boards up and replacing the furniture.


It's taken nearly 11 weeks to get to this stage.

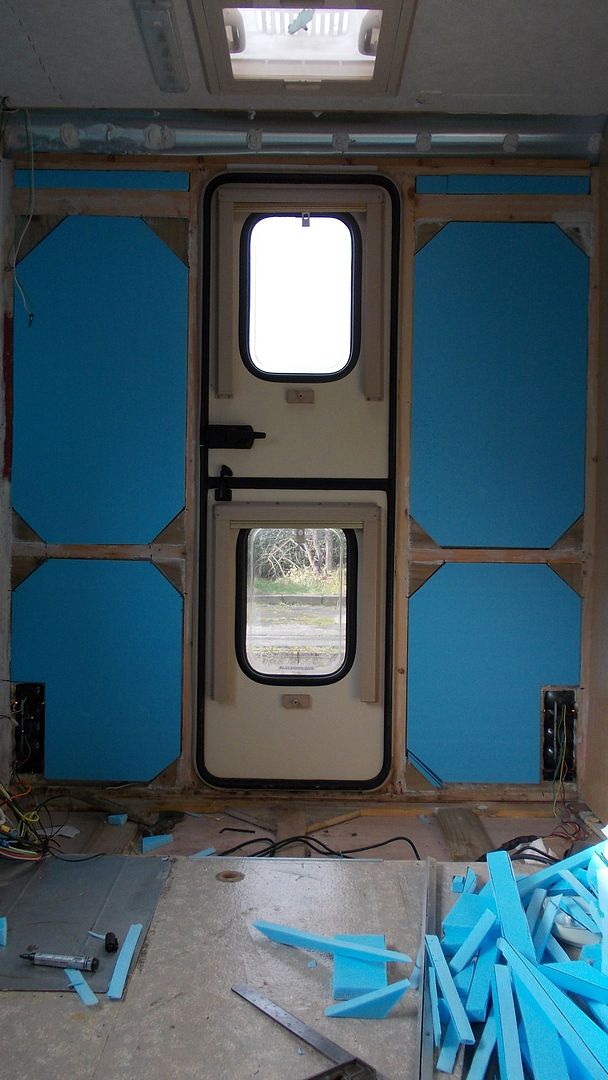
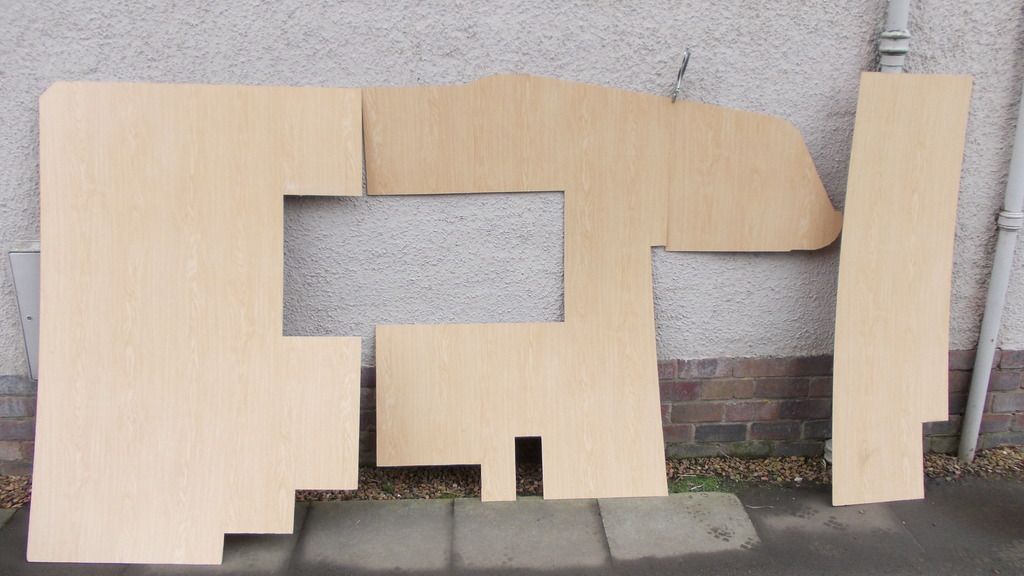
Not been looking forward to this so this morning I went for it. As you can see the two wall boards have been cut, ready for when I insulate the walls; thought I'd do this now as I believe it to be the last big job that I have to do.


Picture below shows the wall boarding butted up to each other, quite pleased with the way the job turned out. I'm hoping to transfer the wall boarding to the other side and, if it fits, it's just a matter of tracing round it and cutting it out.


After the success of cutting the wall board for the passenger side of the van I decided it might be a good idea to insulate the wall before I did the same to the driver's side.


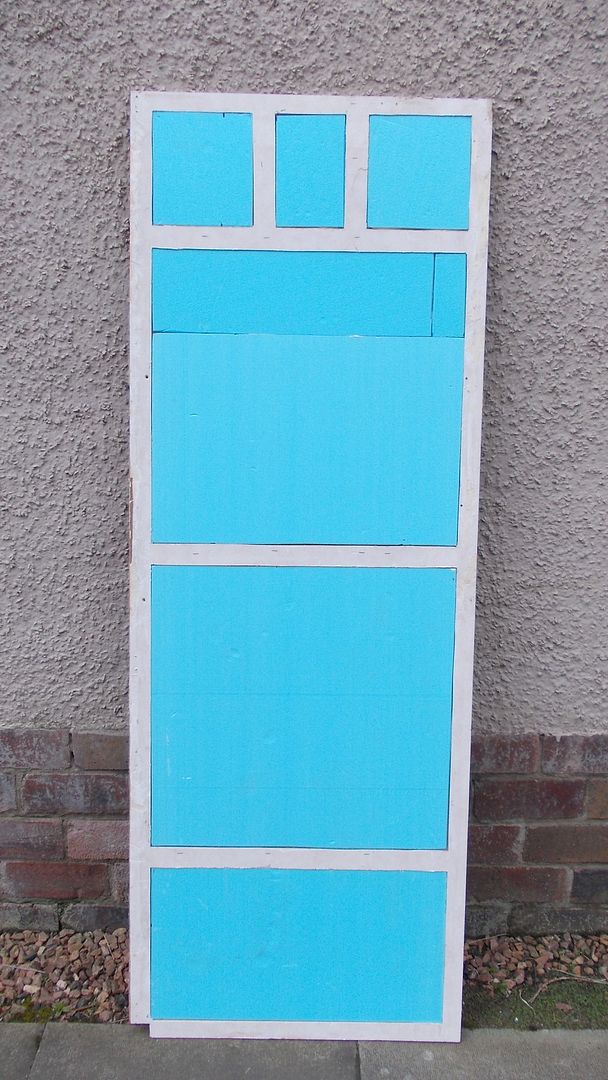
All cut and slotted in the appropriate holes, the only thing I've got to do now is chamfer the edges as the mastic has squeezed out and is stopping the insulation from sitting flush.


Back end is all done as well, just awaiting to be glued. All that's left to cut now is the passenger side so tomorrow I shall probably be high as a kite on Evo-stik.

Disaster struck this morning, this was in the form of the tile adhesive that I was using had not set which, in turn, meant I had to carefully work in the van so as not to disturb the insulation that had been stuck last night. Still managed to glue some more insulation on until the adhesive ran out then I turned my attention to the passenger side and decided to complete cutting the insulation for the rest of the van.


As you can see just a matter now of gluing it.


Had to support the insulation while it was going off; I found a washing line pole was ideal for this job.

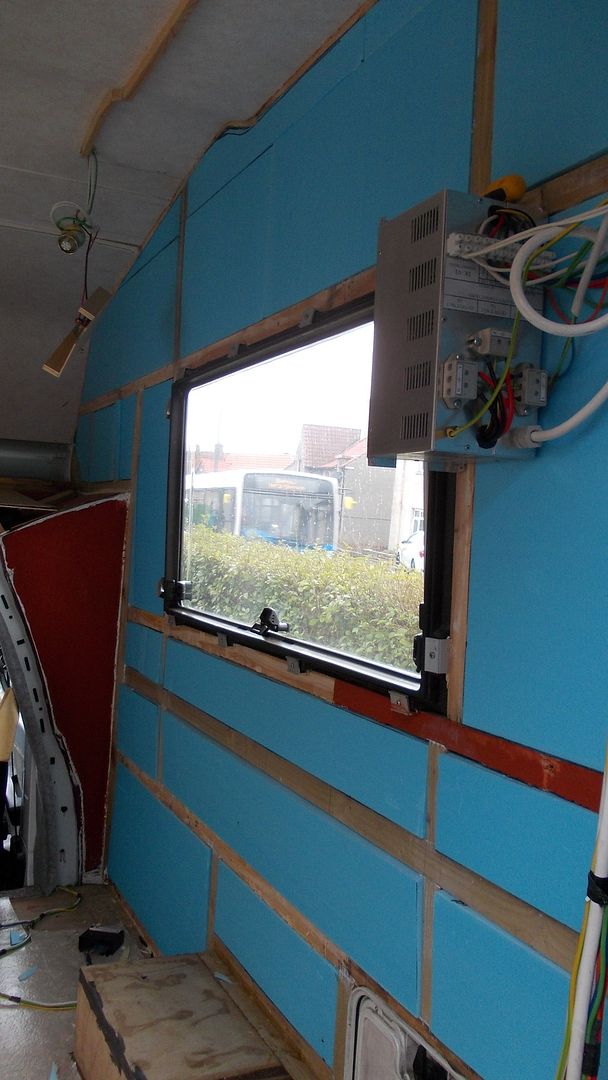
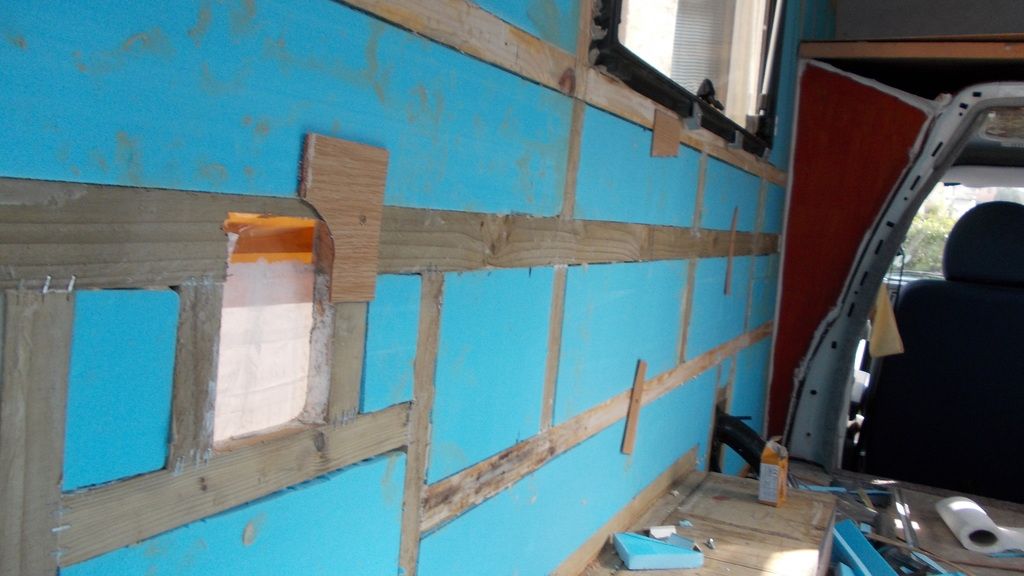
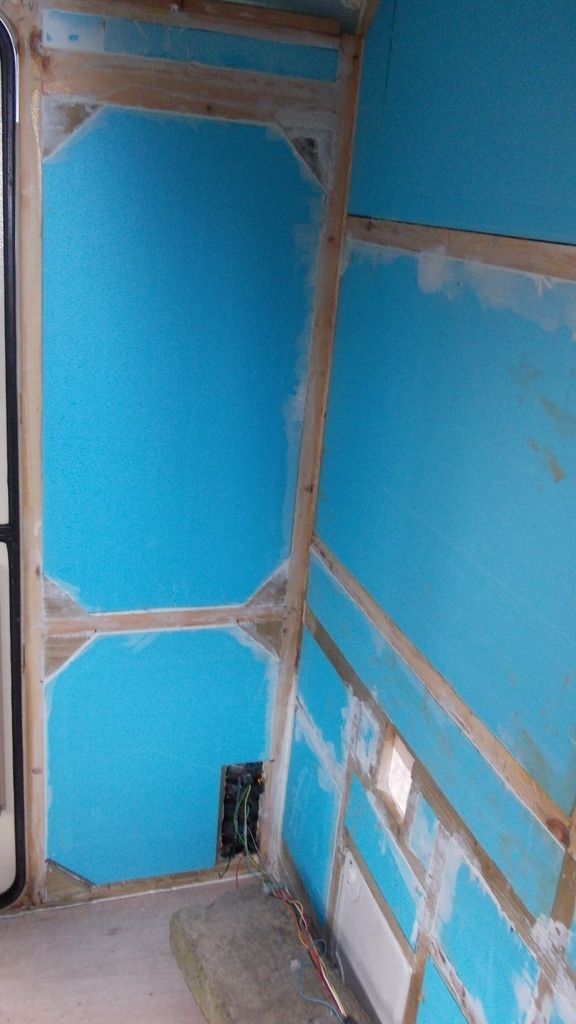
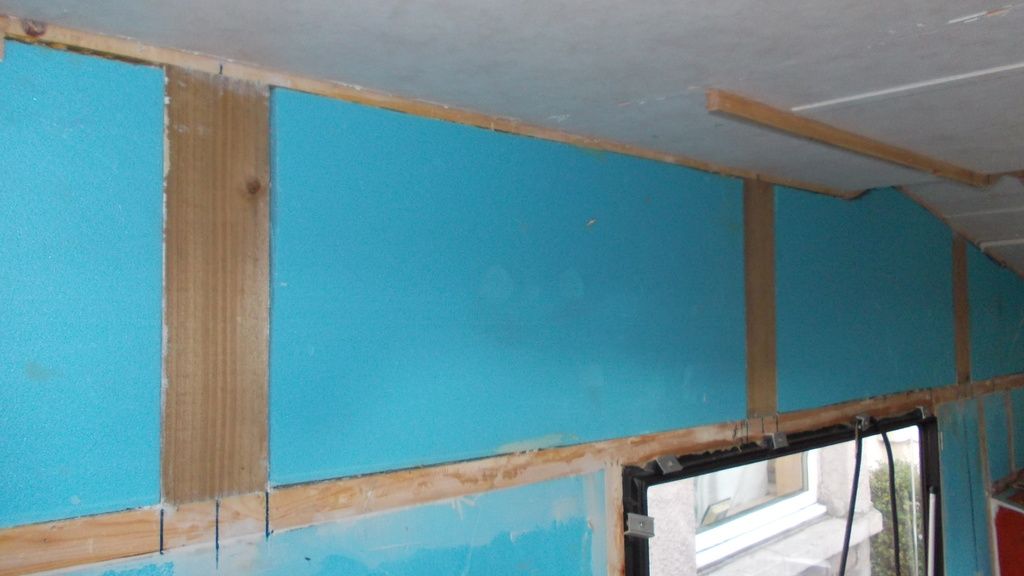
My glue arrived this morning so I decided to continue with sticking all the insulation boards barring the ones above the window on the passenger side as I need to get my awning before I proceed any further in that particular area. As you can see from the photograph below the majority of the van is done now.


Had a bit of spare time so I decided to cut and glue the insulation board in the toilet and kitchen area.


Tomorrow's little task will be caulking all the joints with a waterproof filler.

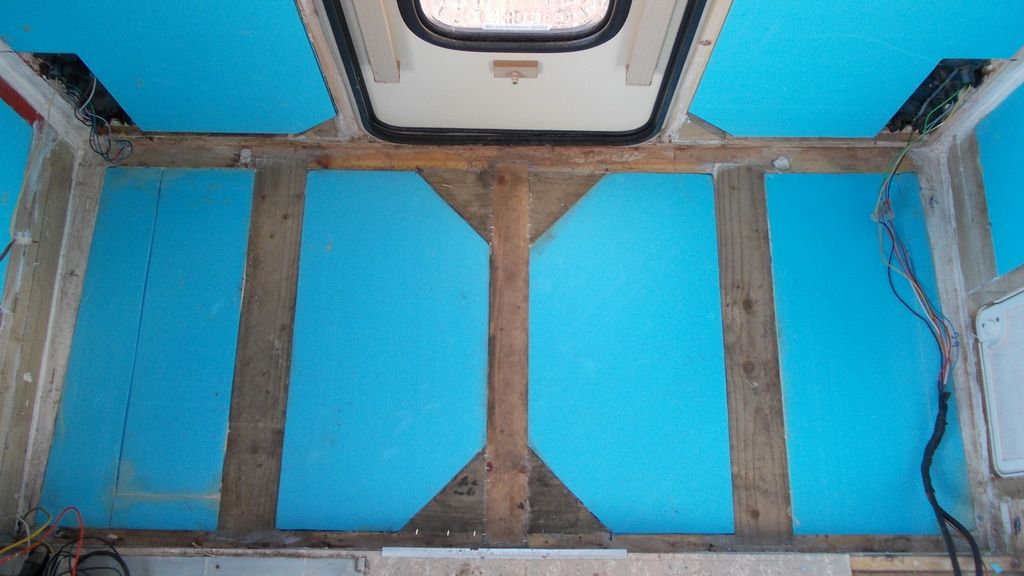
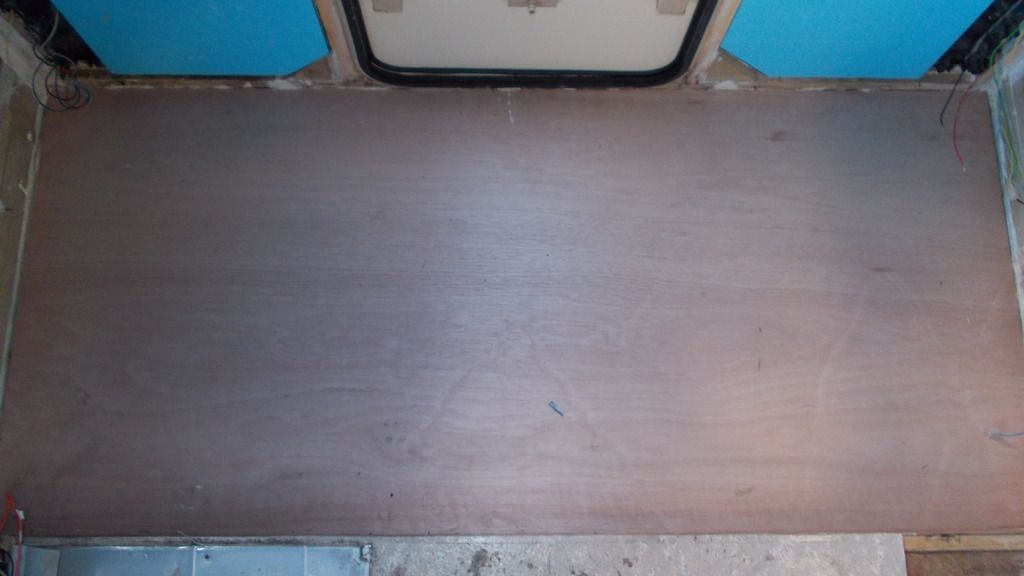
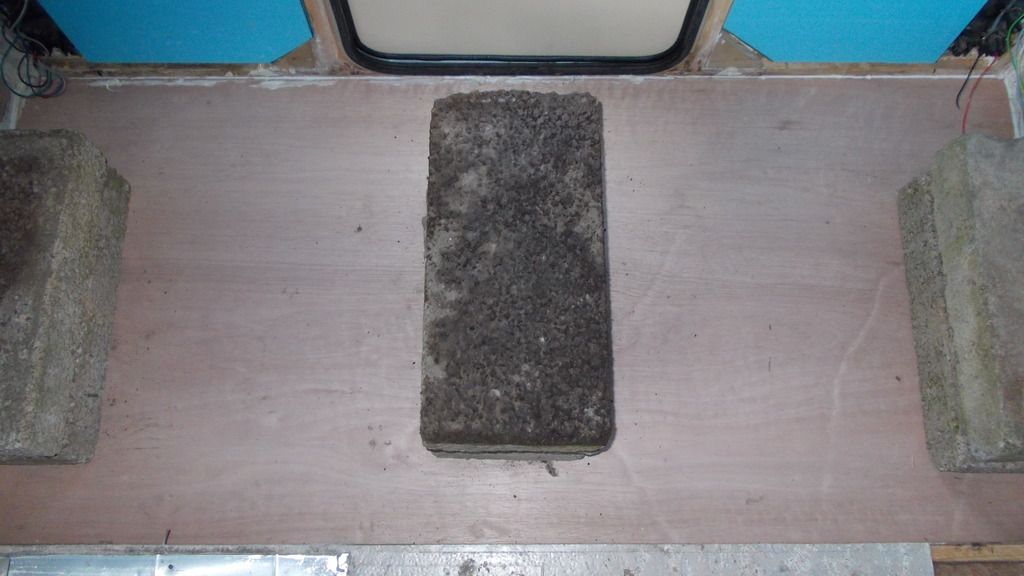
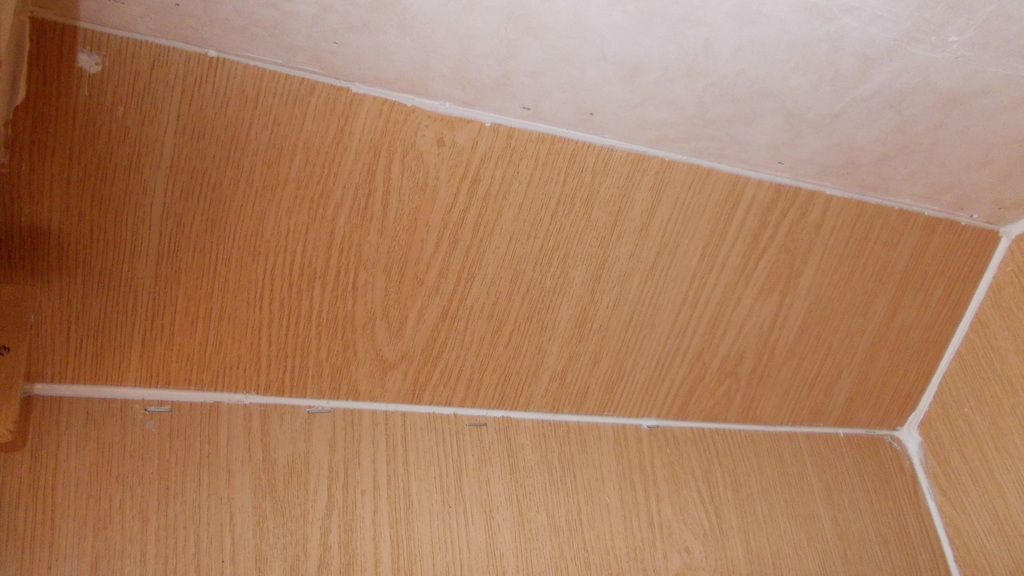
Thought it would be a good time to finish the floor in the kitchen/toilet area; this was simply achieved by gluing the 6mm thick piece of ply to the blue insulation by means of floor adhesive.


To stop it lifting, a little help from six concrete blocks.


The rest of the day was spent caulking the joints. I used a waterproof caulk just in case of any condensation; I'd find this very unlikely but never can be too careful.


As I fully intended to be cutting the wall boards, and this has to be an outside job, this could not be attempted due to ongoing showers and wet ground so I turned my attentions to something that was less important but was still very much a part of the reseal: the awning rail.


It came off relatively easy though most of the screws had to be loosened, with a pair of mole-grips, from the inside, the job was fairly clean cut; this was due to the fact there was no sealant between the awning rail and the body of the van.


As you can see, when resealing the sealer squeezed out of all the holes, also a nice patch of silicone sealer on the inside. That's another job ticked off the list.

As the old saying goes, as one door closes......well in this case this one's sprung a leak.


Couldn't believe it, went in tonight to lock it up, opened the door and there it was, a puddle. On closer inspection from the inside it looks as though the door is bent and is kicked out at the bottom so the seal is no longer sealing and the water is coming in over the top of the rubber edge.


I have never noticed this before but then I've always had a carpet down and thought the damp was off our shoes as we got in the van; obviously this is going to have to be sorted but as it was dark it will have to be done sometime tomorrow.

Rae
 

StreetSleeper

Forum Member
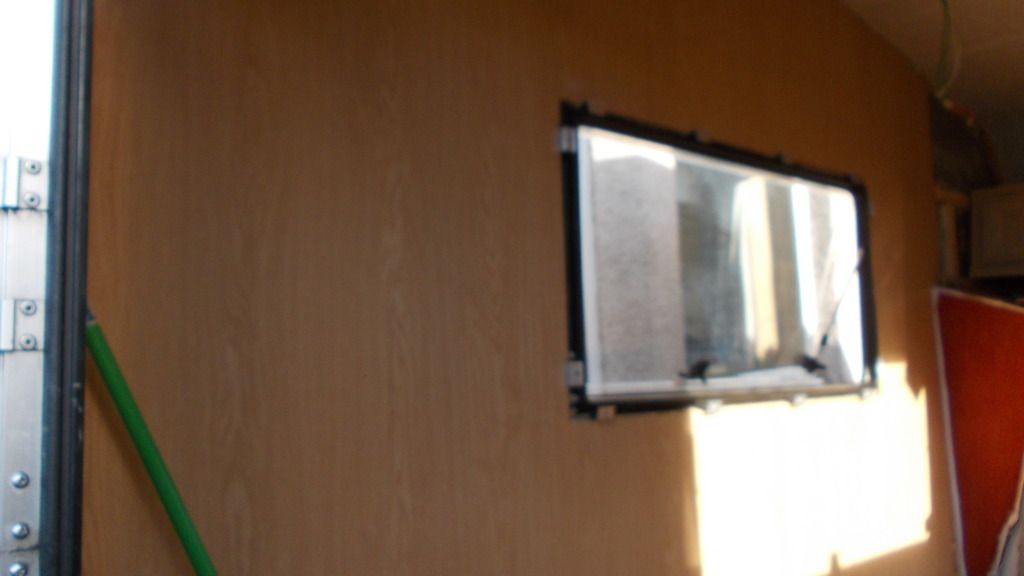
After giving the door hinges a little tweak so hopefully it will shut better and prevent what happened last night (time will tell), my next job was to cut the wall boarding on the driver's side and then attach it to the wall.


As you can see, fairly straight forward job, had to put a couple pieces of wood over the joints just to pull them in slightly.


All lining up very well.


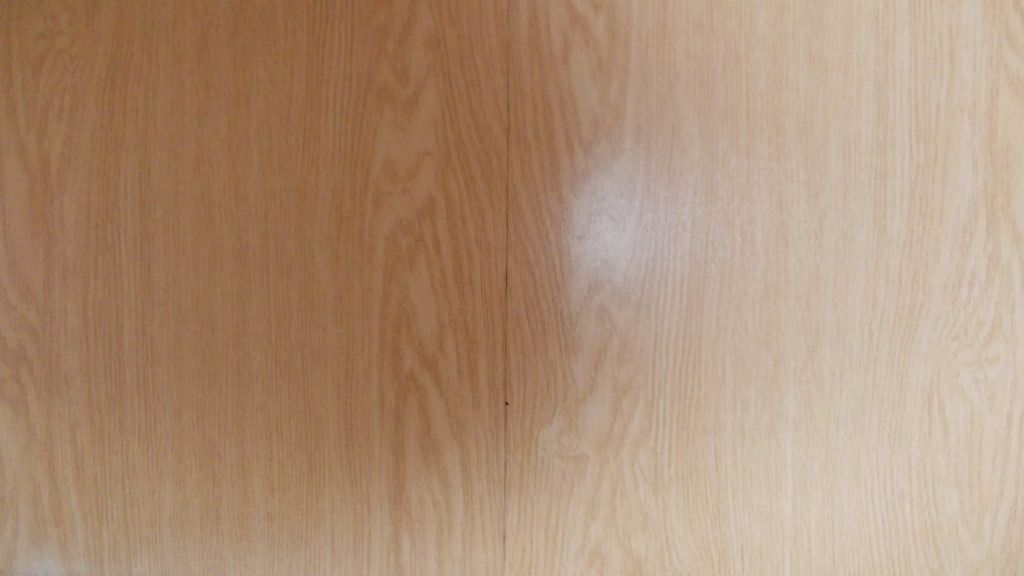
This is a shot of the joints, a small amount of filler and I think the job's a good 'un.

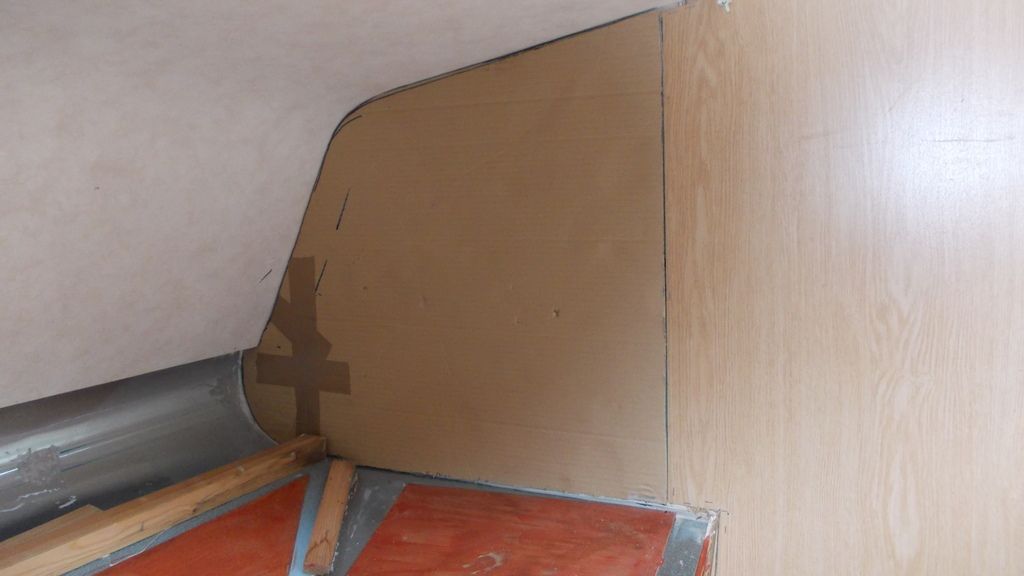
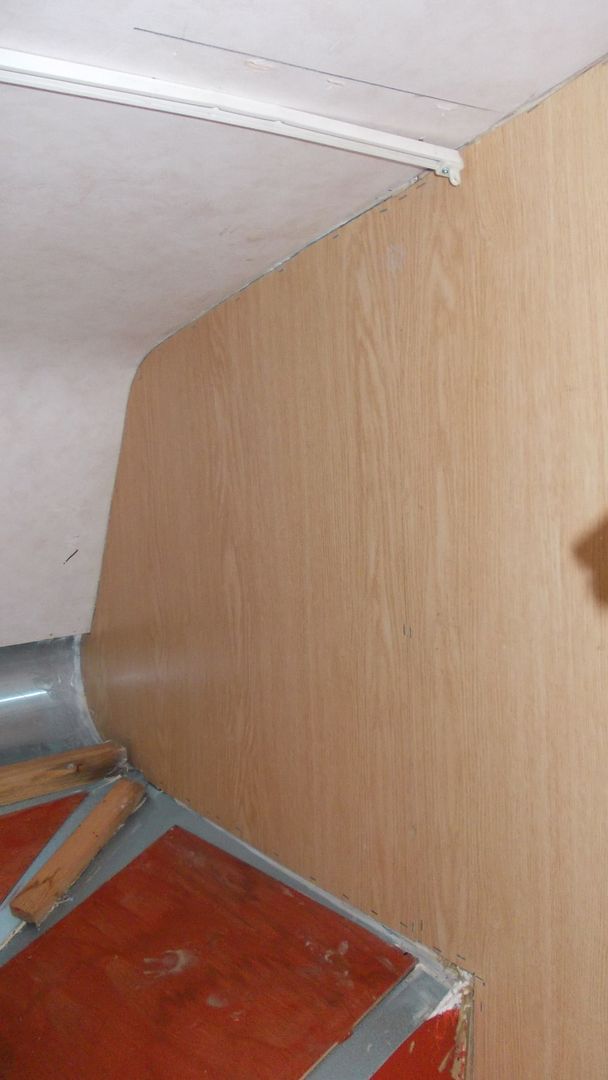
Today's plan was to finish all the wall boarding on the driver's side so first of all I had to make a cardboard template for the area above the cab.


As you can see, fairly straight forward job; hardest part was trying to find a piece of cardboard that size. Once it was made it was just a matter of placing it on a piece of wall boarding, drawing round it and then cutting it.


Here we have the wall boarding cut and stuck in situ. and now for the remaining piece of work, the area next to the door.


Job done, also all the wood has been cut for the other side so it will just be a matter of sticking it to the wall once my awning arrives.

As you can see, there is a small amount of water getting in but very little this time.


As the door is not shutting properly, obviously the seal's not working and all I can imagine is when the water gets in it must be down to which way the rain is falling: I'll just have to monitor it a bit more but there is obviously a problem that must be addressed at some point.

Sorted what had to be done today, made sure all the wall boarding for the passenger side fitted.


Next job. Let's stick some furniture back into the van; as I still need the floor space the best option was the wall units.


Fairly straight forward job, a bit messy with the mastic trying to line the cabinets up but, as you can see, we're moving on.


Now just waiting for the awning so I can start on the passenger side. Once that's all completed I can concentrate on replacing the lino.

After some very disappointing news I received last night from the supplier who is supposed to be supplying me with my awning, in other words after two weeks I am no where further forward in getting my awning, it seems to have moved away from being held up at customs to not knowing where it actually is now. With this in mind I thought I'd just move on and finish the insulation but before I started to insulate the van above the windows I glued in three pieces of wood that, hopefully, when I do get an awning this will give me something to screw through.


Ran out of glue again but hopefully it should be here by Monday. I would like to have all the wall boards and the top locker screwed and glued before Friday.


It's all a waiting game now.

Disastrous day. First of all the floor adhesive never turned up so the wall boarding couldn't be stuck on and then I looked on eBay and found out I've had a full refund for the awning that I've been waiting for for the last two weeks; the thing I find strange about all this is the chap is still advertising one in stock........how does that work out?


As you can see, no good sitting around so I decided to put the pelmet back up as well as the blind.


It's quite funny building something from the ceiling downwards.


Even had time to start work in the kitchen area. Hopefully the glue will come tomorrow and I can get the wall boards up.

Rae
 

StreetSleeper

Forum Member
Working my way round the van; these sort of niggly jobs take up time and you never seem to see a lot for them. First job today was to finish off the caulking; now all the insulation board has been done.


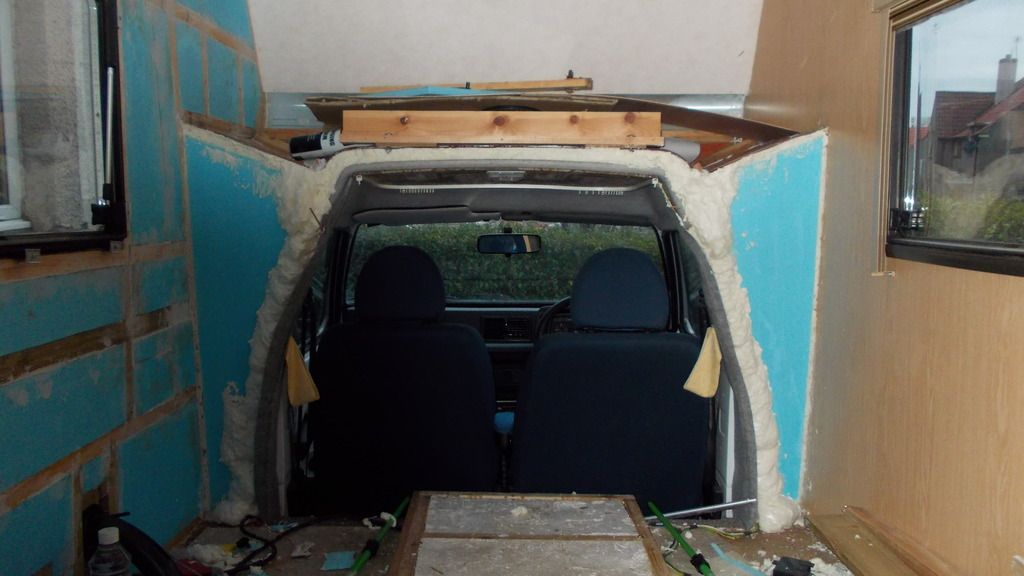
My next job is to put expanding foam in the curved area at the back of the van. Early this year, when we were camping at St Andrews, the condensation in this particular area was exceedingly bad and so I've made the decision to use expanding foam and, thus, sealing the back end of the roof to the inner walls. The way I hope to do this is to spray expanding foam through a wooden framework and then cut the excess off.


As you can see from the picture above, quite a simple job; I may have to support the expanding foam with some insulation board just to stop it from dropping out but I don't feel it will be an issue.


Cut the wall board ready to be glued on once the expanding foam has been applied.

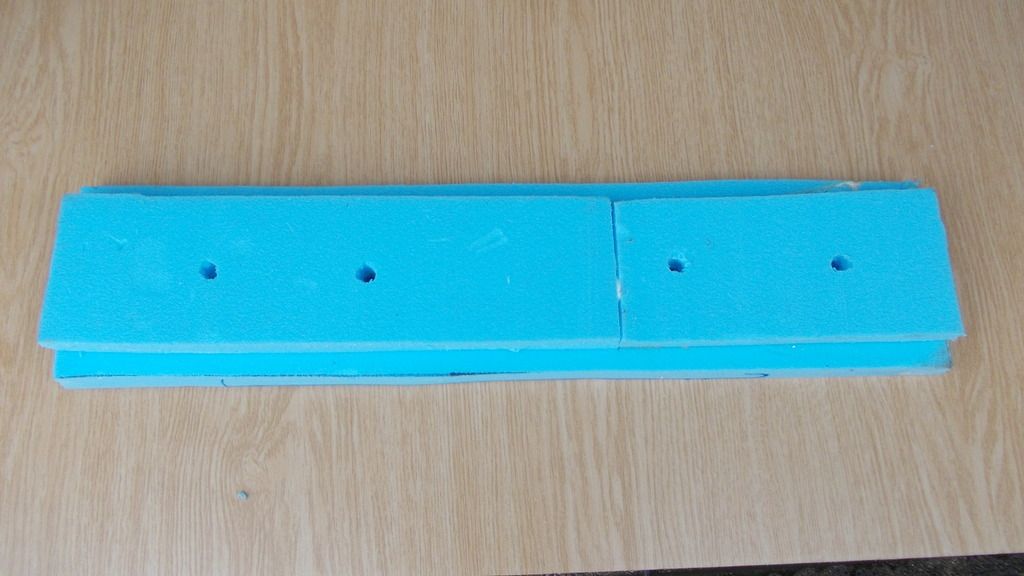
The photograph below shows two roughly cut sections of insulation glued together and then drilled with 10mm holes.


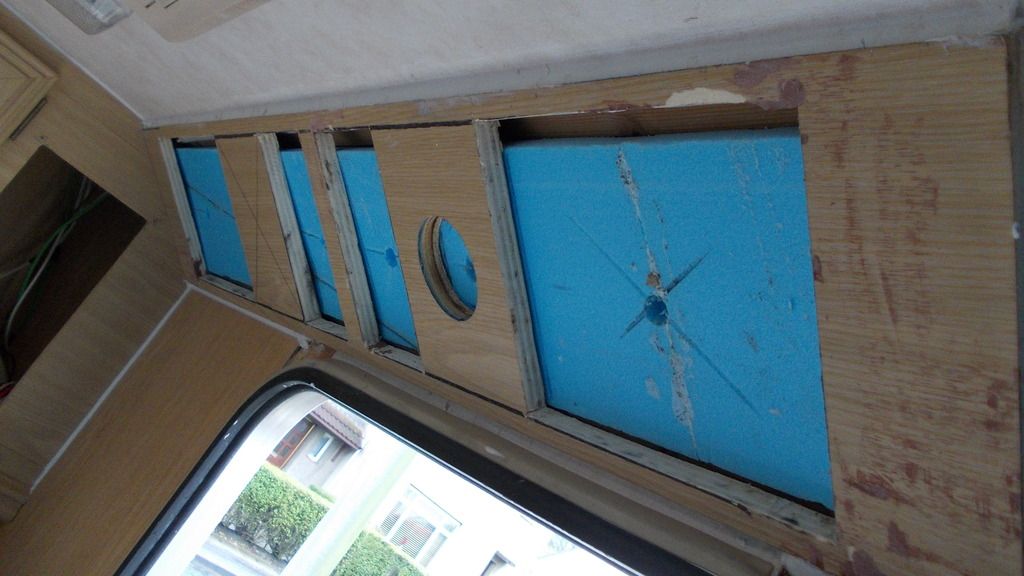
This picture shows insulation in situ. waiting for the expanding foam to be inserted.


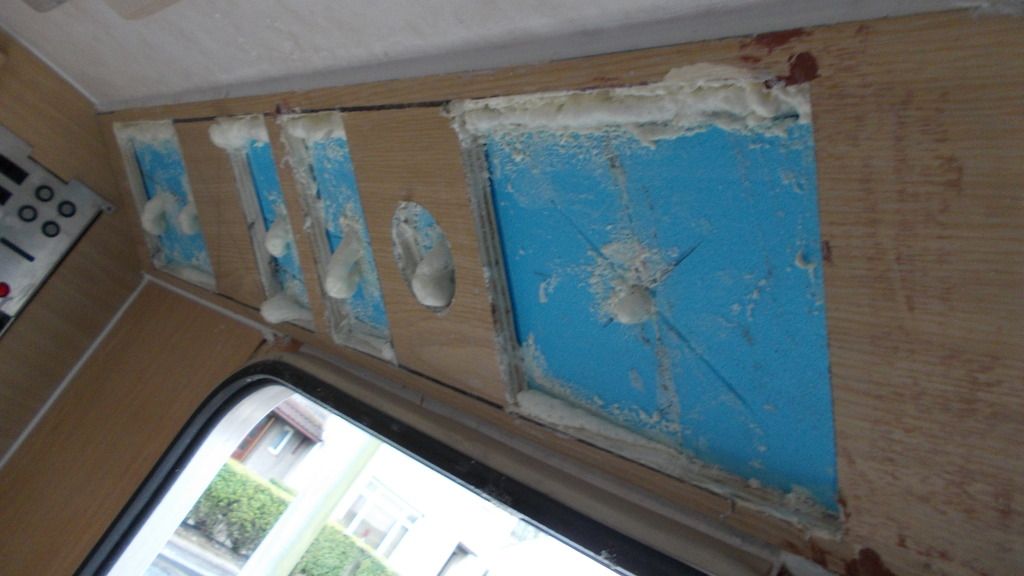
Very simple procedure. Put the pipe in the 10mm hole, give it a little squeeze and that's it. I have to confess here I was a bit over zealous with the expanding foam and so I acquired some very interesting shapes on the floor.


This morning my new awning arrived so I set about attaching it to the van.


Basically four bolts and two plates hold the awning brackets to the van. I marked the holes from the inside, as there were wooden cross members that I had put in previously; the brackets had to go where these were positioned: the only criteria was the height.


As you can see, not too big and not too small; my measuring must be getting better.


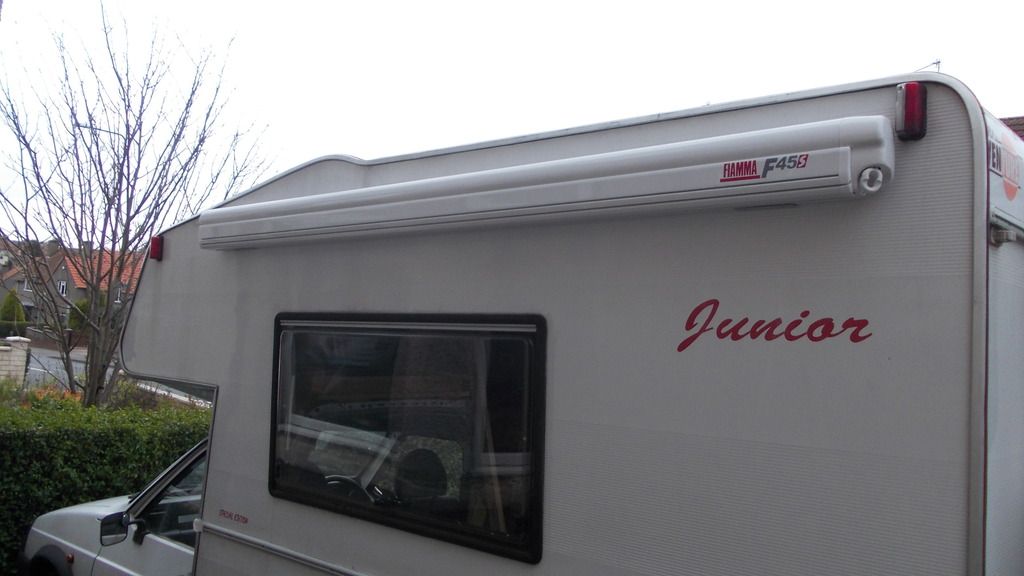
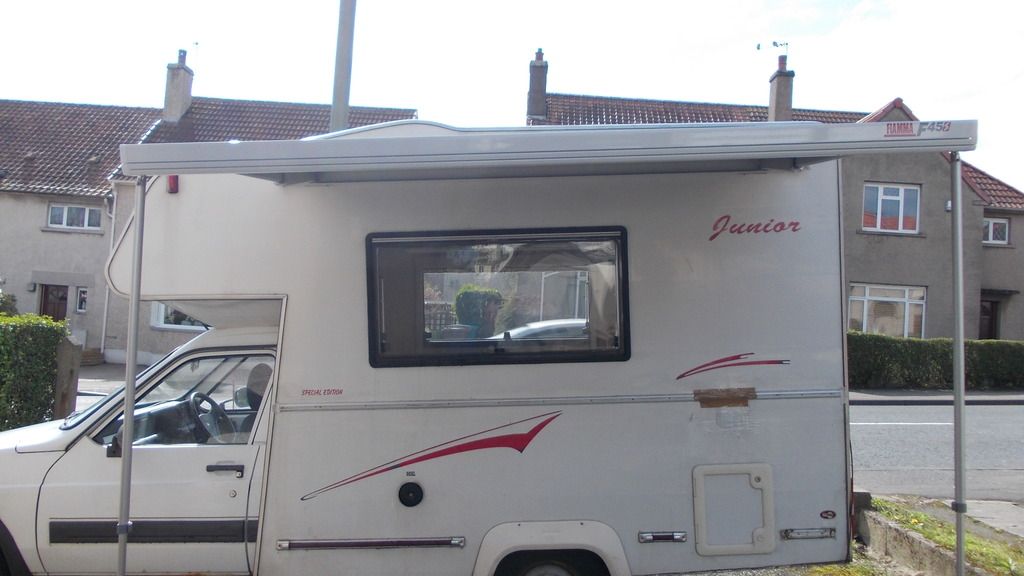
Doesn't look too obtrusive on the van and fits quite neatly between the marker lights.

I thought today would be a good time to insulate where the van joins the cab. First of all I cut the insulation to shape, sprayed it with expanding foam and then stuck it to the wall.


After filling in the gap around the insulation I then decided to completely cover the whole lot again; this way I know it will be watertight from the outside as well as the inside.


Next job to do, once I've done the wall boarding, will be to insulate the cab roof.

Last few days I've got back into the swing of working on the van.


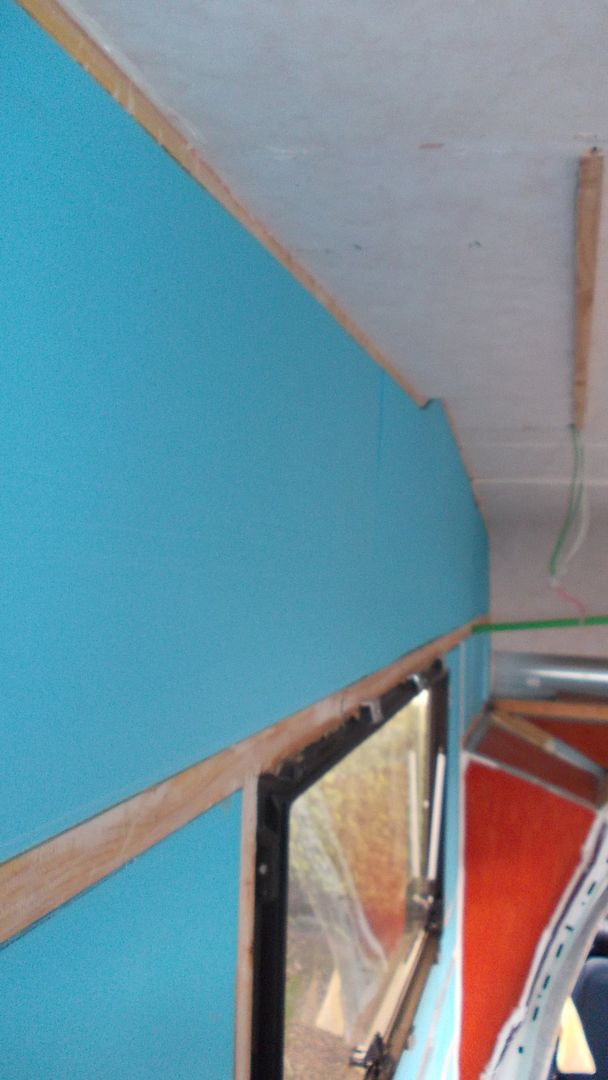
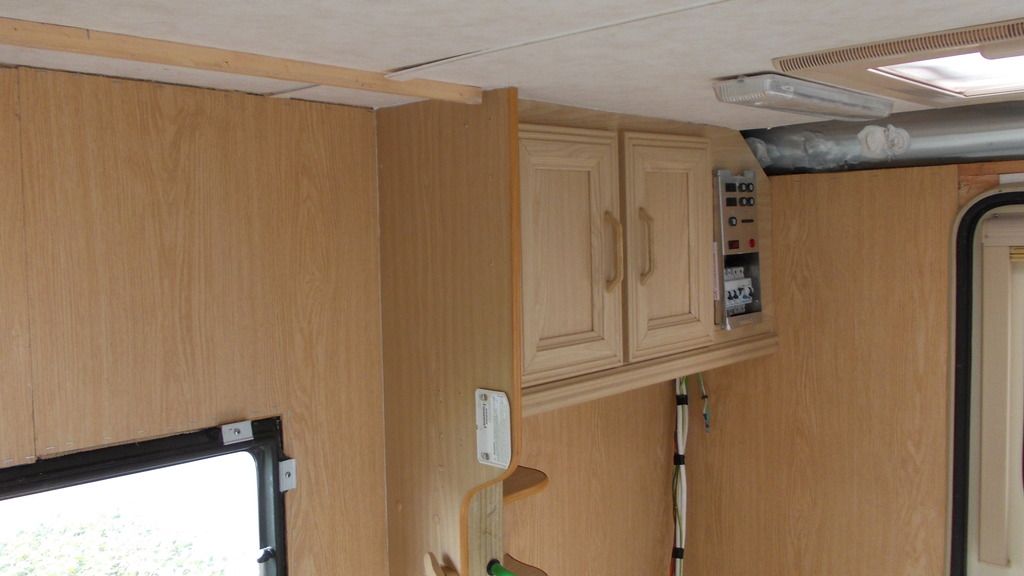
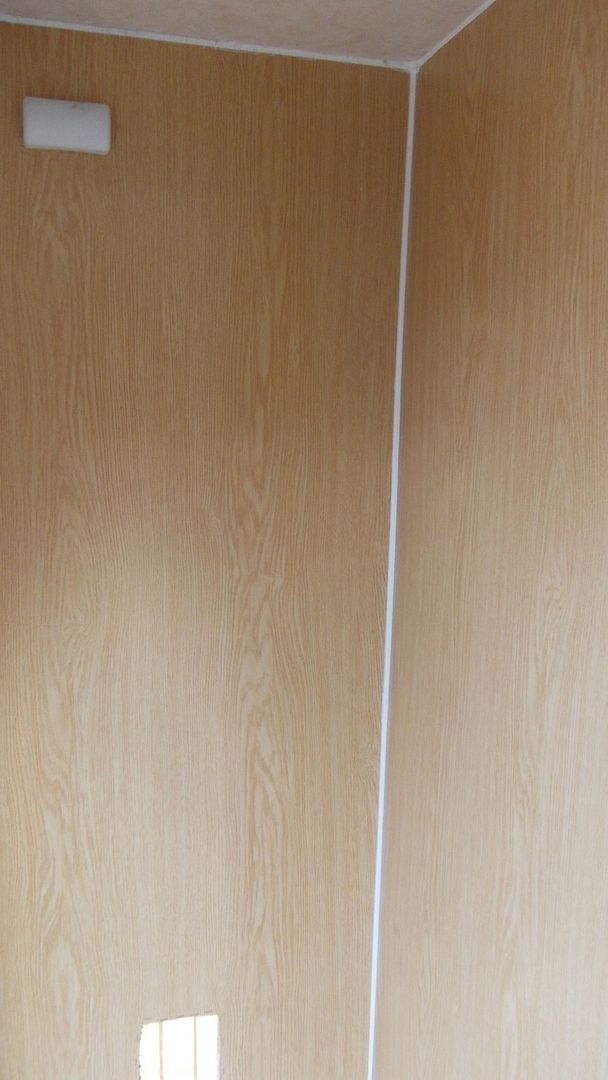
As you can see, all the wall boarding is up except for the toilet area and the cupboard that's next to it: these will have to be made as the wall boards don't match.


Top lockers in situ. and sealed to the ceiling.


Still got to box in round the fuel pipe.

Hopefully the glue has now set on the wall boarding so I decided to stick the awning back on. Thought about this over the past few days, though it was suggested Sikaflex was ideal for around the holes as a sealant I thought this was a bit too permanent and opted to use butyl tape as I believe this will be more than adequate.


As you can see, three strips, still got the paper on ready to be bolted to the side of the van.


The above picture shows the insulated toilet wall that I made from the existing one. Both sides will be covered in wood grain with a bit of insulation in the middle so should stop the sleeping area from getting cold. Will put the other side on tomorrow, ready to screw it to the wall.

Rae
 

StreetSleeper

Forum Member
First job today was to remove four millimetres off the door post that attaches itself to the toilet wall; this was due to the fact that I had stuck insulation in the centre and so, to make the doors line up, this job had to be done first.


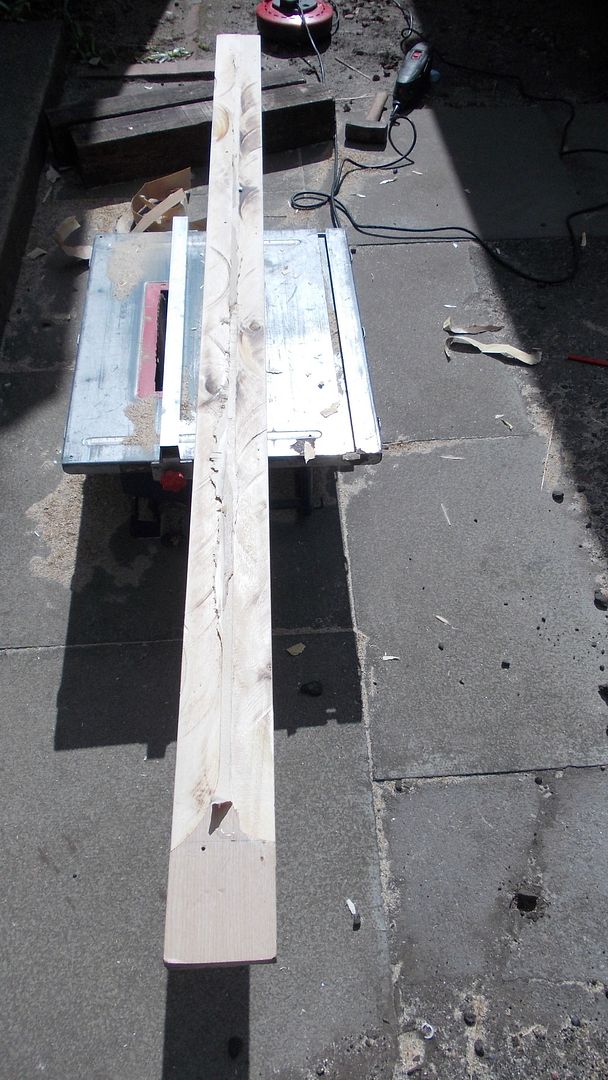
Fairly straight forward job, through the bench saw one side and then flip it over to do the other side. As the blade was not deep enough I had to remove the remaining wood with my multi tool.


One side of the toilet wall has now been fitted and sealed.


As you can see from this photograph I also cut the bolts that were protruding from the awning and stuck the plastic cover over.


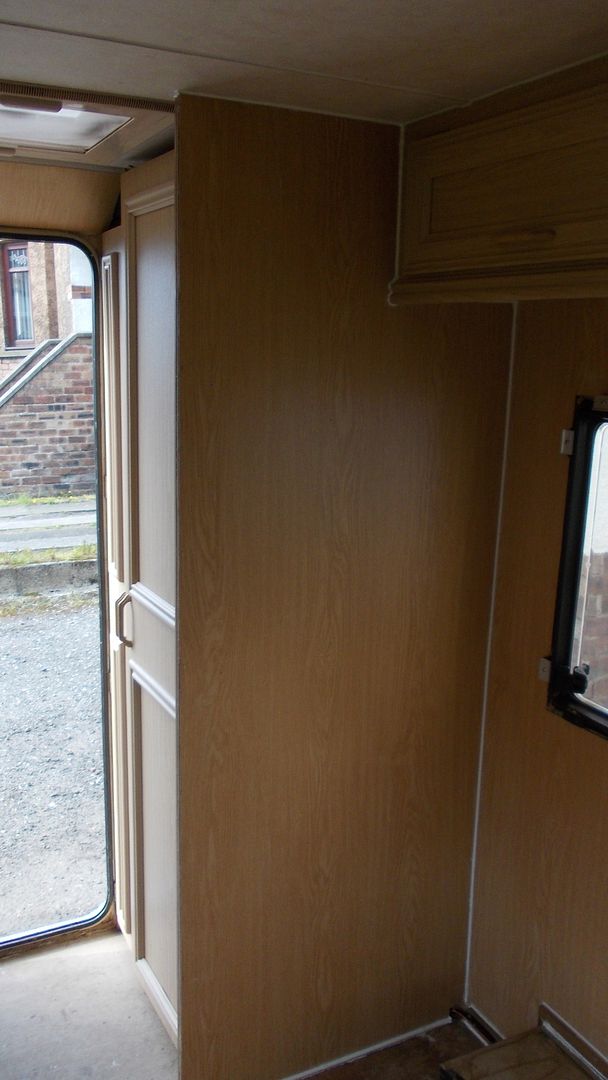
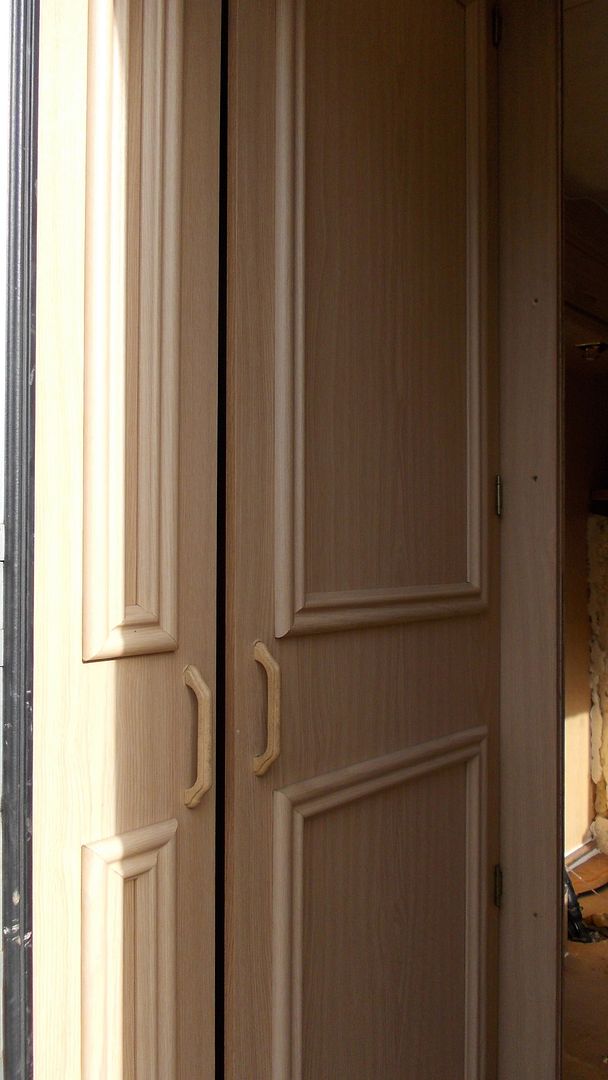
Fitted both doors. Those of you with sharp eyes will notice the door handles are at different heights.......that's how it came.

I awoke this morning to the sound of this little beauty hitting the shag pile.


Only to remind me that there's another job yet to be done. Getting back to the van: finished off the skirting boards (or what the equivalent is in a van), fairly straight forward job, cut the wood to size then stick it to the floor and walls using copious amounts of mastic sealant.


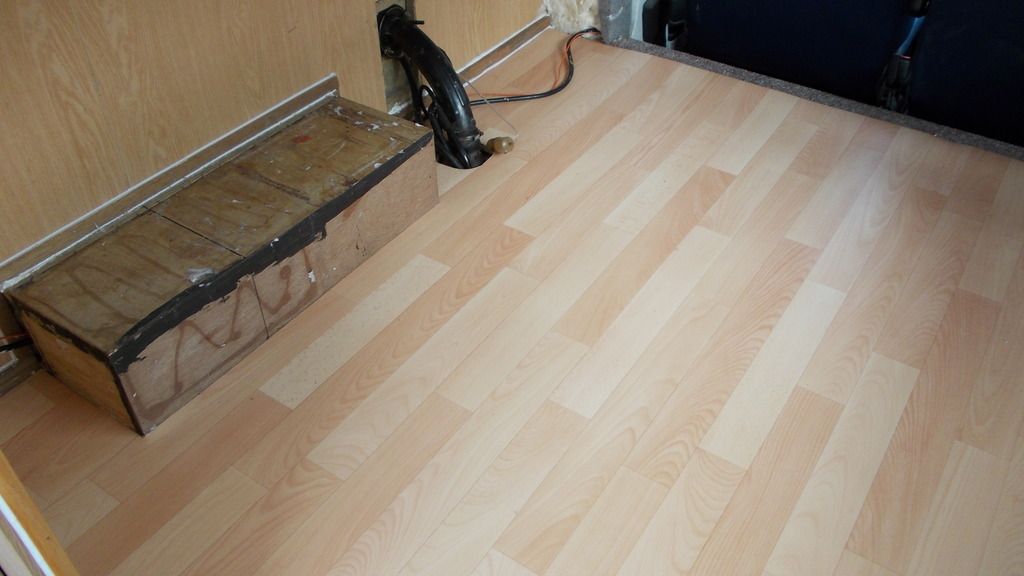
To finish the toilet and kitchen area I need to put lino down so I thought it was prudent that I did the living area first and then I can see what I had left over.


I was hoping that I could do the kitchen and toilet area across ways, unfortunately, I'm eight inches short so I will have to do it lengthways instead.

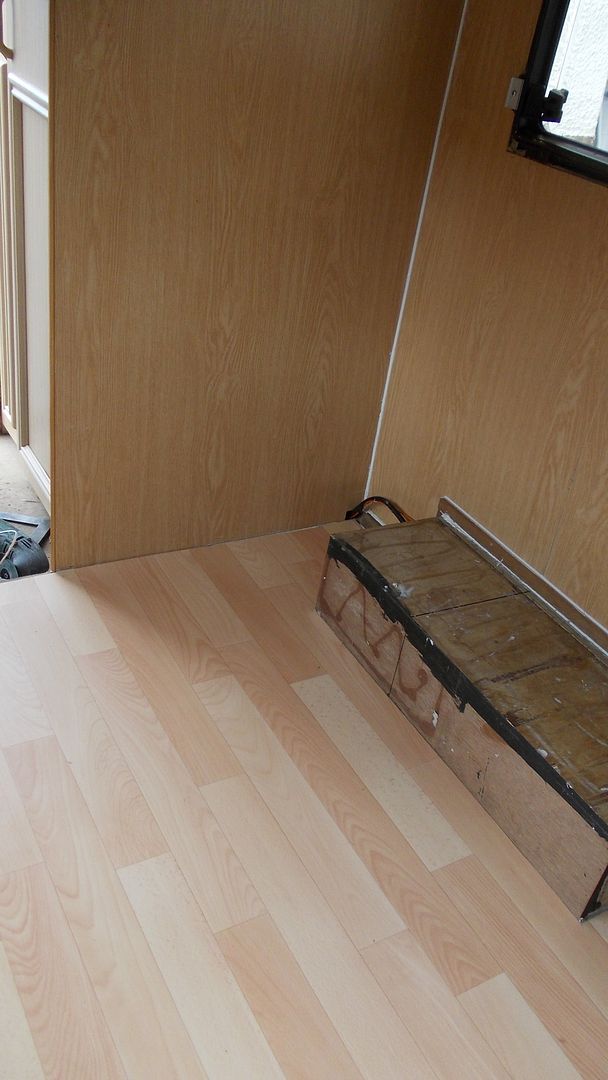
Fitted the lino to the kitchen/toilet area.


Now starting on the cab area. Some of the expanding foam had to be removed as well as adjusting the bottom edges where the skirting board has been fitted.


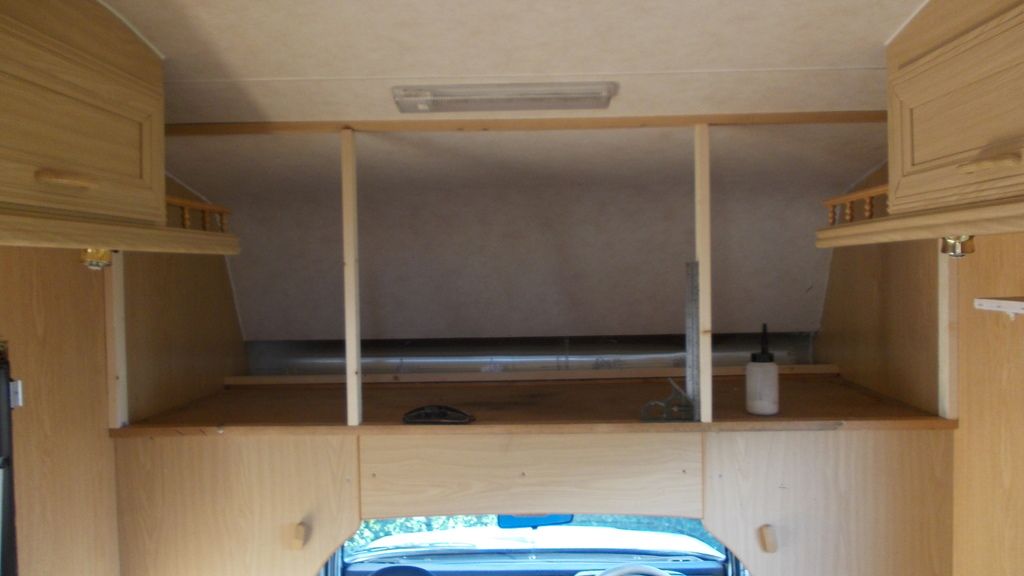
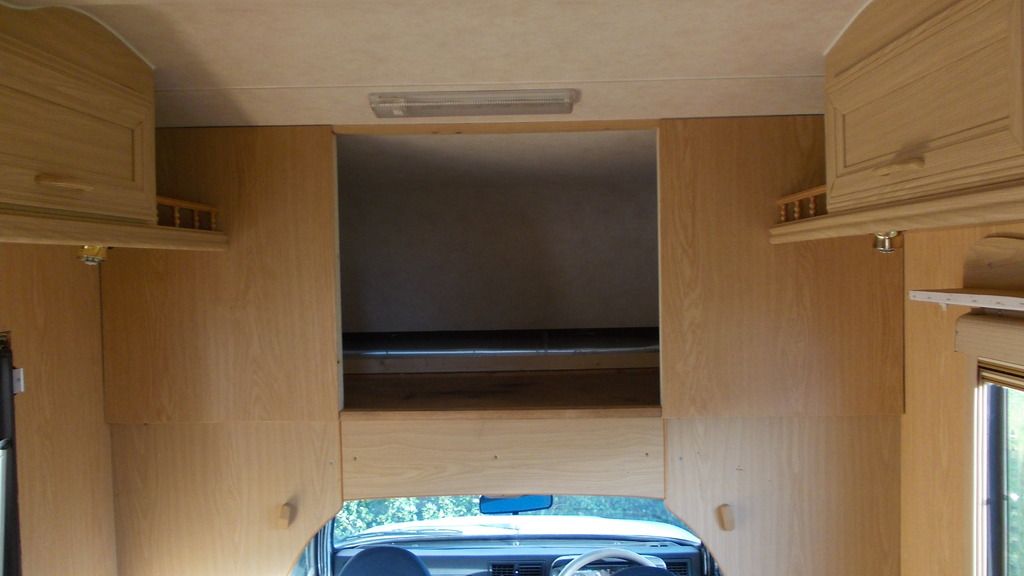
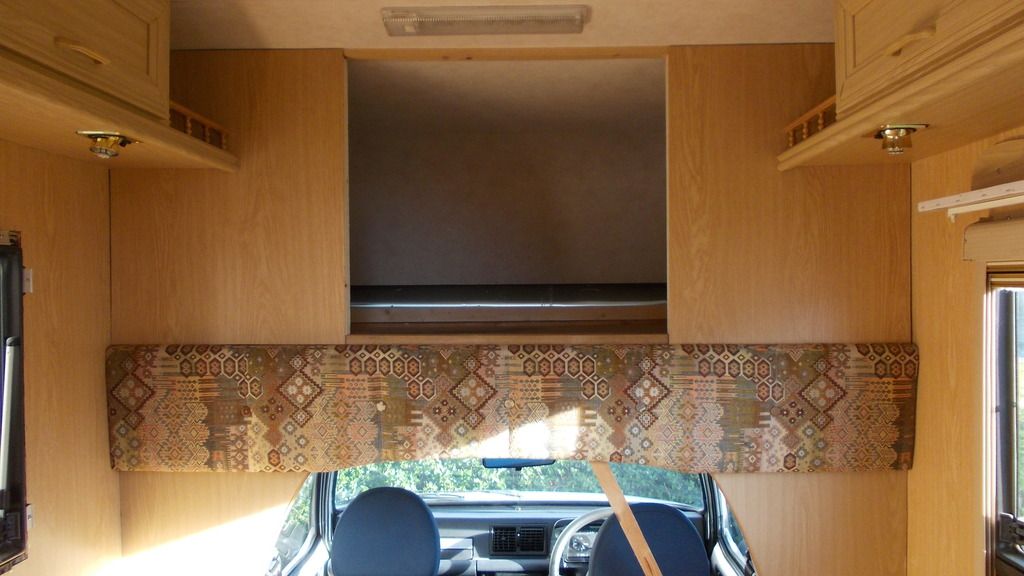
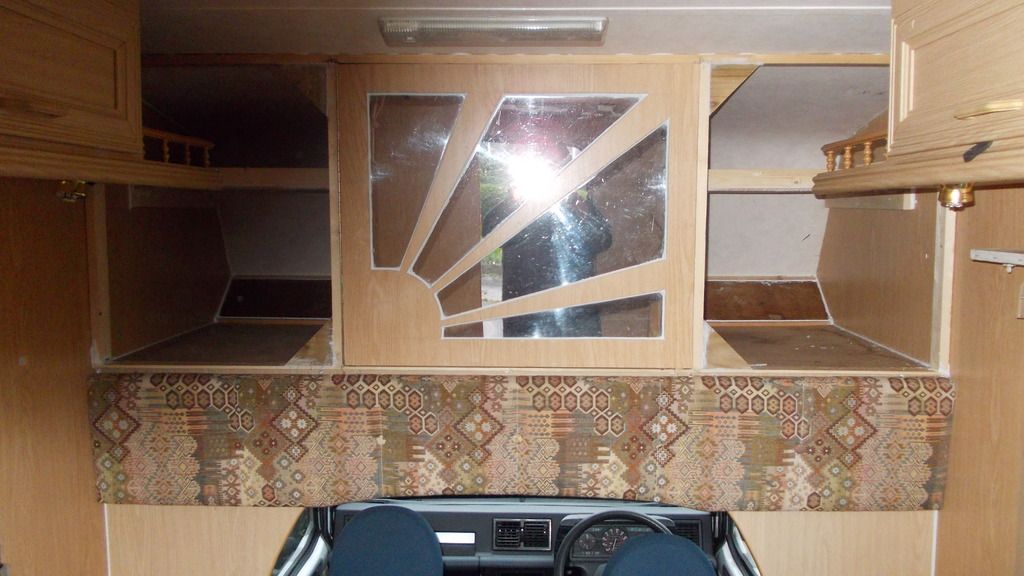
Thought I would try the original cushion that goes above the cab area; still in two minds about this as 'she who must be obeyed' wanted that area made into cupboards with a set of doors. At the moment this is all done dry, once I get all the bits to fit properly I can then glue and screw permanently.


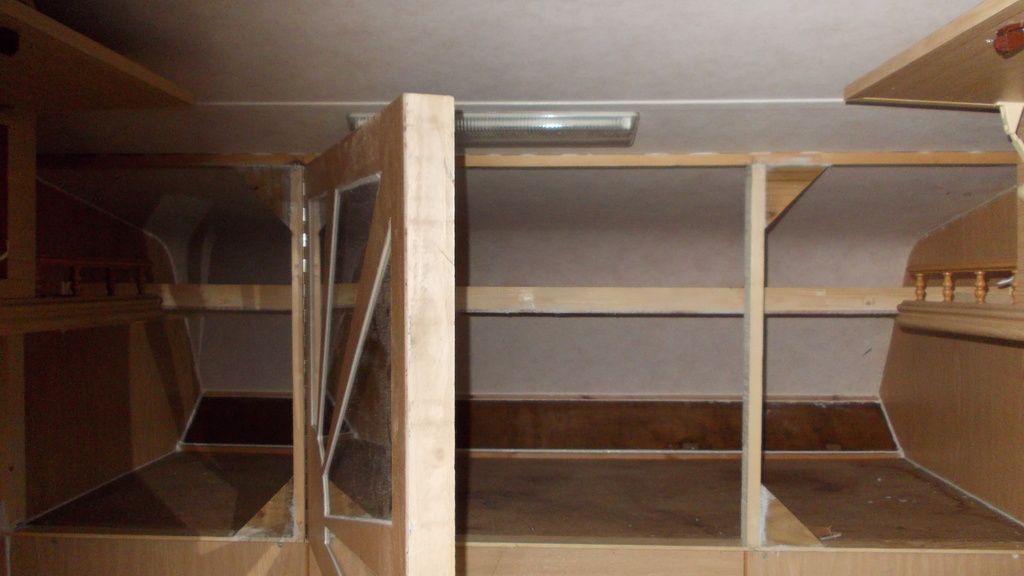
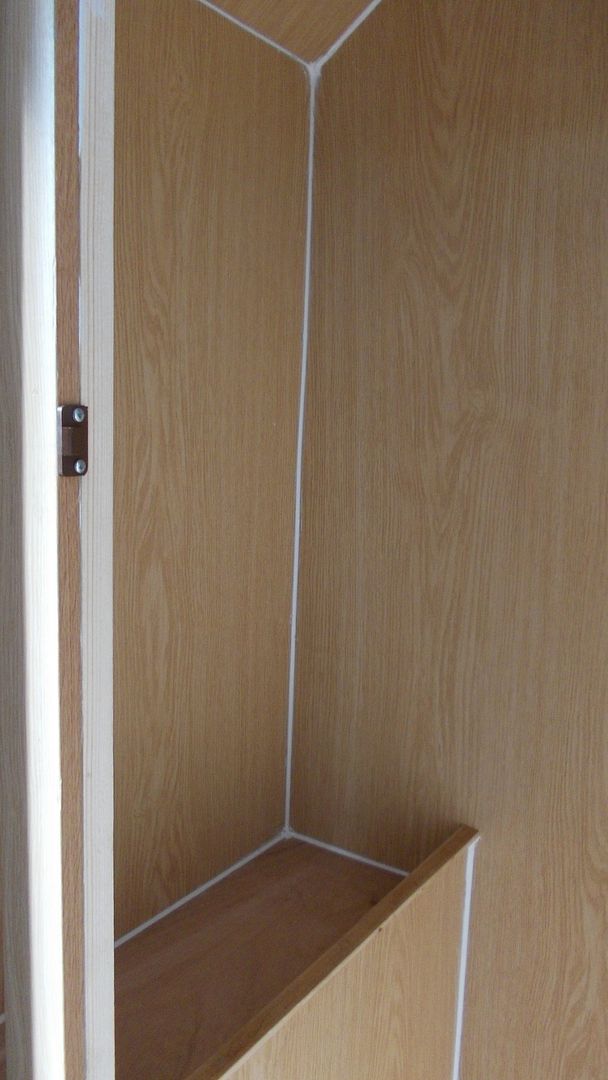
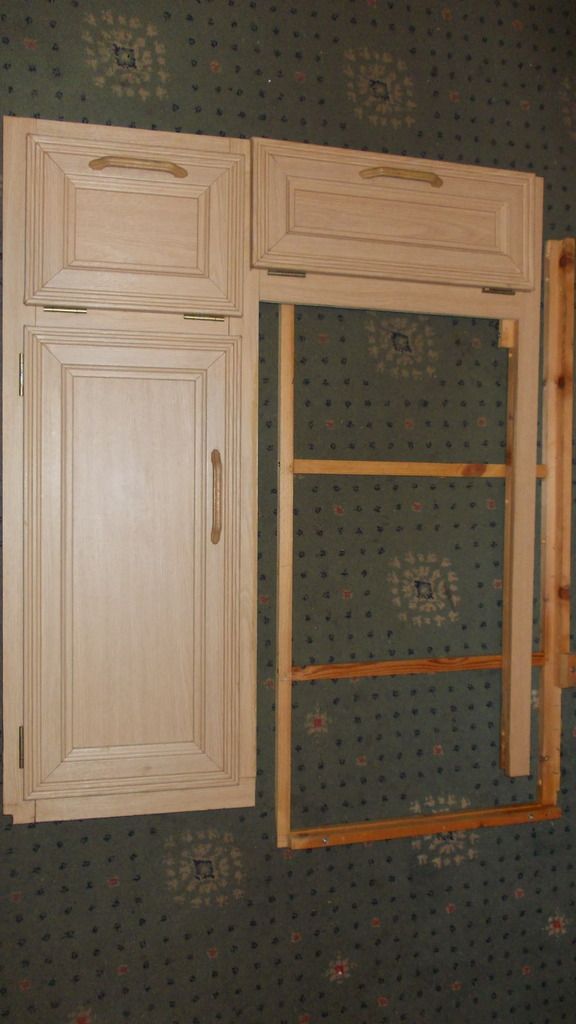
Working our way forward. As requested by she who must be obeyed a cupboard area above the cab.


Simple enough job, the only tricky bit was the top cross member had to be cut at 10 degrees so it would be the same angle as the roof lining.


This should give you some idea of what it would look like, haven't made up my mind yet whether to have two or one doors.


I'm going to use the original piece of soft furnishing but may cut it down a little.

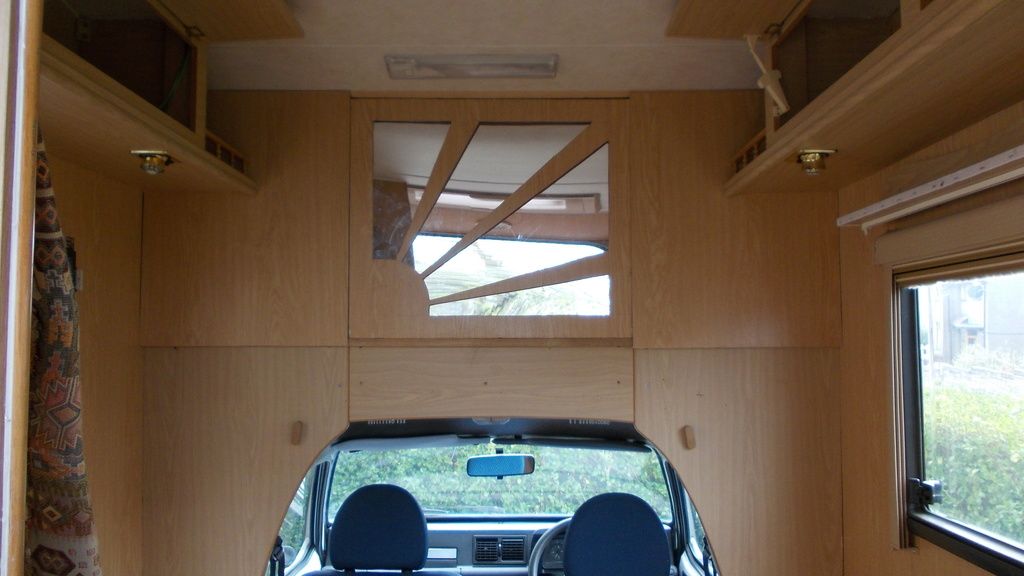
It was mentioned today by she who must be obeyed when she brought me in a cup of tea with the back end above the cab now completely filled in with wall board it was resembling a garden shed.


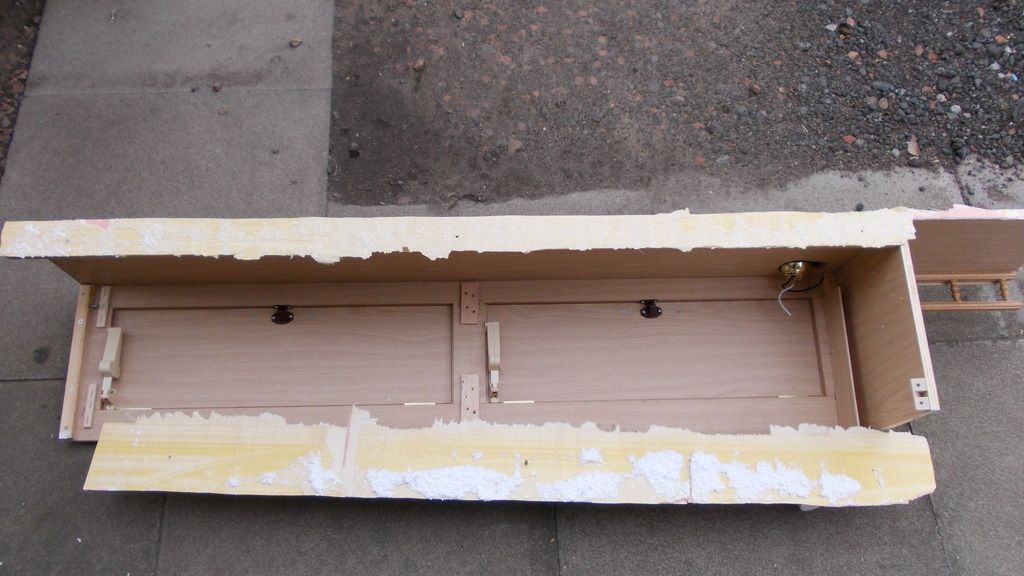
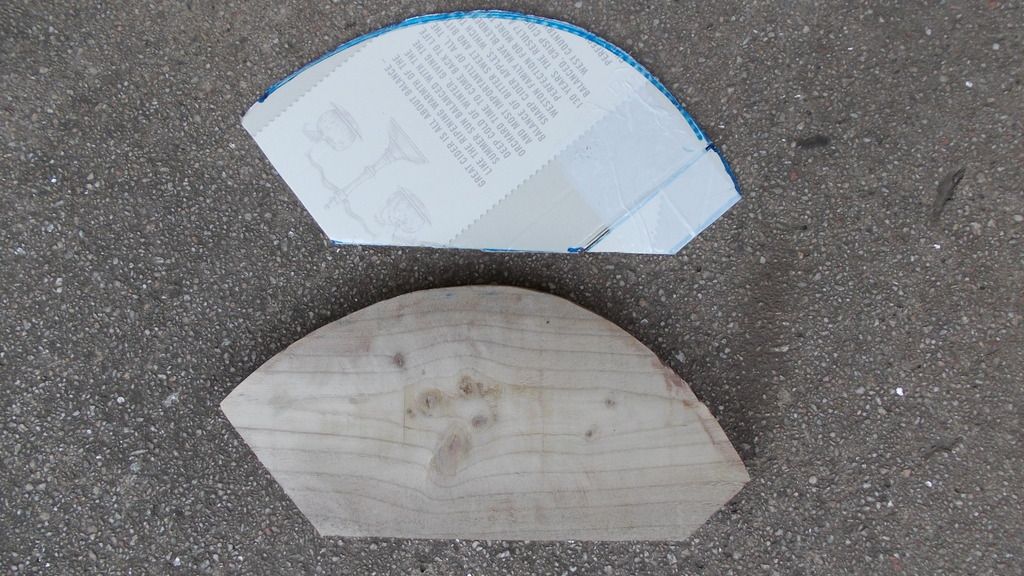
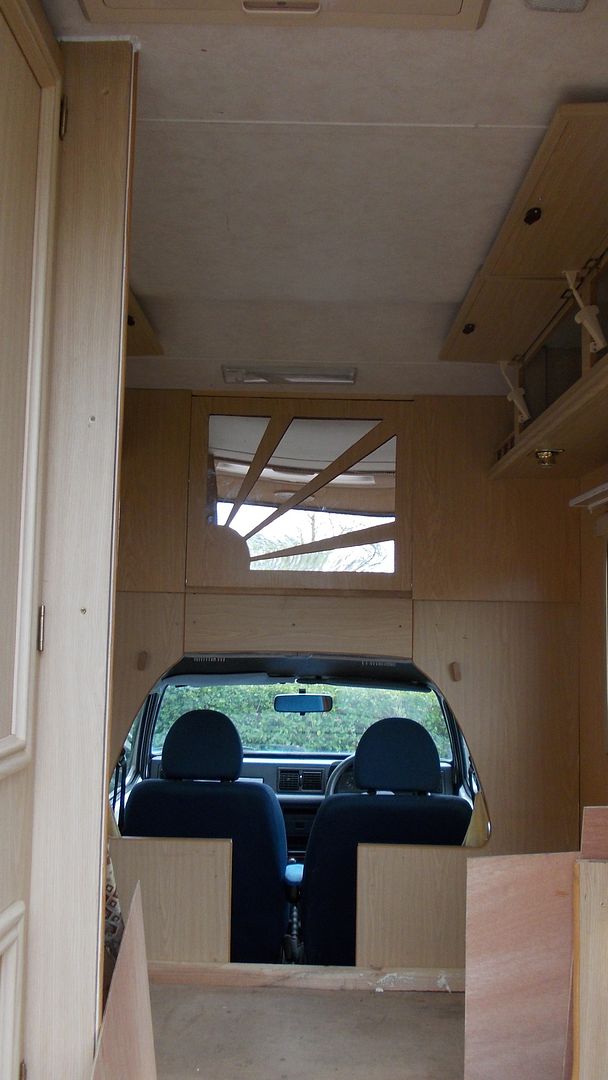
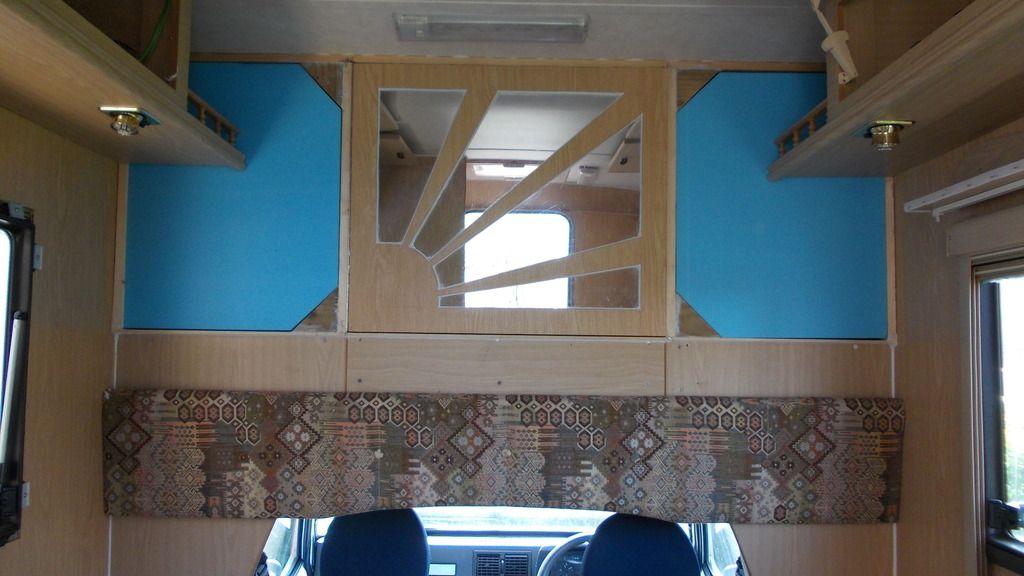
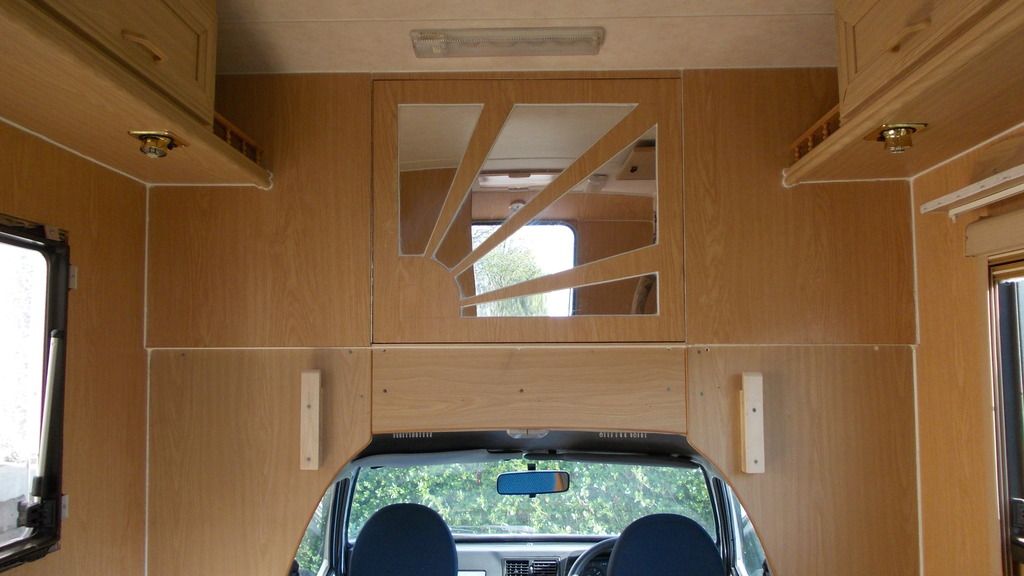
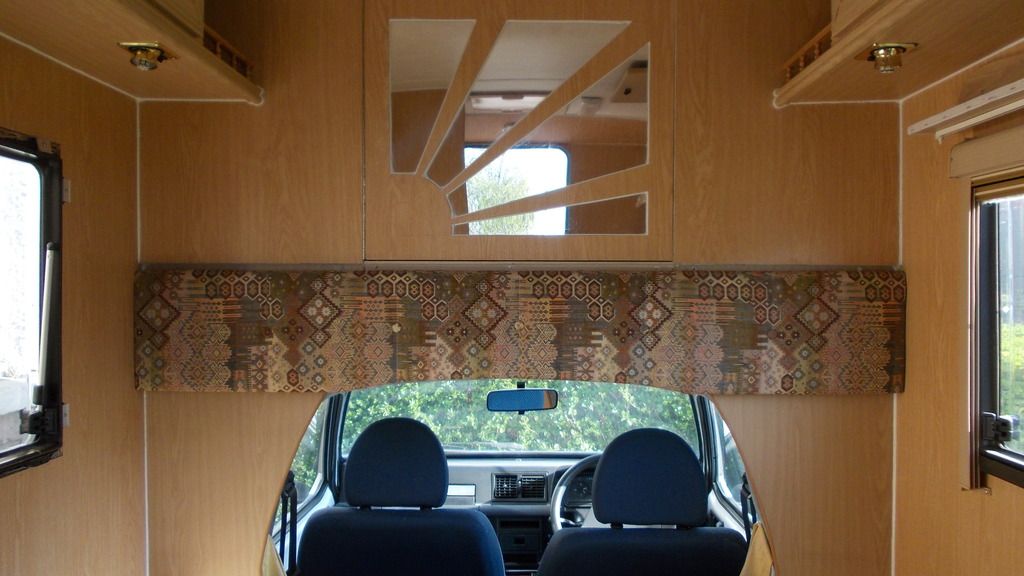
Well this is what I came up with to please my dearly beloved. I've always liked art deco and thought it would work quite well so I cut the shape out and then stuck a plastic mirror behind.


I think it works quite well, it certainly has brightened up the area above the cab and with the back door open you get the impression that there's nothing above the cab.

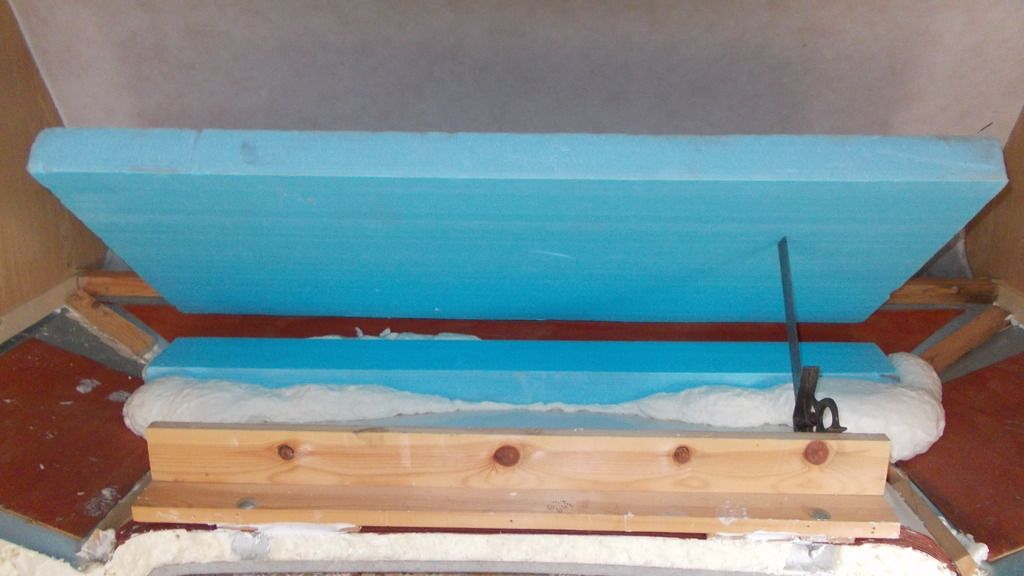
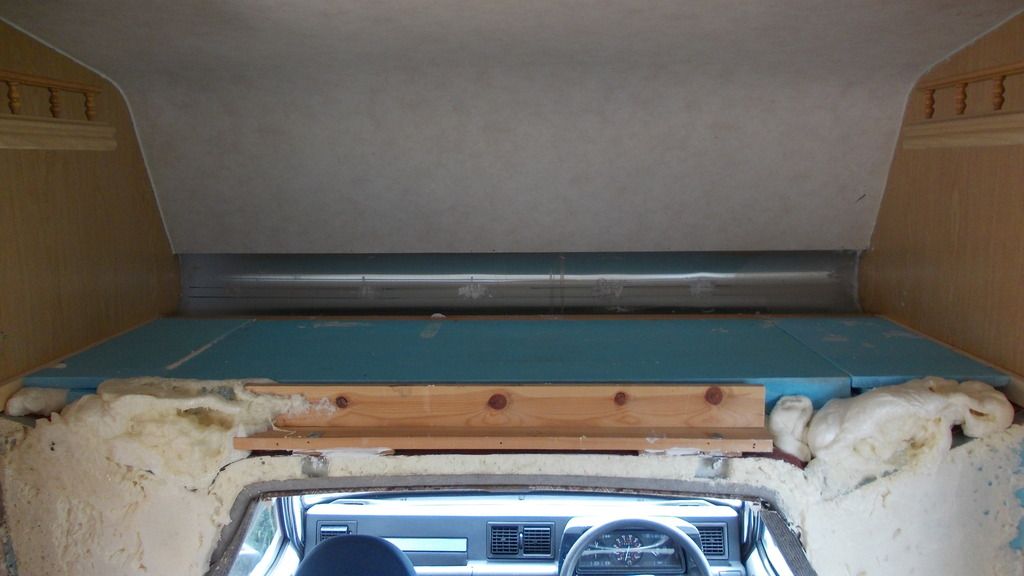
Insulating the cab. This time I used 60mm thick blue board. As you can see from the photograph there's over 120mm thick of insulation and round both sides.


All nicely seated and stuck together with expanding foam.


I also made up a shelf and put the front two wall panels on.

Rae
 

StreetSleeper

Forum Member
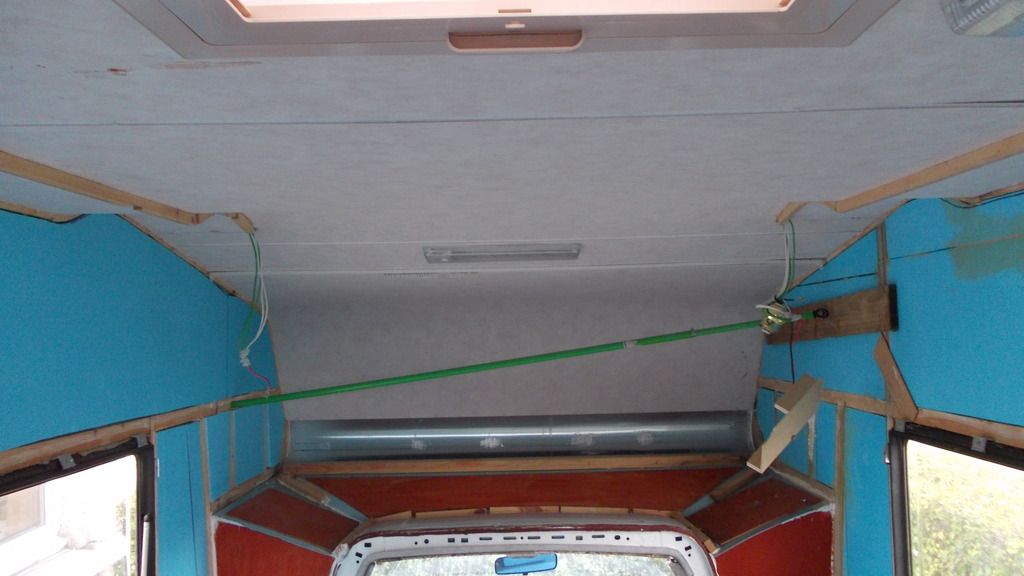
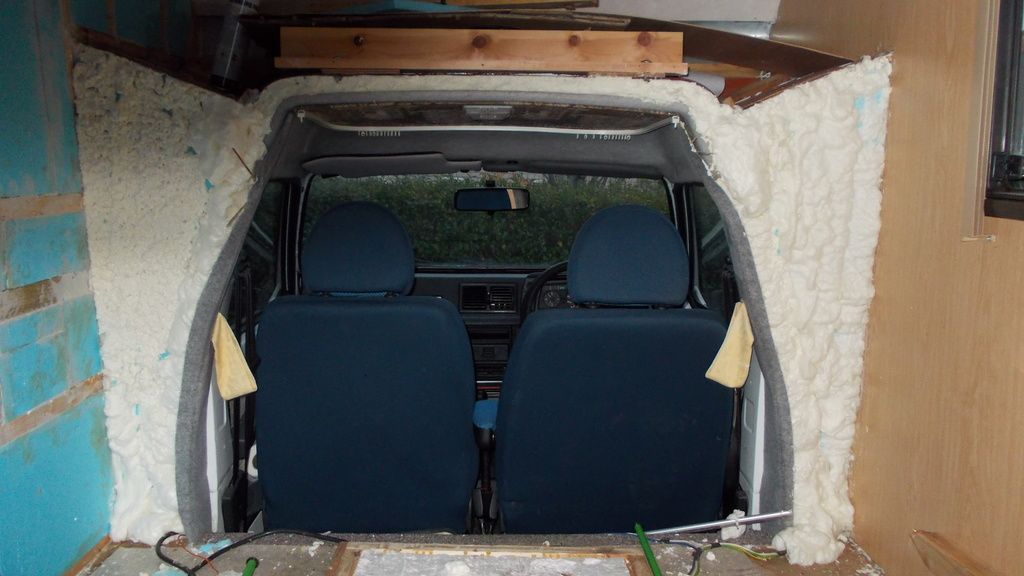
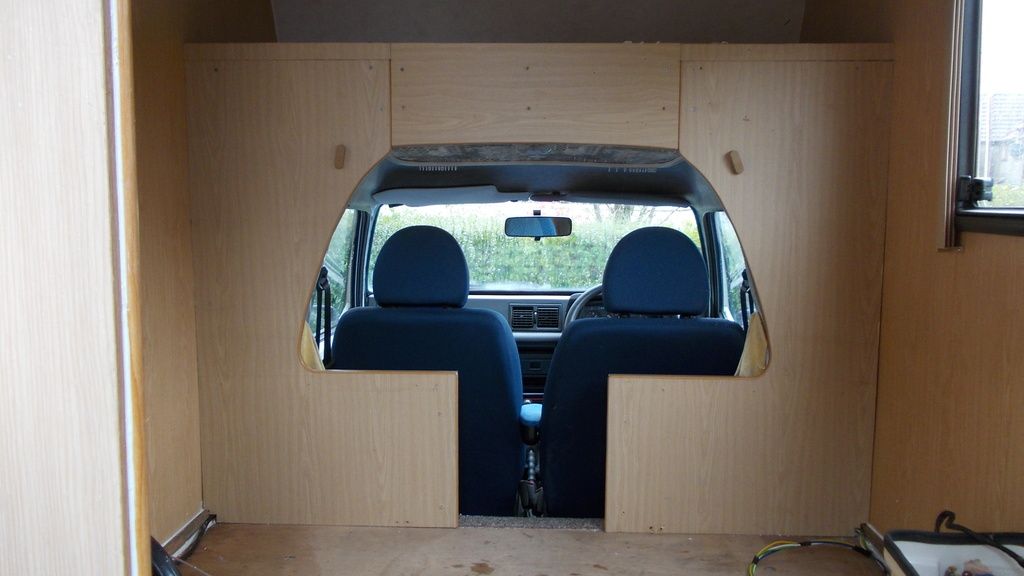
Above the cab is nearly finished. Today's task was to insulate the front where it curves from the bottom edge, this was achieved by squirting expanding foam through blue board.


As you can see a shelf has been fitted and all the wall boarding is in place.


Cupboard door fitted with insulation. I opted to use a piano hinge as I think it looks better than three separate hinges.


All that's left tomorrow is to put on the wall boarding and some insulation behind it.

The plan for today was to finish above the cab so the first job was to cut the insulation. This will be stuck on after the wall boarding has been attached.


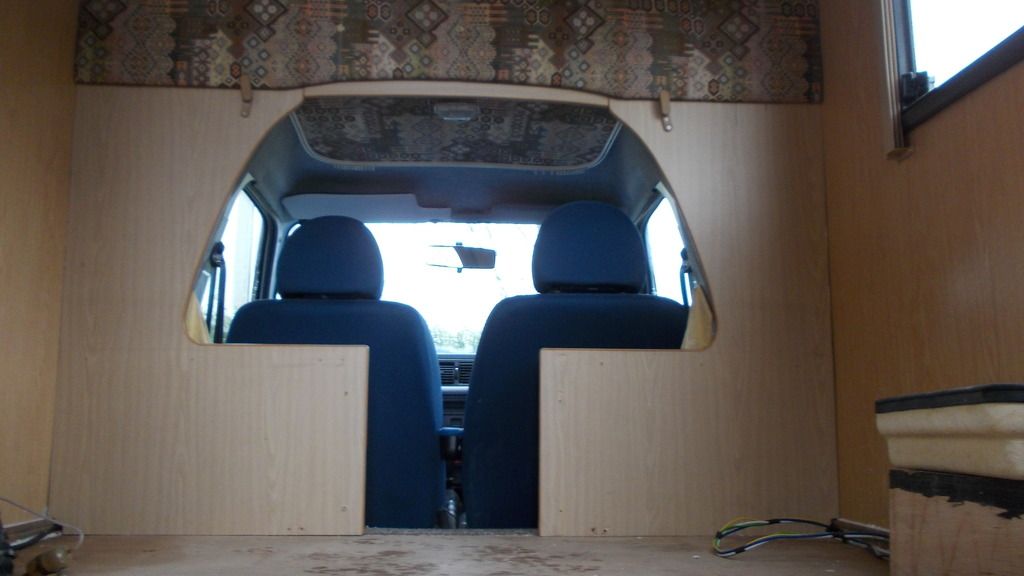
Wall boarding in place, insulation glued on the back and I made up two wooden hooks to hold soft furnishing.


The finished job: now I can start on the floor.


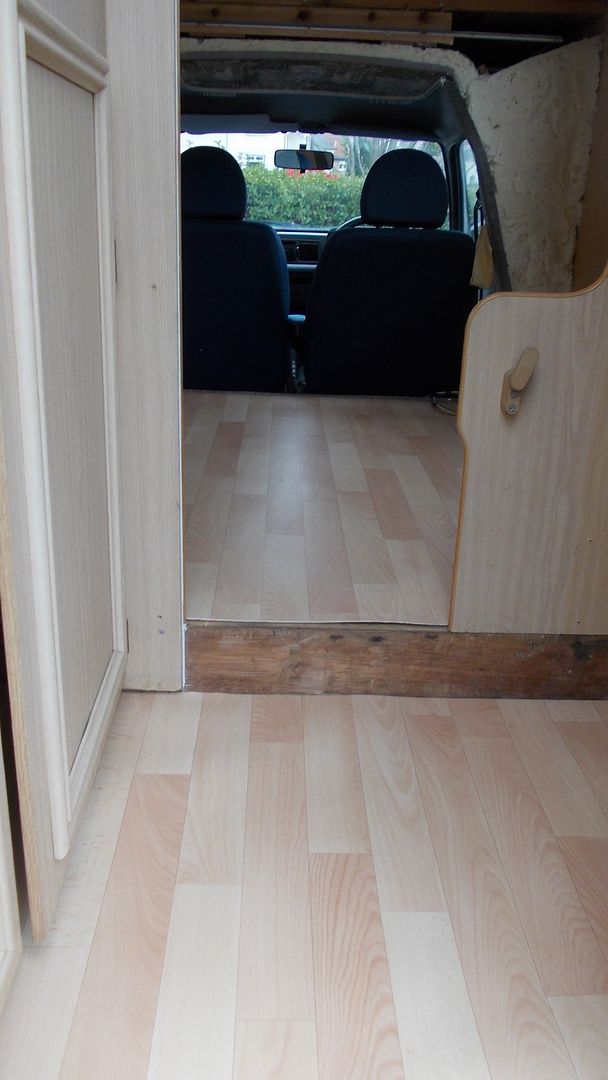
Cleaned the van floor in preparation for sticking down the lino.


Lino stuck.


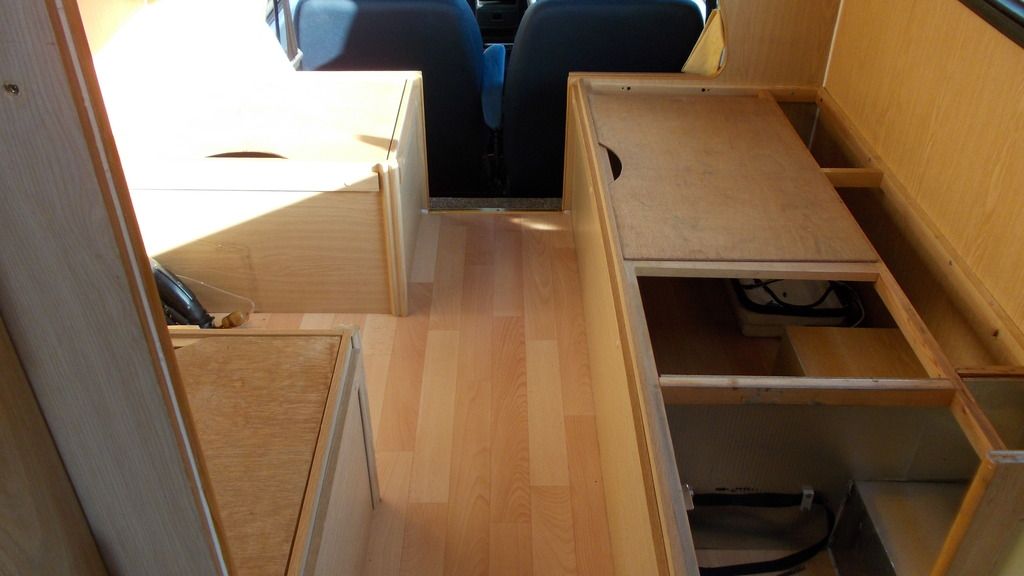
Furniture back in......all screwed down.


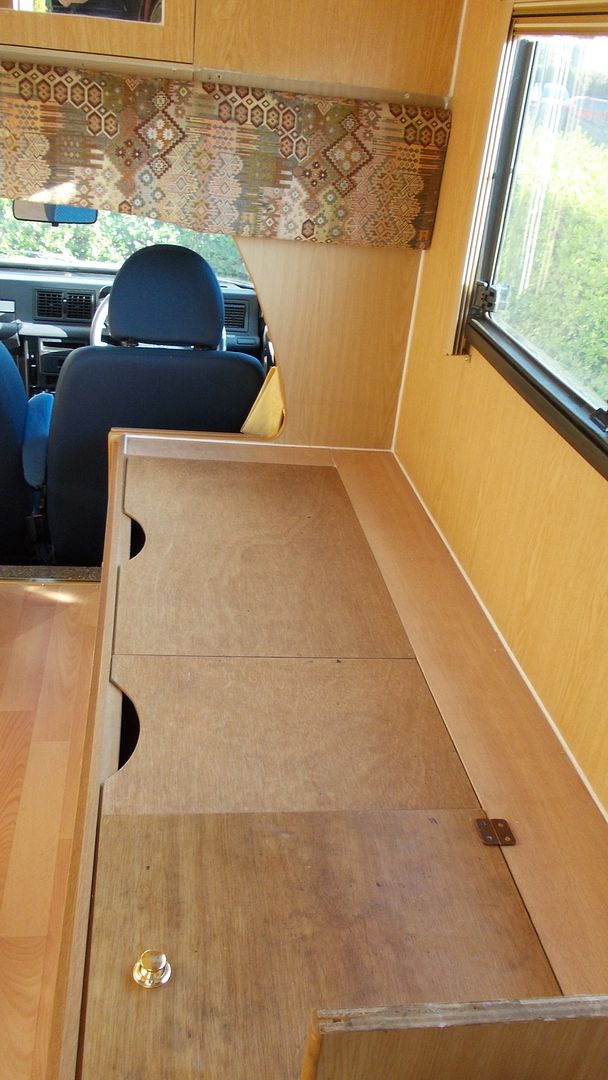
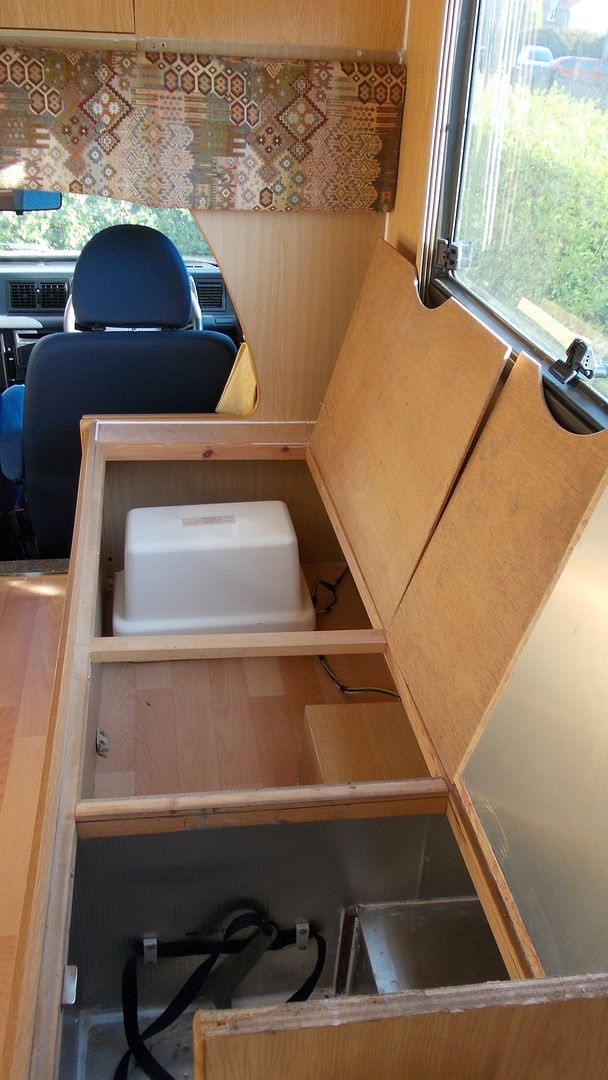
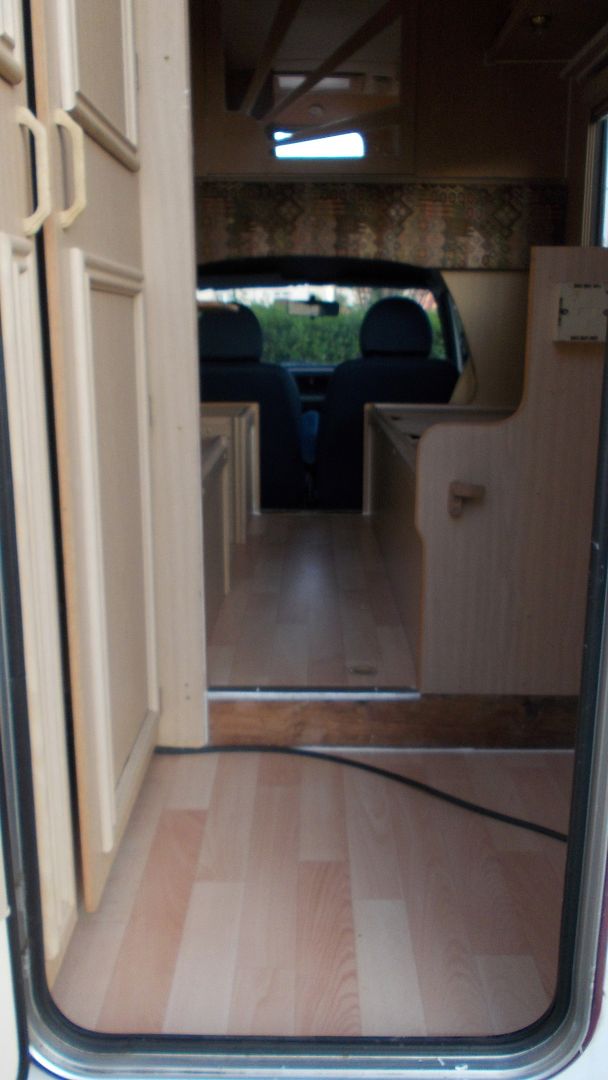
Habitation area is now habitable. As you can see, had to make three new pieces for the seating/bed area.


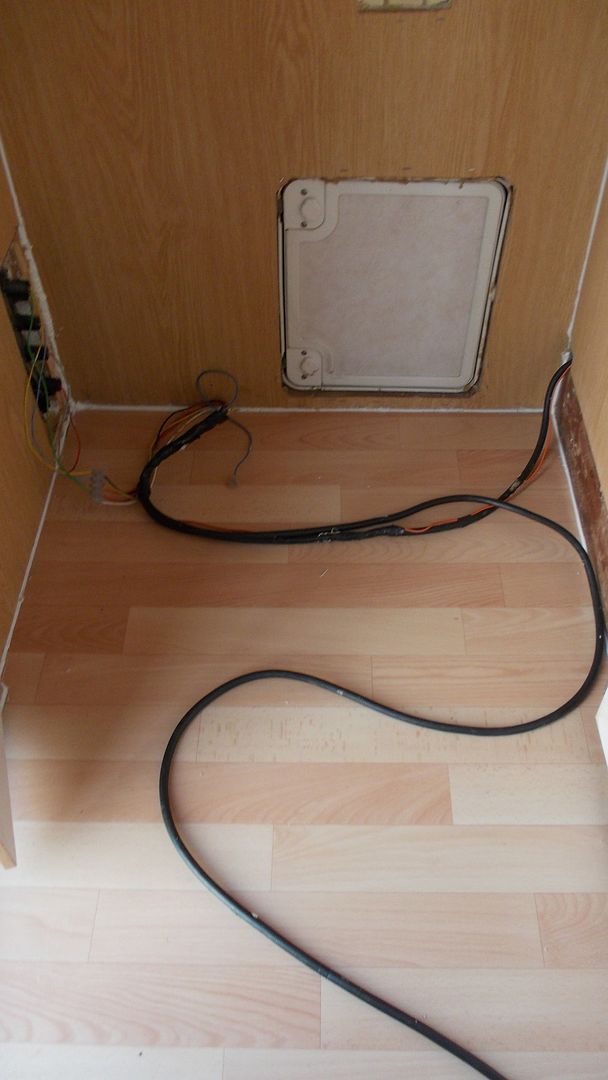
All the wiring is done, leisure battery back in......but not connected, the gas locker has the aluminium floor back in and is all sealed.


On the other side, refitted the blinds and the pelmet.


A milestone was reached today in the way of the last piece of insulation was fitted.


Usual manner, two bits of blue board stuck together, three 10mm holes drilled and expanding foam squirted in. The van is now fully insulated.


Stuck a piece of wall boarding over and that's the toilet/locker area finished........now all I have to do is fit the wall and put the toilet in.


Lino down and the edges sealed.


The view from outside the van. I will start building the partition between the toilet and the cupboard next.

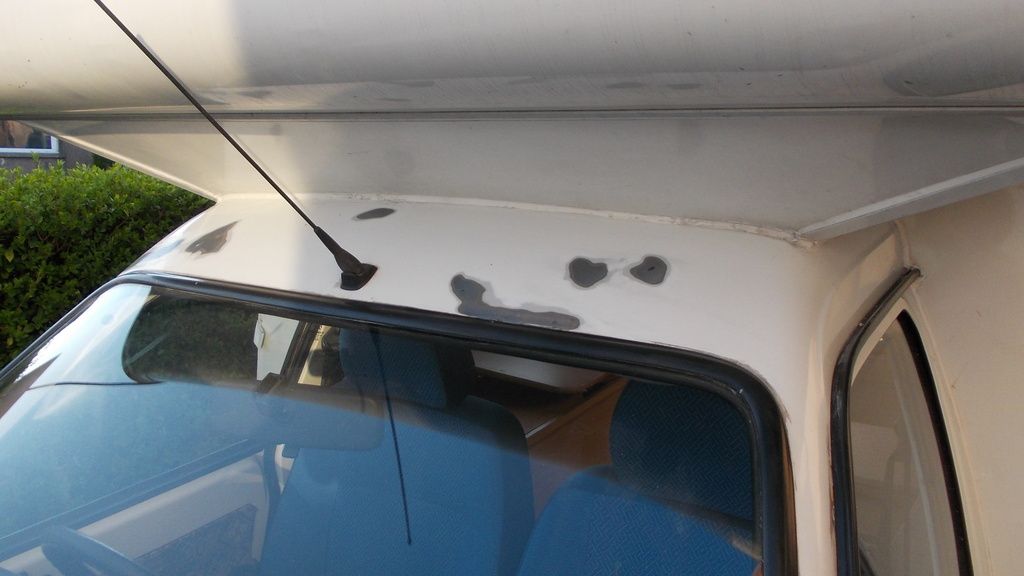
While masticking round the cab I noticed some rust spots reappearing.


Surprisingly quite deep but I've put some rust killer on them and shall give them a coat of red lead in a day or so.

Rae
 

StreetSleeper

Forum Member
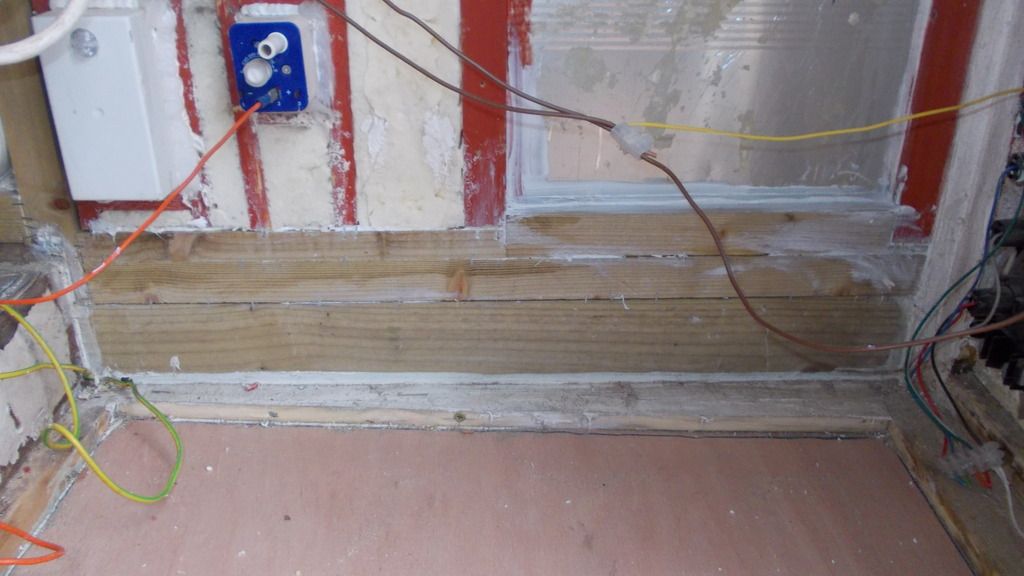
How does that work? Today I spent most of my time wiring up the rear lights. Fairly straight forward job I hear you say, well, not really. First of all when removing the furniture I managed to pull the wires out of the connecting blocks and here's where the problem lies; non of the colours matched up. Anyway, managed to achieve the set task only to find, when I switched everything on, the lights all throbbed with the indicators; this points to a bad earth.


A little bit of investigation and the problem was found.......no earth wire so I had to solder one on the back of the light cluster. As you can see, the job's done and all working well.

This weekend's work was at my convenience; yes, you've got it in one, finish off the toilet area. As you can see, nearly finished just got to fit the throne.


Decided to make the toilet area slightly bigger by making the cupboard more accessible from the top.


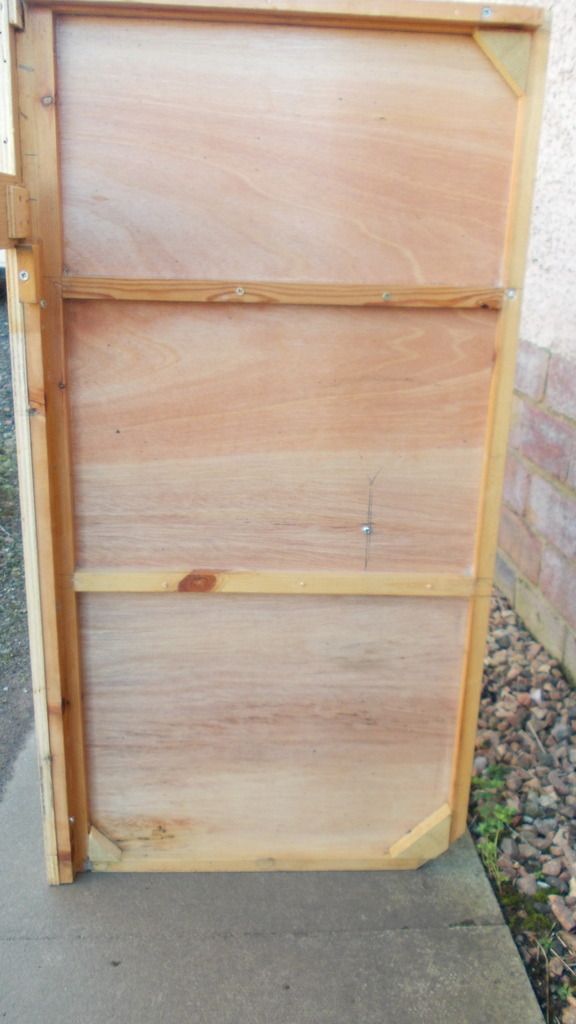
Cut the door in half. The top half will be permanently fixed shut as you can get access from the toilet area.


As you can see, left enough space to get the foldaway seats in and such likes.


Even found time to box round the filler pipe.

Toilet's in, locker door frame sealed; that corner is now finished.


Started on the kitchen unit, fixed in place.


As she who must be obeyed was having a flick round with a duster inside the van I thought this was an opportune moment to replace the infill strips so that was the job.


I still have the sealing strip to replace at the bottom of the rear end of the van.


I decided to go for white this time as the burgundy, in my opinion, doesn't look right. My next job has to be sorting out the marker lights; unfortunately, one of the posts where the screw goes through had parted company and so I will try and glue this back on tomorrow.

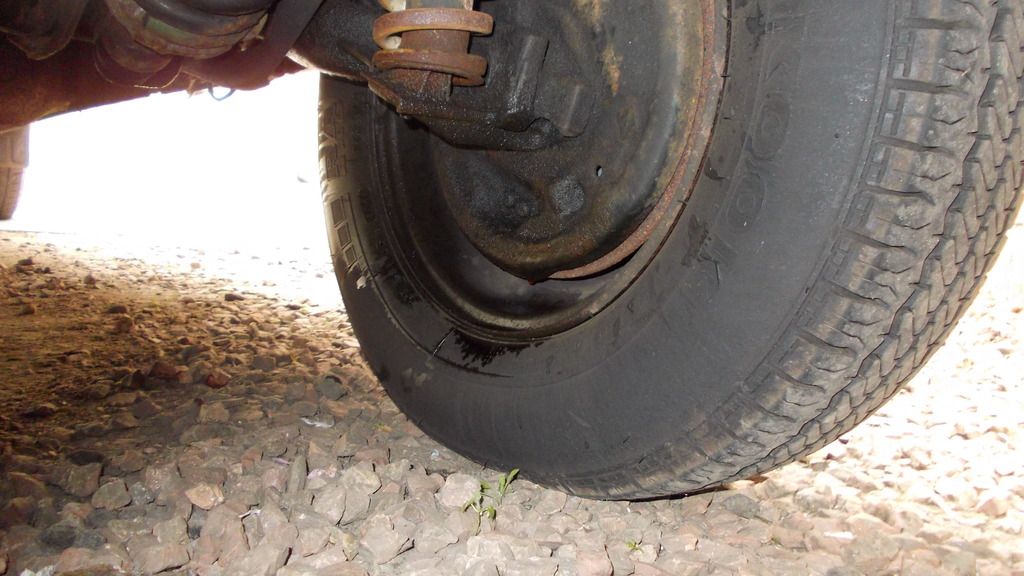
Have you ever had the feeling that you're never going to get to the bottom of something? Well, as you may know, we're off to Rutland tomorrow but today I was re-doing my fluid checks and I noticed the brake fluid had dropped so my first port of call was to look under the back and there it was all over the back tyre......brake fluid.


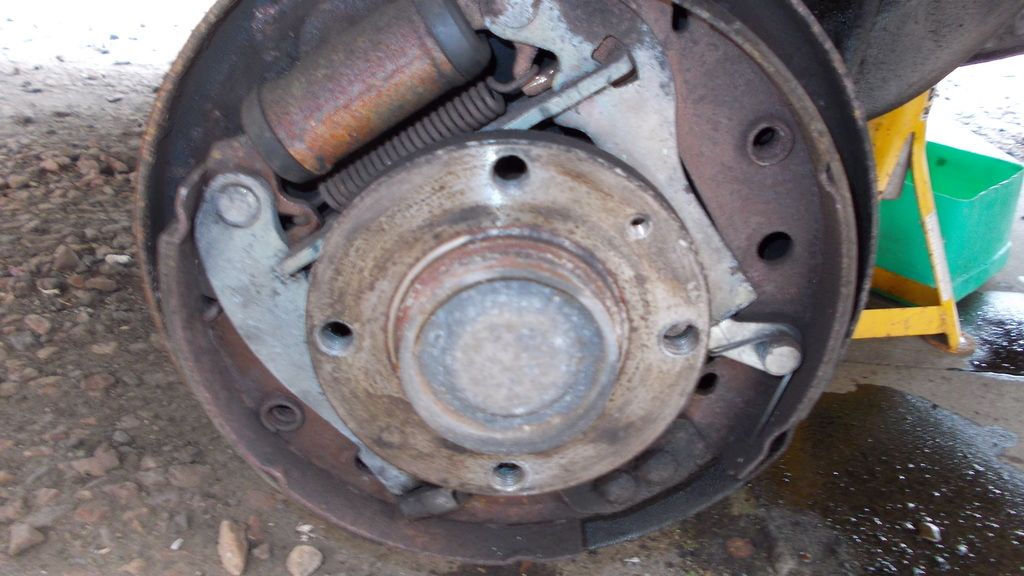
Jacked the van up, whipped off the wheel and hub......dry as a bone.


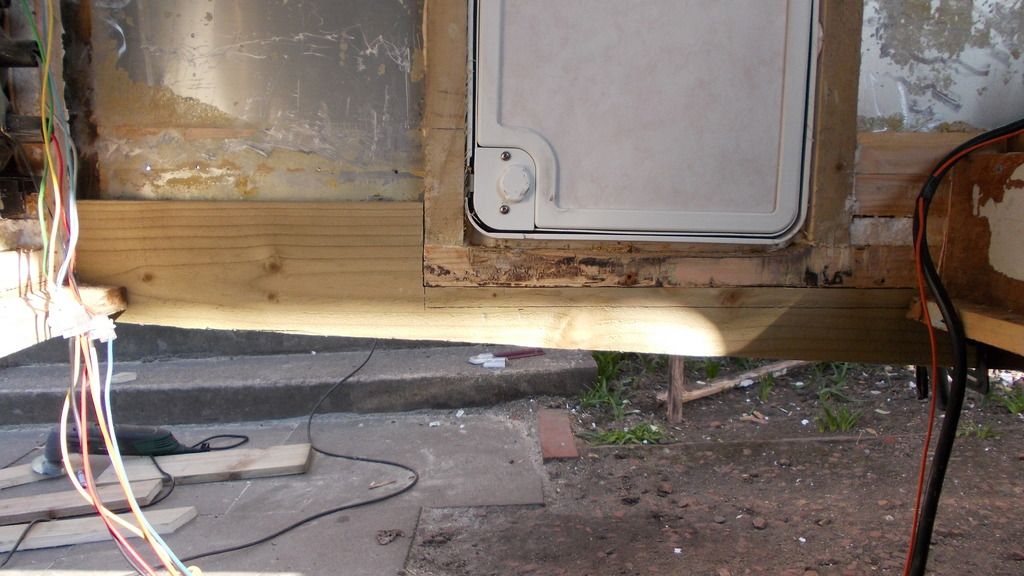
Further investigations found it to be the flexi hose.


I look forward to one day when I will be able just to jump in the vehicle and go.

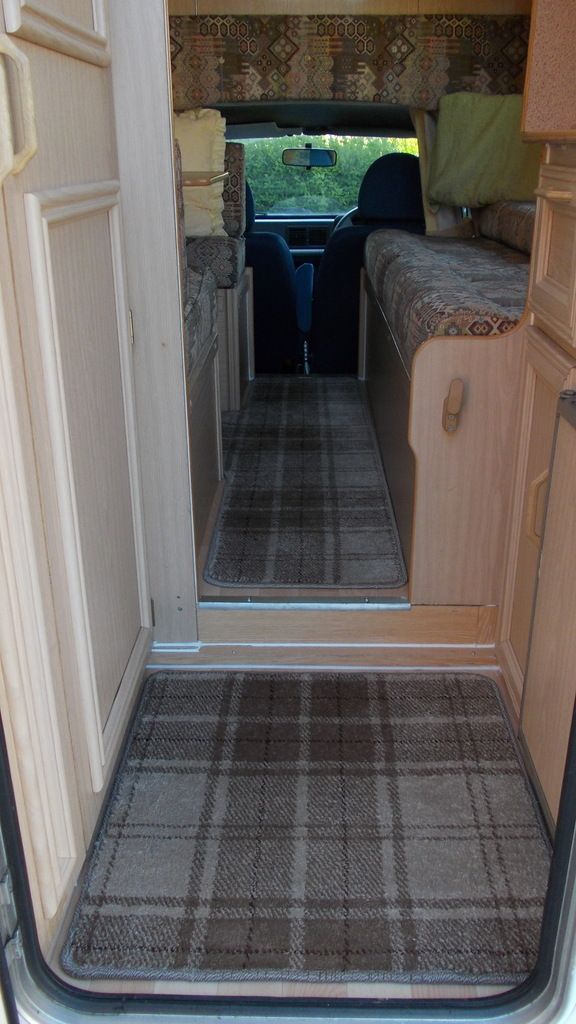
Due to recent conversations that we had with one or two members at Rutland I decided that it was only fair that they saw the completion of what now has become a restoration of Ann's van. Well before we left I purchased some new tailor made carpets, both carpets had been bound all the way round and I have to say it makes the job more professional.


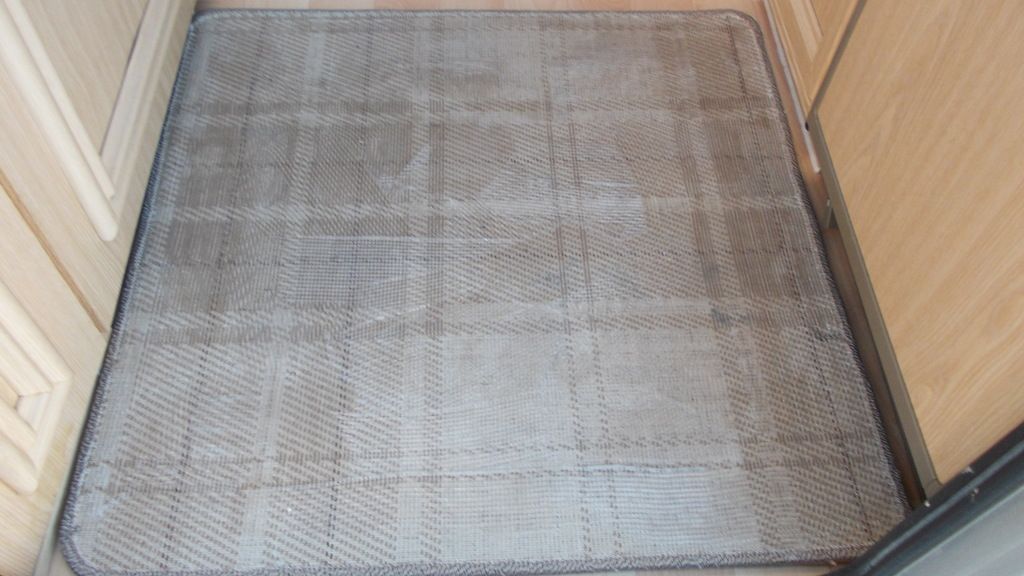
The only problem we had was you couldn't get in the van; as soon as you trod on the carpet it slid on the new lino. I didn't want to stick studs in the corners like the previous carpet had so this was my solution.


Straight forward enough, got a tube of clear mastic, squirted it to the underside of the carpet, spread it out with a scraper (tooth variety), let it go off and then fitted it. I can honestly say it hasn't moved since nor has it stuck to the floor.

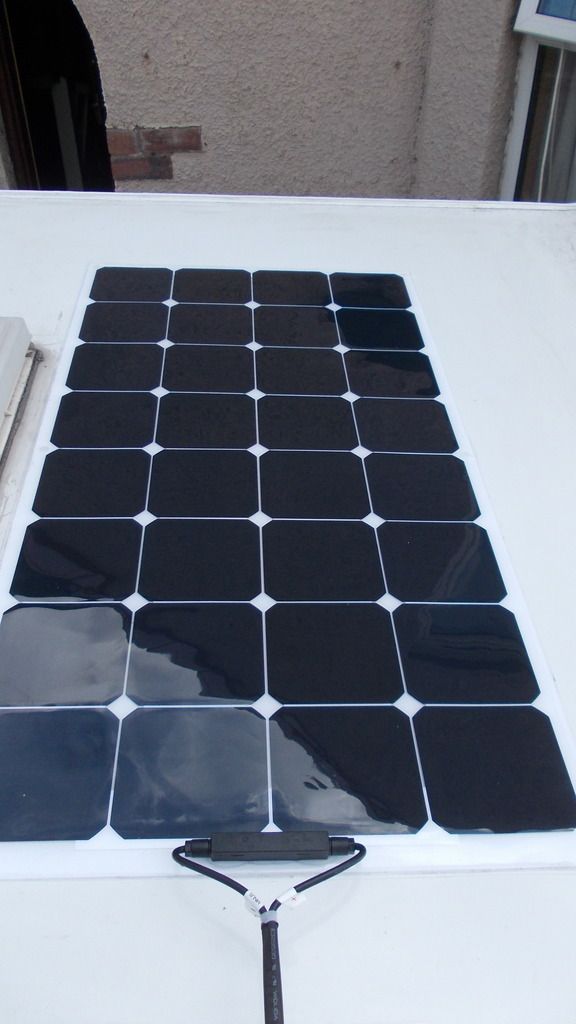
Today was all about sunshine; in other words, solar panel. My first task was to remove the brass eyelets then put some heat shrink tubing on to tidy up the wiring. I used two layers in this instance.
I decided to stick the panel straight onto the roof using a quality mastic adhesive. I know there are many different opinions on this matter and I thought about it very carefully and when I added up all the pros and cons I felt this was the right way for me: perhaps not everyone's choice but if it goes wrong I'd be the first to admit it.


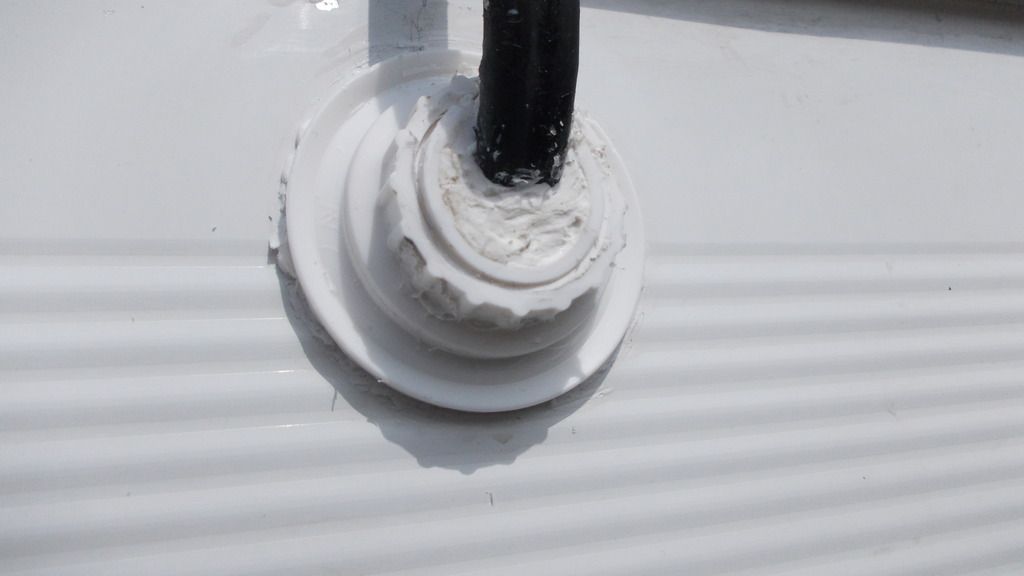
Drilled the hole through the bodywork, slightly bigger than the wires so that I could squirt copious amounts of mastic in the hole.


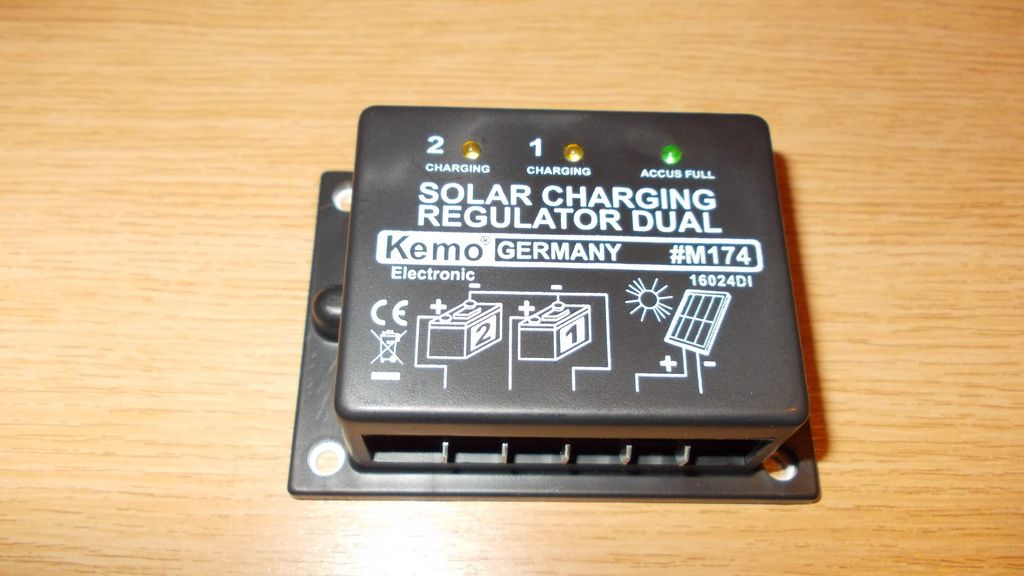
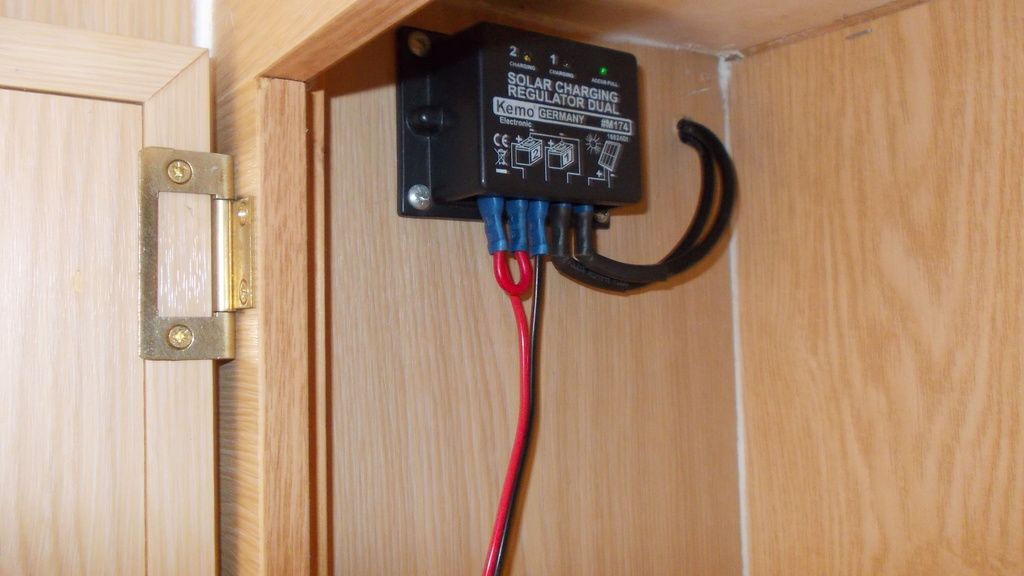
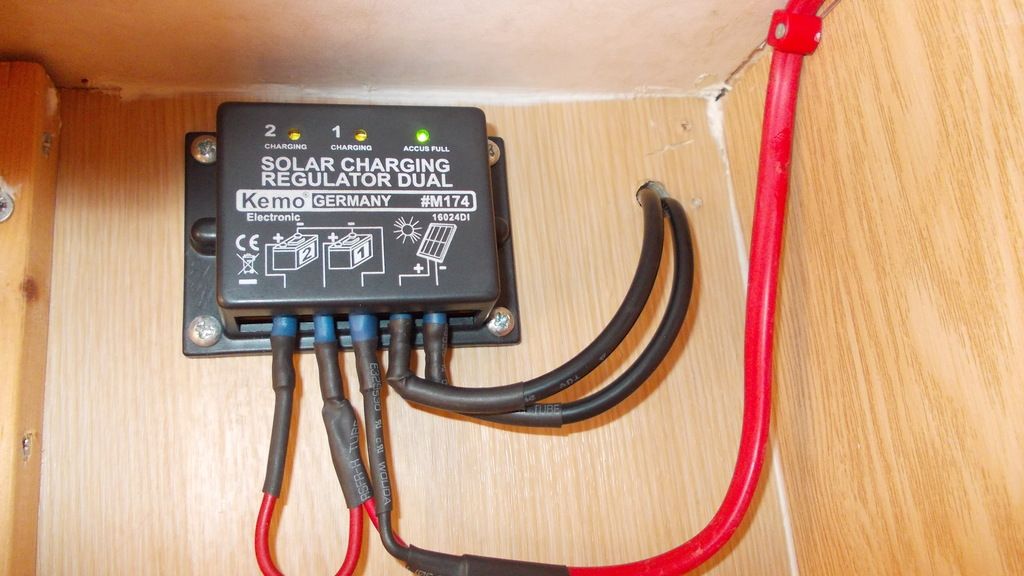
Fitted the charging regulator, now all that's left to do is to connect to the leisure battery.


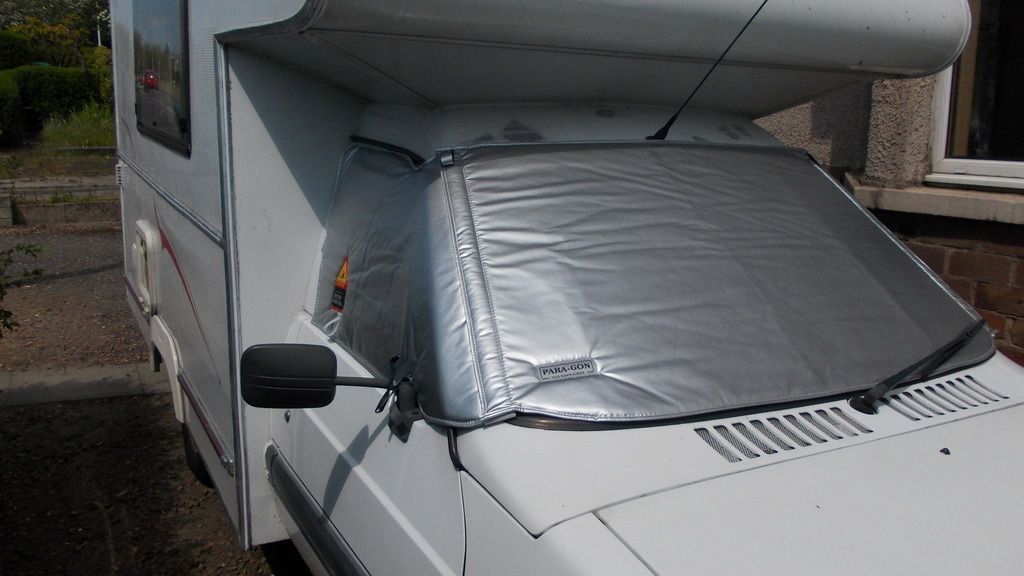
And on a plus side, my Silver Screen fitted a treat.

Rae
 

StreetSleeper

Forum Member
Finishing off the wiring of the solar panel today. Wasn't happy with the way the cable went into the van. Though there was plenty of silicone round the wires where they went into the van I thought it looked a bit tacky so looking round in my pile of rubbish I noticed there was a caulk tube that I'd used so I cut the top of the tube off and cut the pointy bit off the spout, filled it full of mastic and slipped it over the wires. Still needs to be smoothed off a bit better but I think it looks like it's supposed to be there.


Next part of the tidying up was to wire in the control regulator. Wasn't happy with the wires I was using before so found some that were more substantial. I connected these wires up to the battery wires that were entering my Zig unit. Tested it all out and it works fine.


A job I've been meaning to do for some time was to glue a plinth back behind the cooker and sink and box in the wires, now all that's left in the kitchen area is a bit of plumbing and stick the sink in.


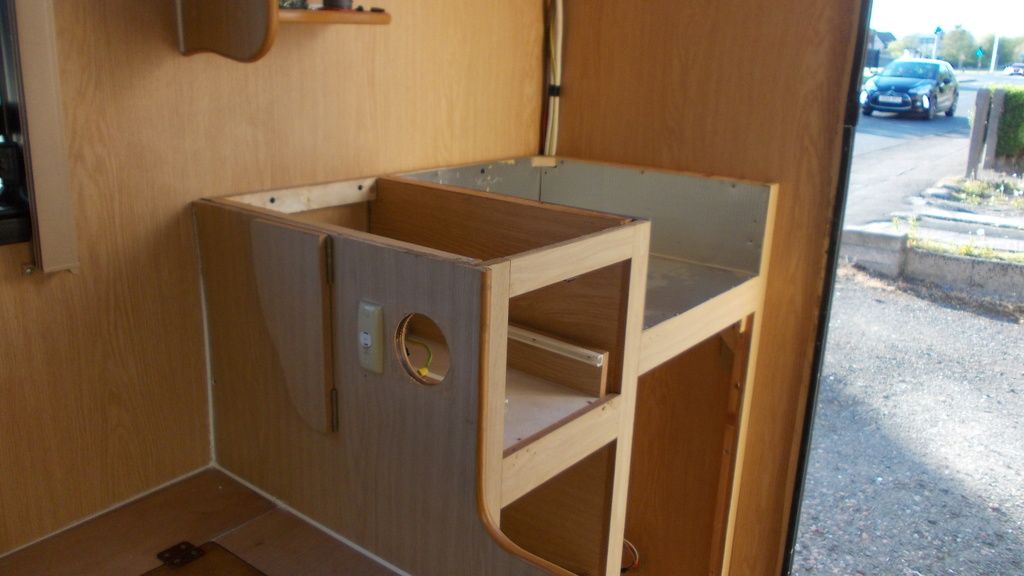
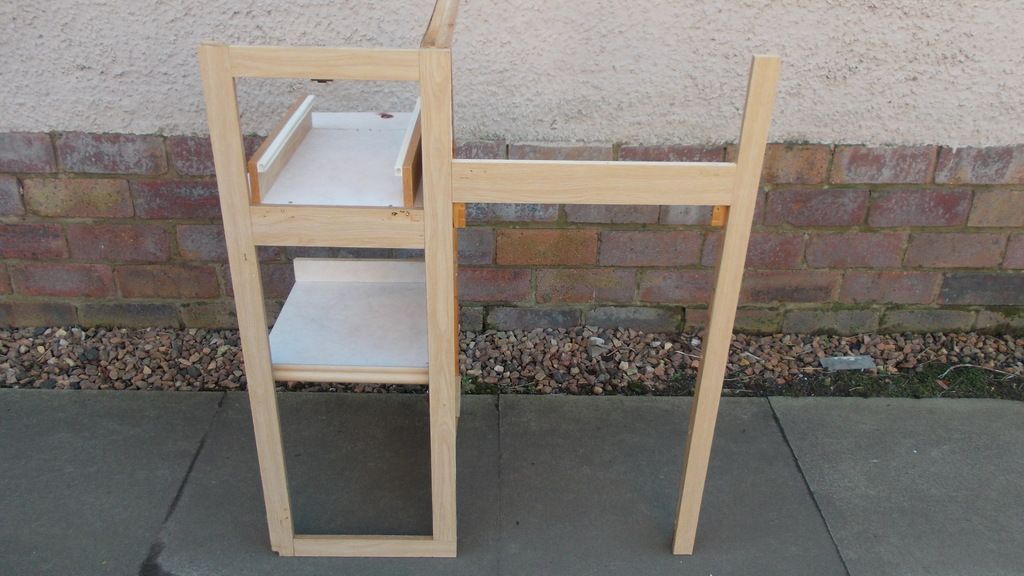
After posting the picture of the completed sink and cooker I realised I hadn't shown the reconstruction of the unit. To give you some idea of the damage that had been done to this unit it had to be completely dismantled and rebuilt due to the fact the top and all the fixtures had been glued in place and so had to be broken to get it out.


The above picture shows it all dismantled, ready for the rebuild.


Next picture shows where I am going to replace the dividing section between the cupboard and the fridge.


Centre panel in place, put some extra triangles in the edges to strengthen it up.


Unit complete, ready for instillation.


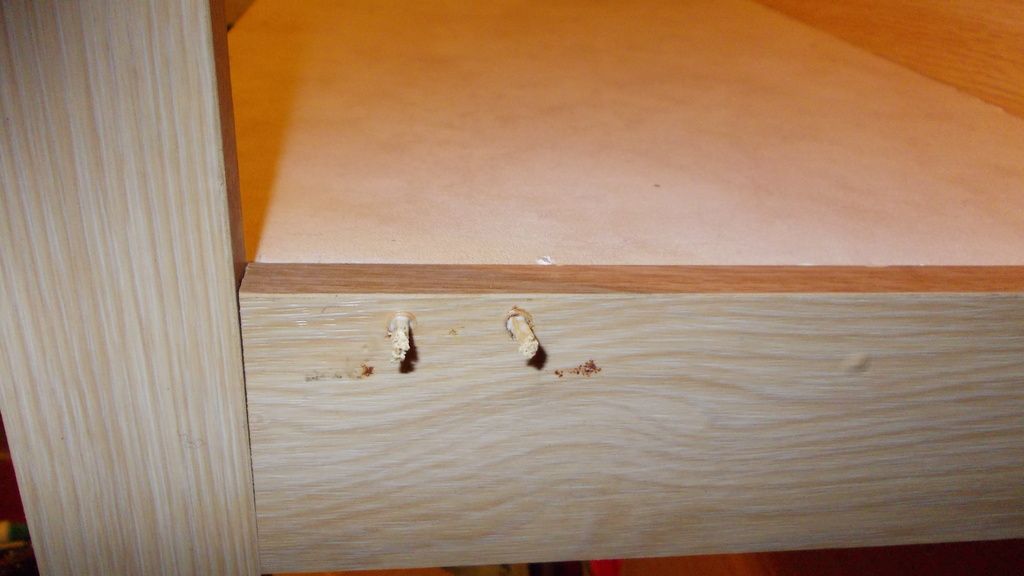
Had to plug some of the screw holes with matchsticks as they had got too big.


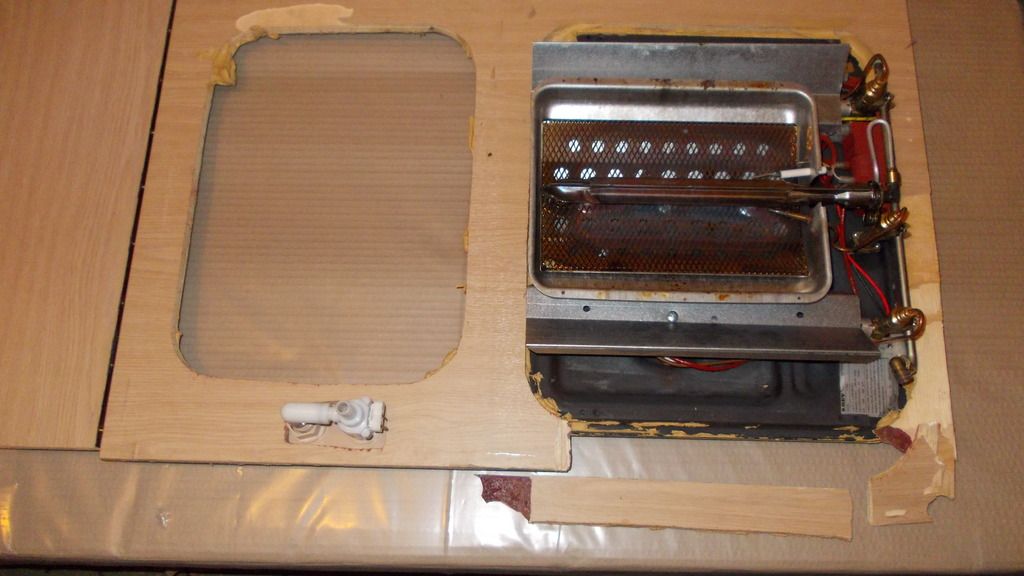
This is the underside of the worktop, it was severely broken on removal. So, basically, I just had to glue it back together as I wanted to still have the original formica worktop finish.


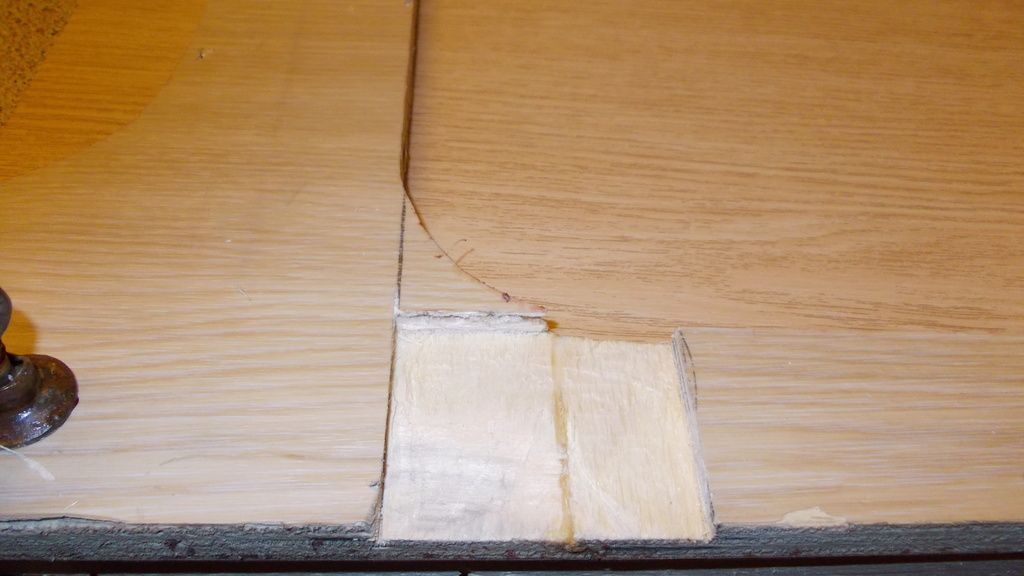
This was achieved by cutting half the plywood away where it was just broken and gluing a new piece in place.


As you can see it's a fairly straightforward job and when you look at the completed unit I think it turned out well.

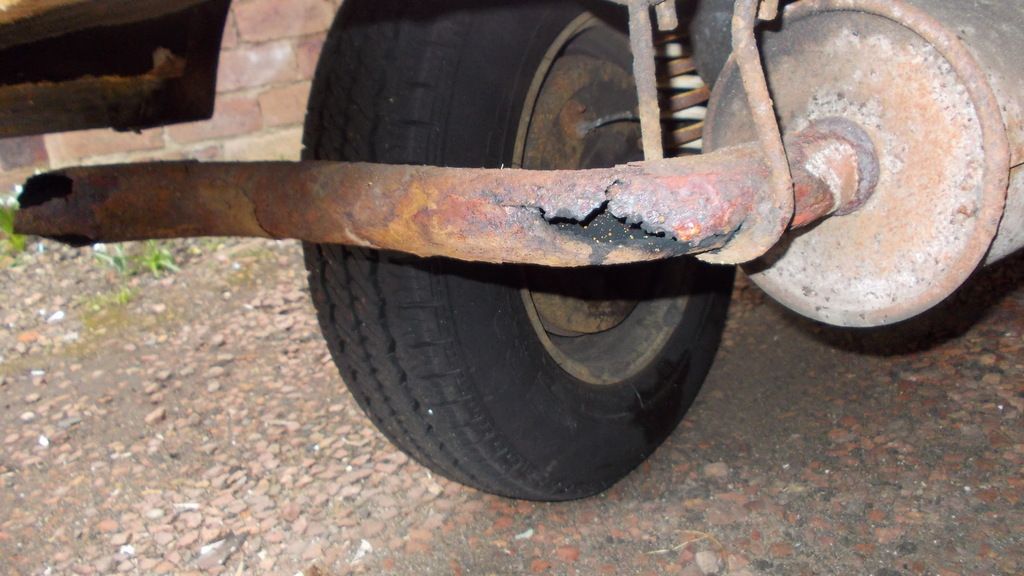
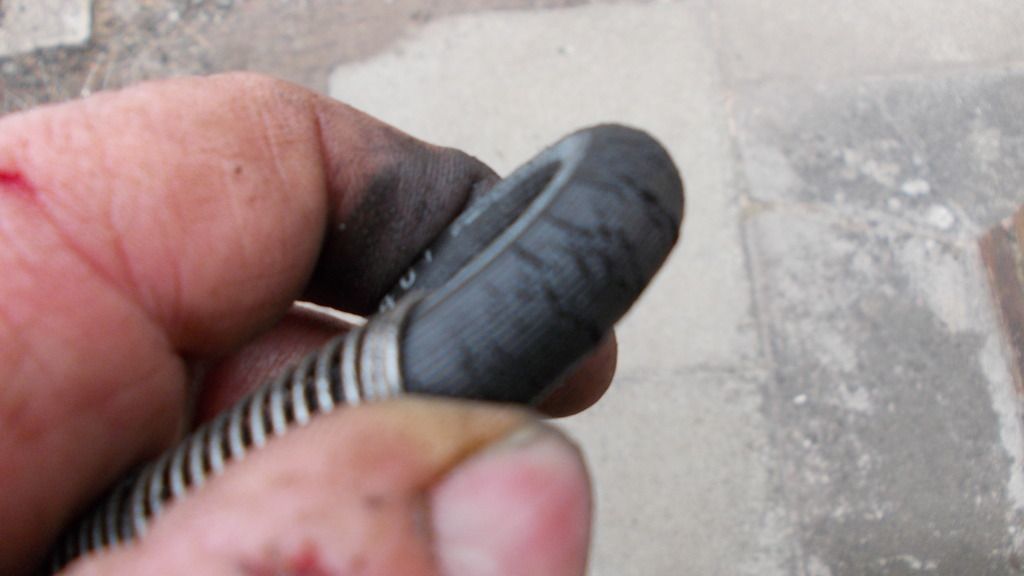
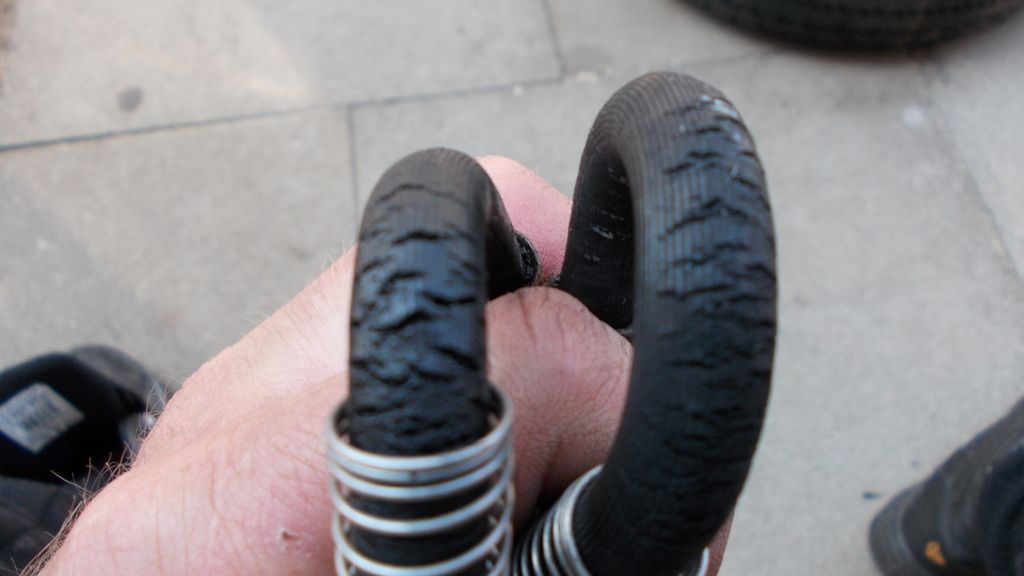
With the Orkney meeting very near upon us, for peace of mind, I decided to change the remaining rubber flexi hose. After a bit of fiddling about I managed to get the flexi hose off but the only way I could achieve this was to take a section of brake pipe with it: on inspection the job was well overdue and the picture below gives you some idea of what I'm talking about.


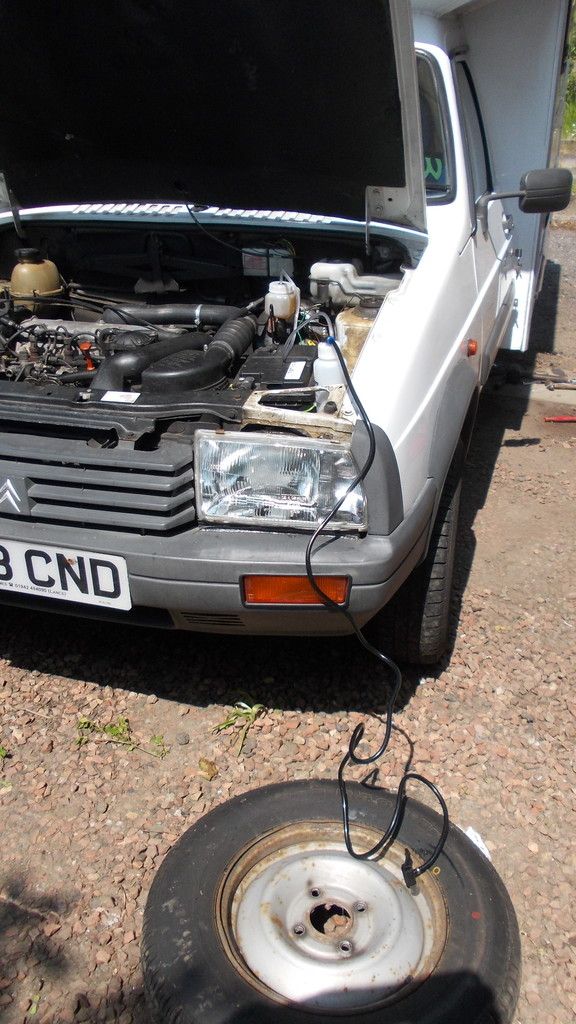
It shouldn't have surprised me after seeing the one I previously took off and here they are side by side. The next job was to bleed the brakes. As Ann was away I decided to use my new toy.


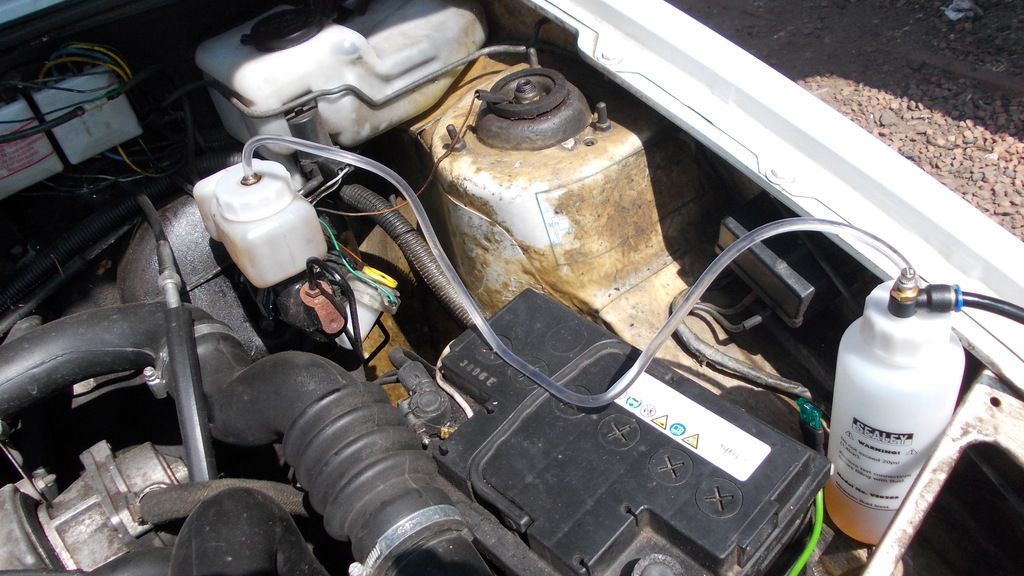
Very simple to set up. Decided to completely flush the brakes system, could not believe how easily this was achieved.


One of the nice touches about this kit, the bottle has a magnet stuck to the bottom; simple but very effective. Tomorrow replacing the front tyres; they're not actually worn out but they're not commercial and they are showing signs of deterioration.

Today was all about preventional maintenance. First job, replace the front two tyres: though they were not down to the limit they were showing signs of deterioration.


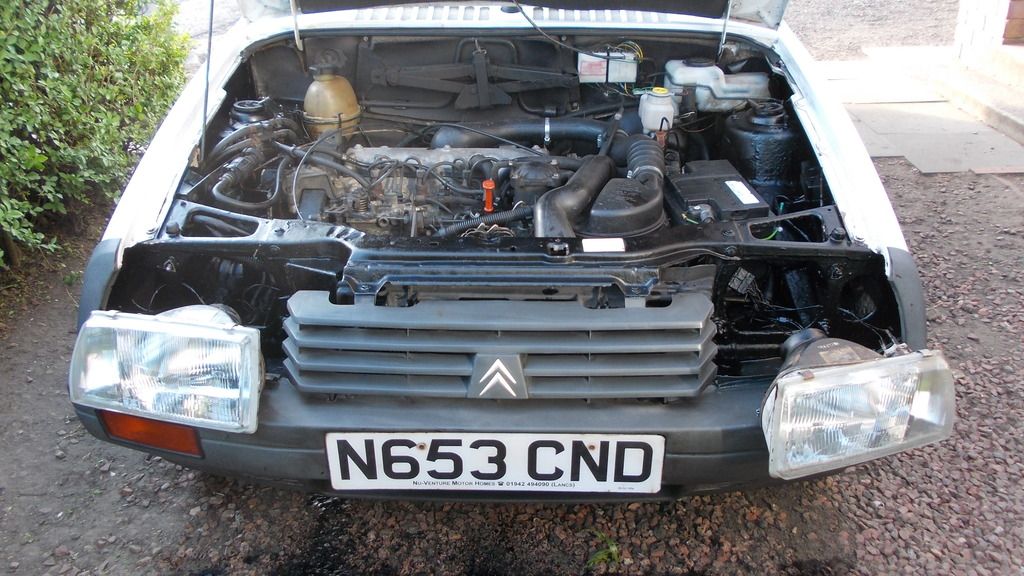
Got the van back home, pulled the headlamps out and got set about with the wax oil. I break it down using white spirit and I put it through a garden spray. The mix varies on the ambient temperature but, roughly, a 60/30 mix: 60 being the wax oil.


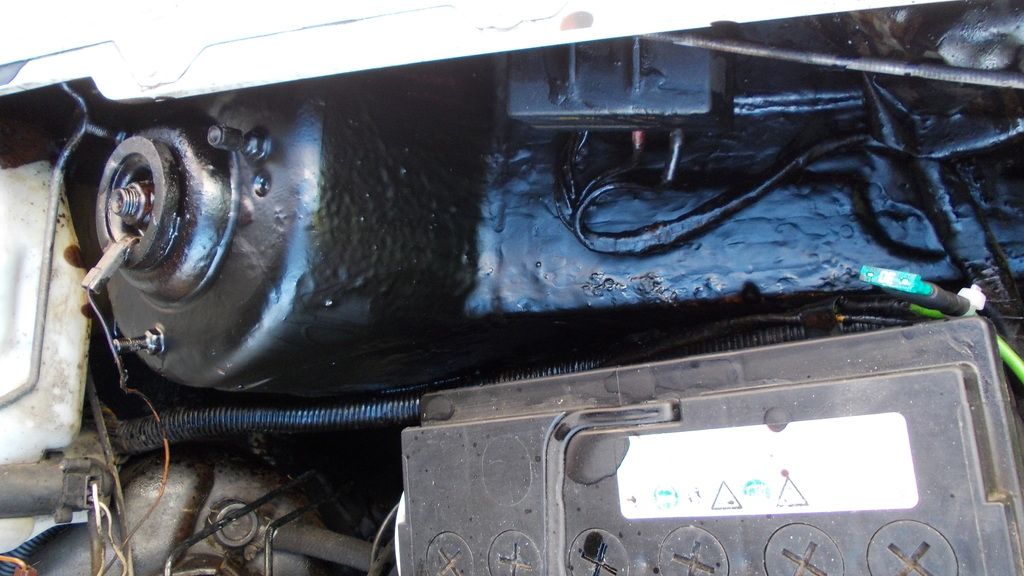
Got right in to all the nooks and crannies.


All the engine bay had a good healthy coating and it dries off quite quickly with the sun on it.


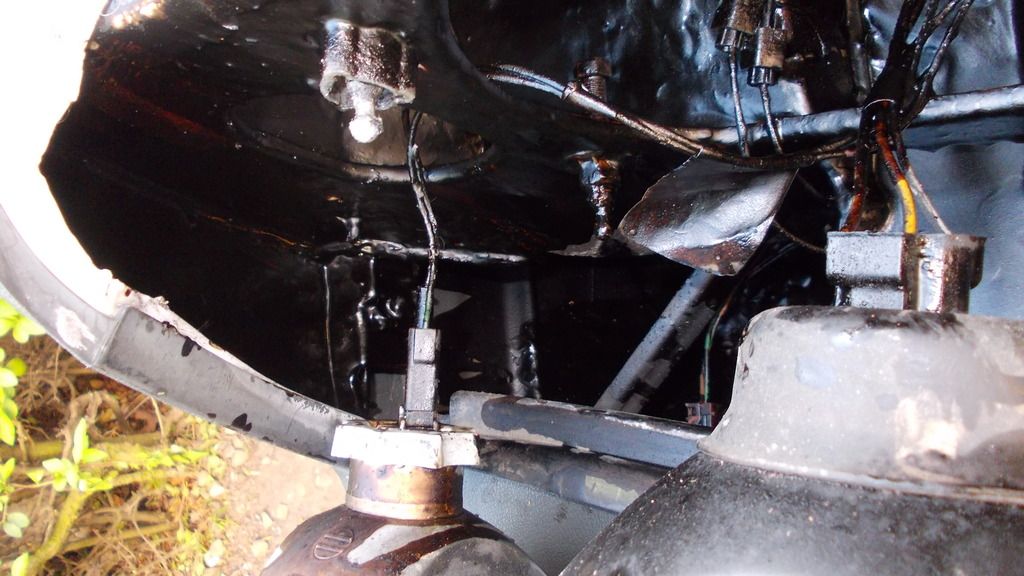
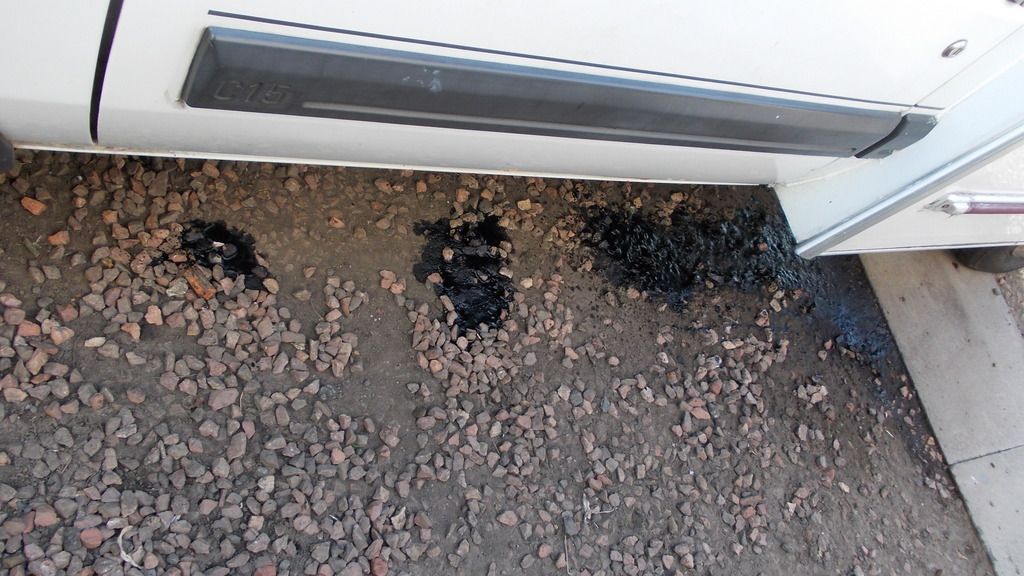
Filled the sills up until the wax oil started to run out. One or two bits to do tomorrow but the worst of it is over with: having said that, I've got to clean the mess up on the floor.

Rae
 

StreetSleeper

Forum Member
The restoration is still ongoing: this time it was the front brakes. I've never been happy with the front brakes, or should I say the lack of them, well after the van was off the road for four months I noticed a deterioration in the stopping power. I was hoping, by using it, the rust that had appeared on the front discs would soon disappear. Unfortunately, this was not to be the case so my only option was to replace the discs and pads; which I hasten to say has improved the stopping power no end.
The next part:
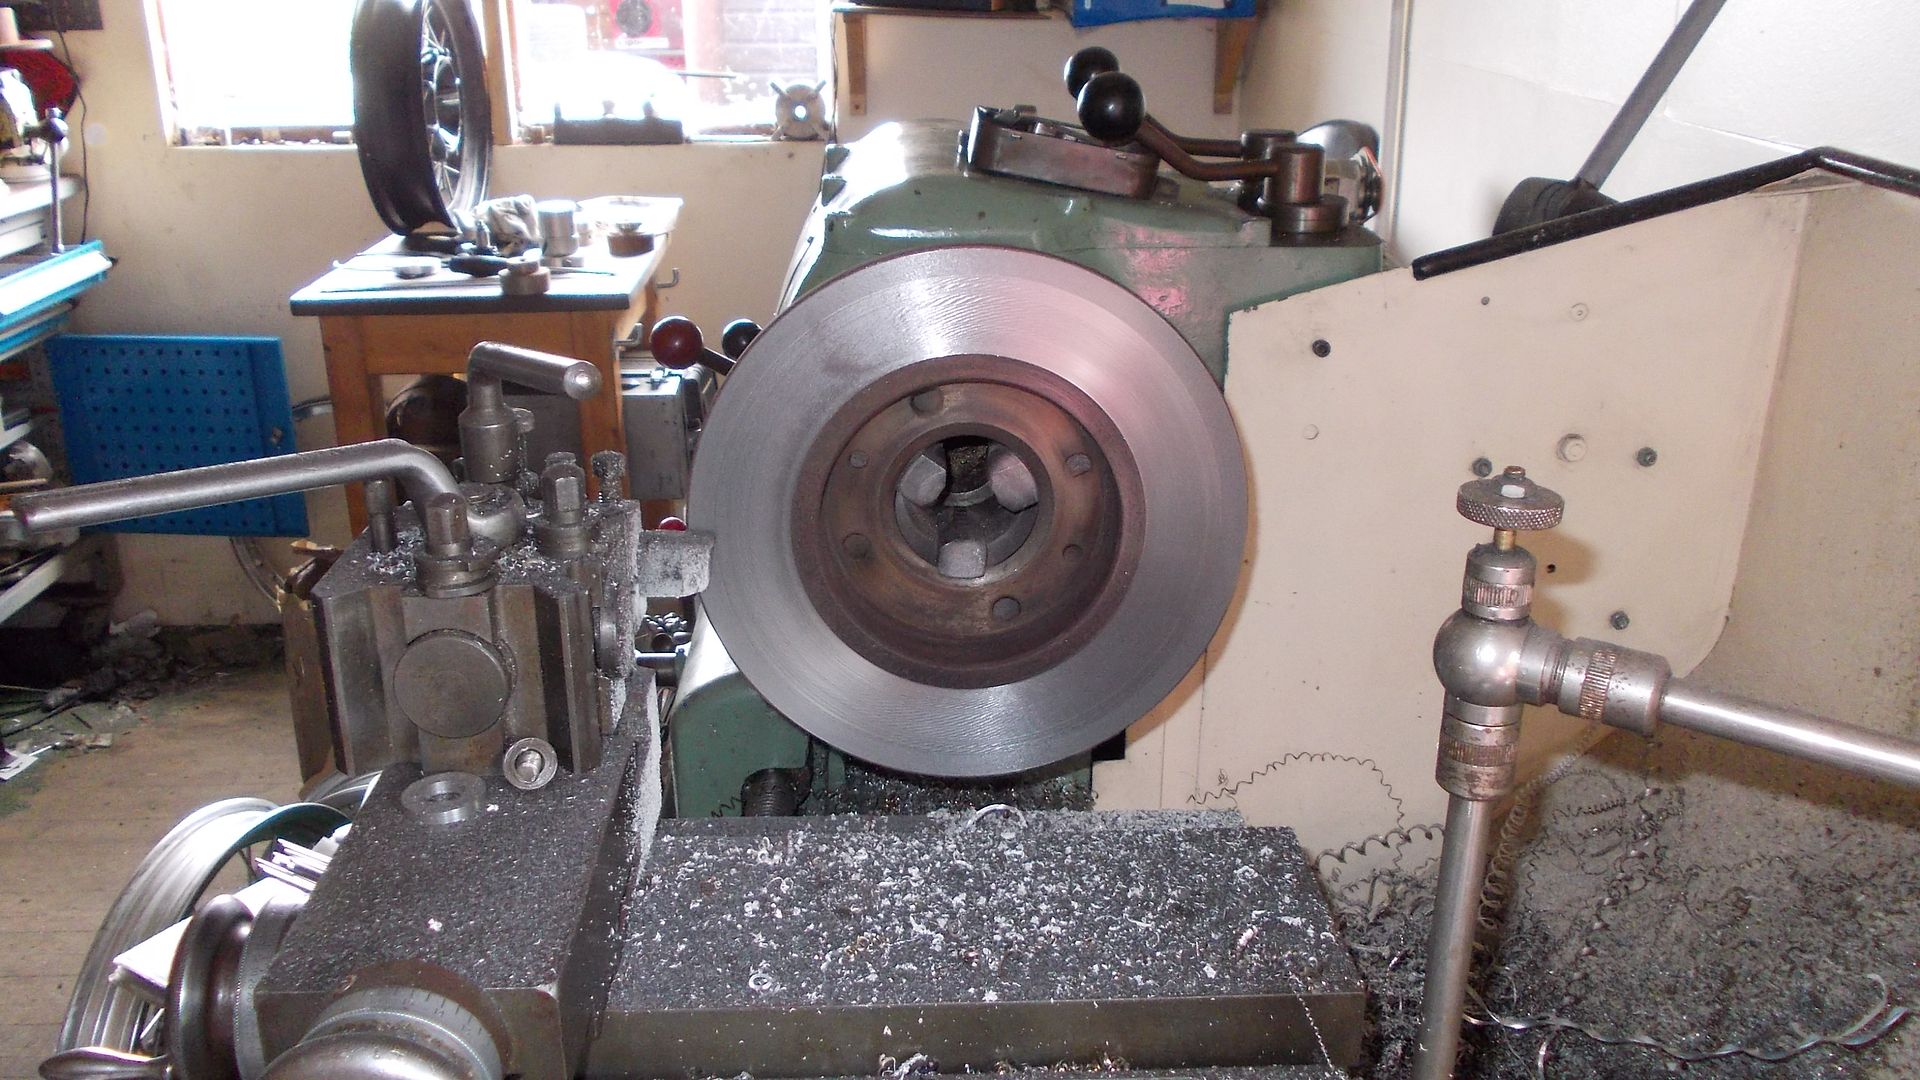
I looked at the discs and though they were shiny in certain areas a good half had a thick layer of rust but they looked as if they could be retrievable.


So I stuck them on the lathe and refaced them. Surprisingly, not a lot of metal was removed but, certainly, a fair piece of rust was taken off. I can now use these as the spare set as and when they are required but I have been toying with the idea of getting a disc that has been drilled which is the same size and can be used as a template and having a go at drilling a set of discs for myself.

The Feminine Touch
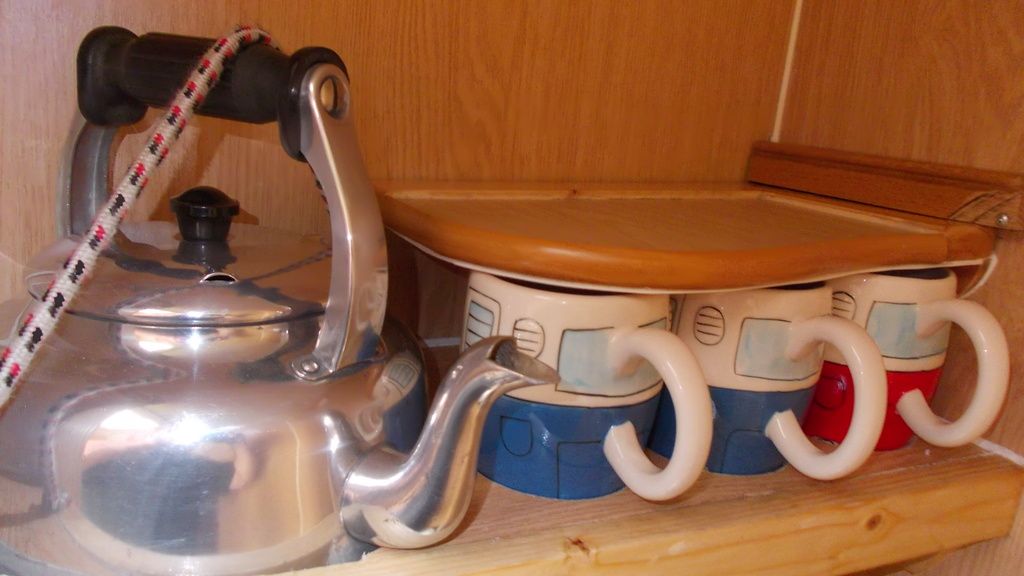
She who must be obeyed remarked at the Orkney meet that RoaminRog has a wine rack in his van and that she would be happy if she had somewhere she could put the cups and glasses without them breaking every time we went over a bump. Well here's my attempt at pleasing the little lady.


As you can see kettle, three cups (they were presents) and two glasses all safely held in place for transporting.


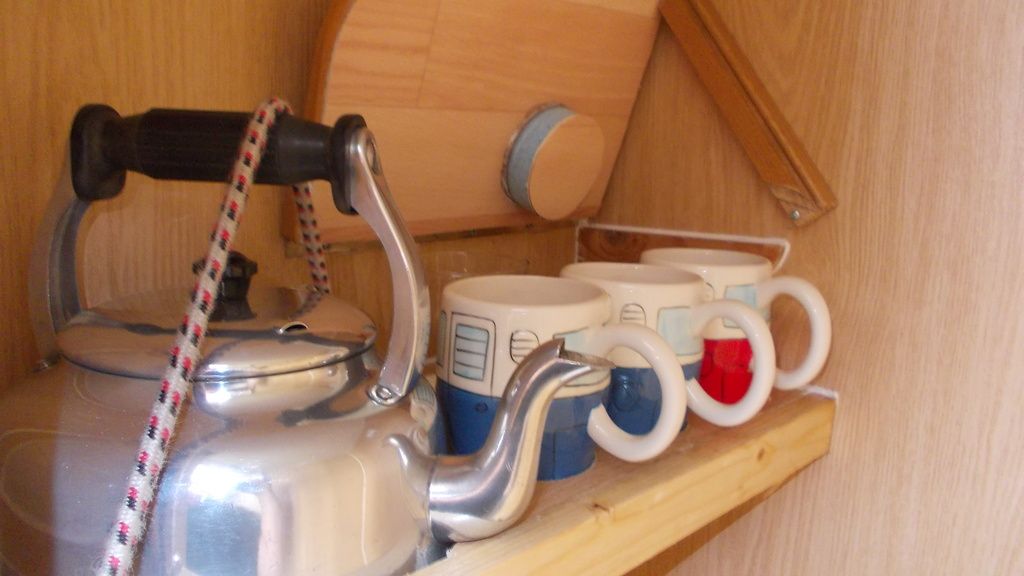
Ready for use. The piece of wood that acts as a locking device now holds up the top so access is easily available.


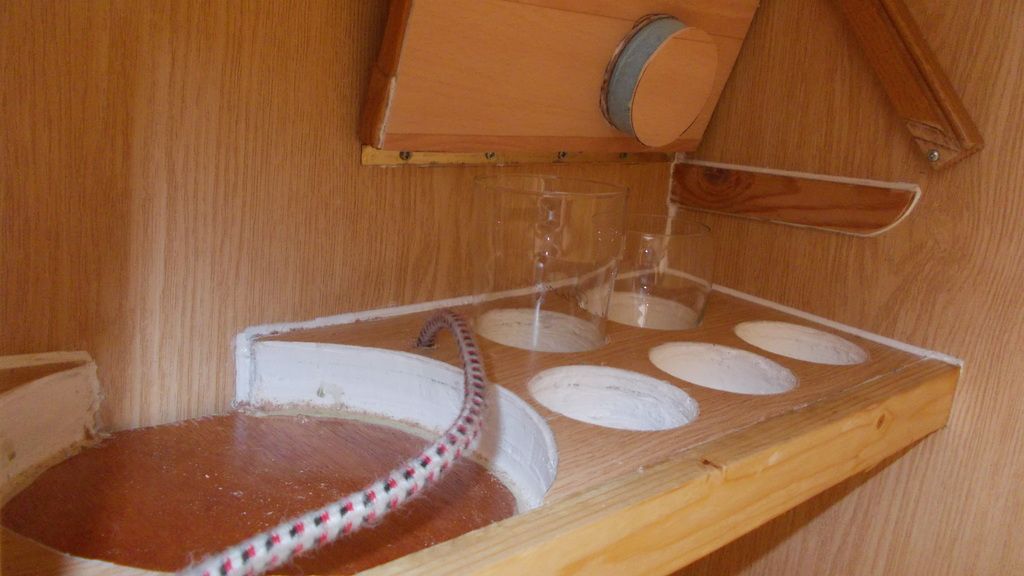
Tea making gear has been removed and all that is left is the glass cabinet.......the outcome, one happy missus.

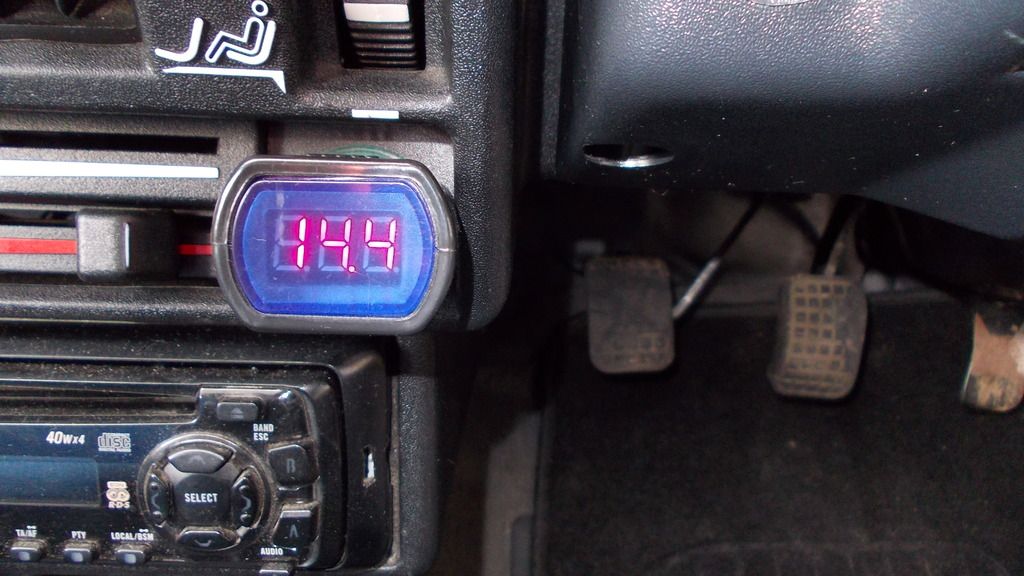
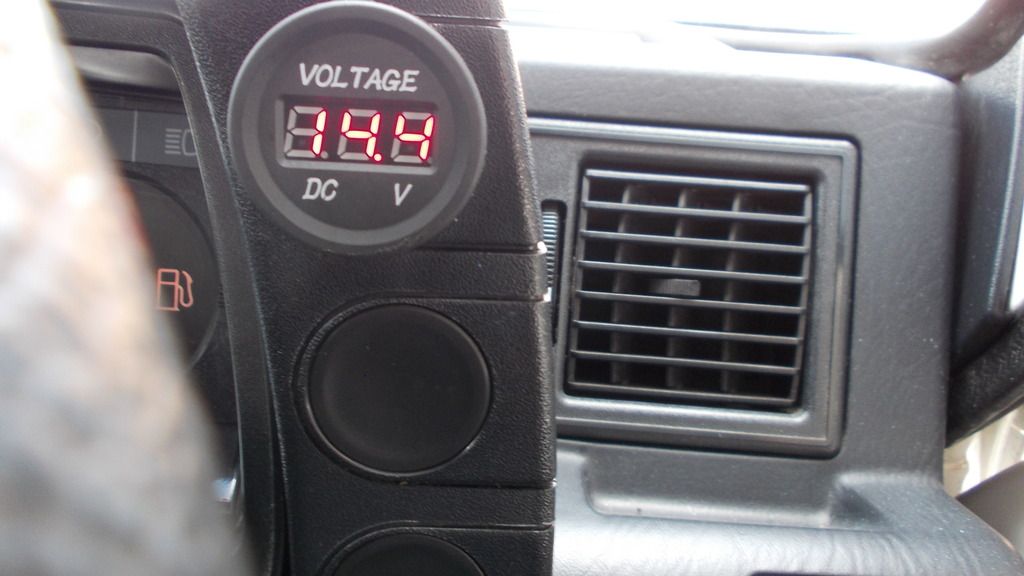
With a few long distance trips looming I always like to know what's going on with the oil pressure and the charging. With the lack of space I had to resort to this option.


Though it worked relatively well it was becoming an annoyance if the cigarette lighter socket was needed so I thought it was time to lash out and buy something permanent.


And this is it. Cost a grand total of £2.38 delivered to the door.


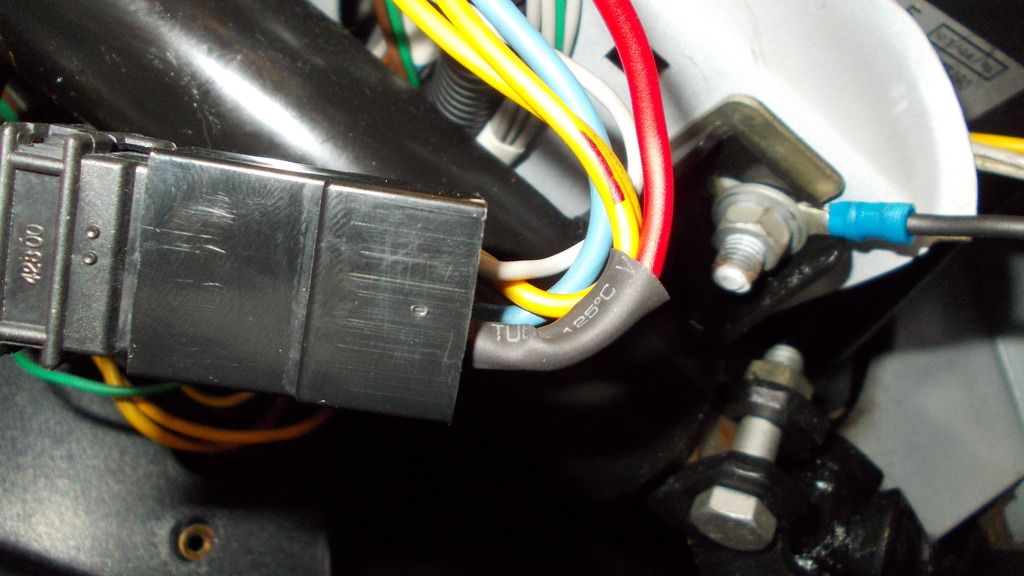
As I wanted to be able to turn it off when I wasn't using the van I thought my best option was to splice into the ignition wire, as both meters give the same reading I would presume that the wire must be compatible. I opted to solder the wires together and use heat shrink to finish the job off. Now need to do an oil gauge but struggling to find one small enough.

Upgrading the Fridge
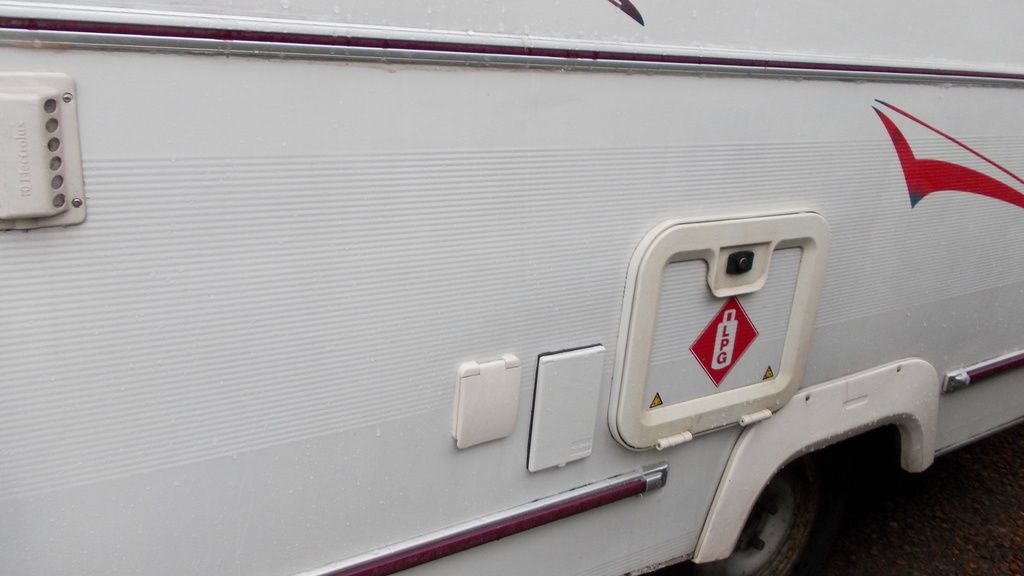
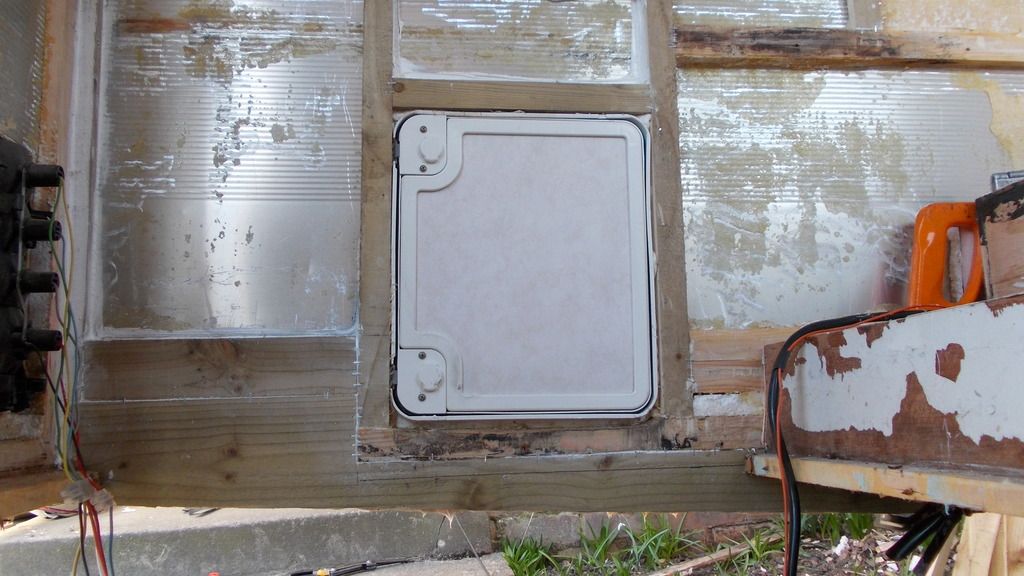
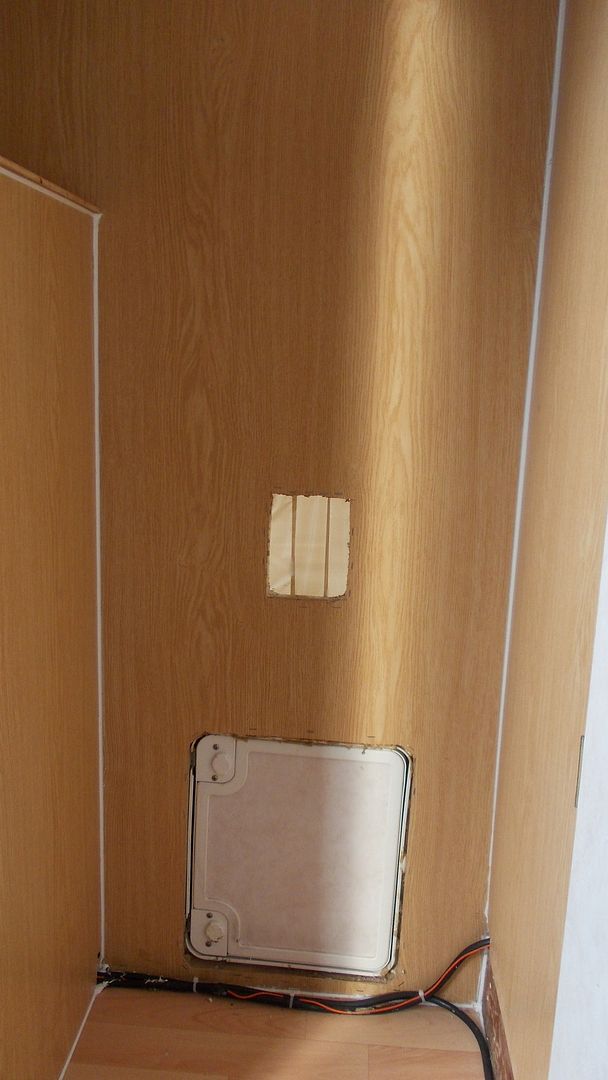
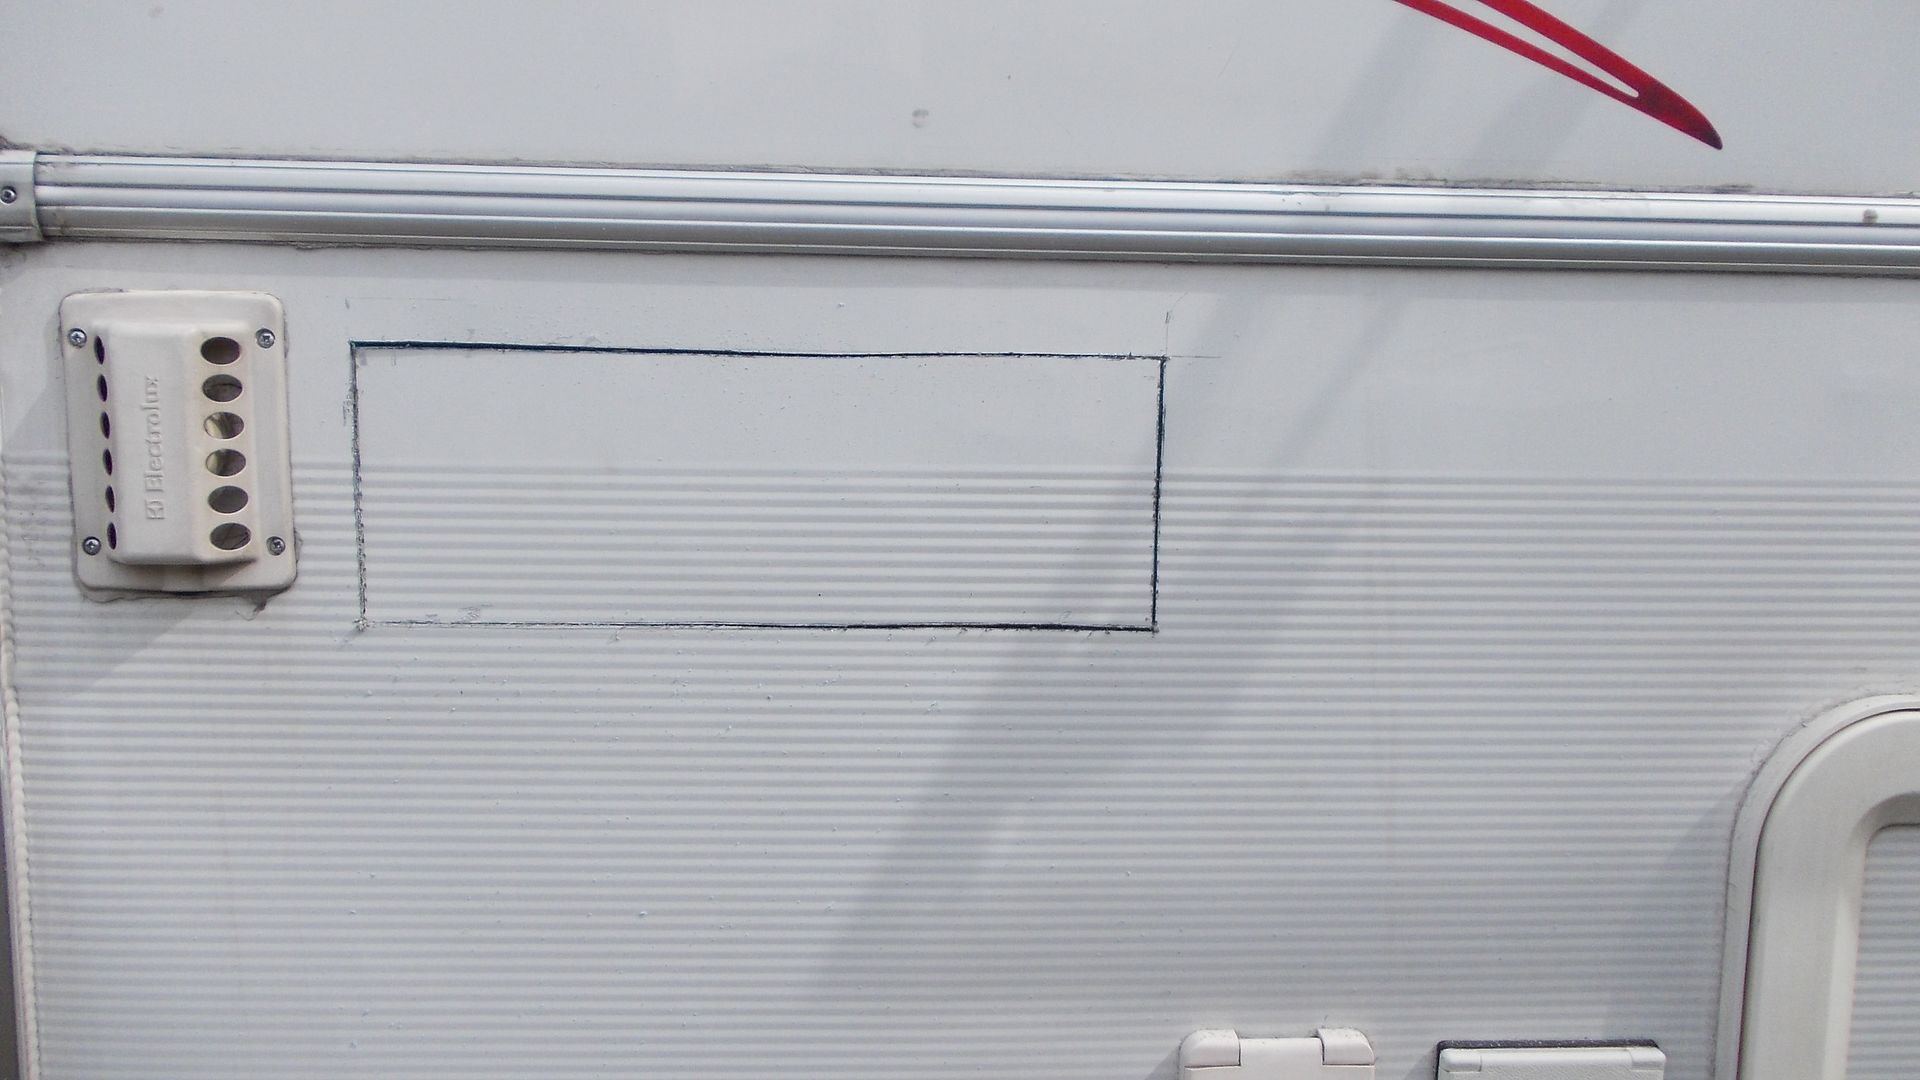
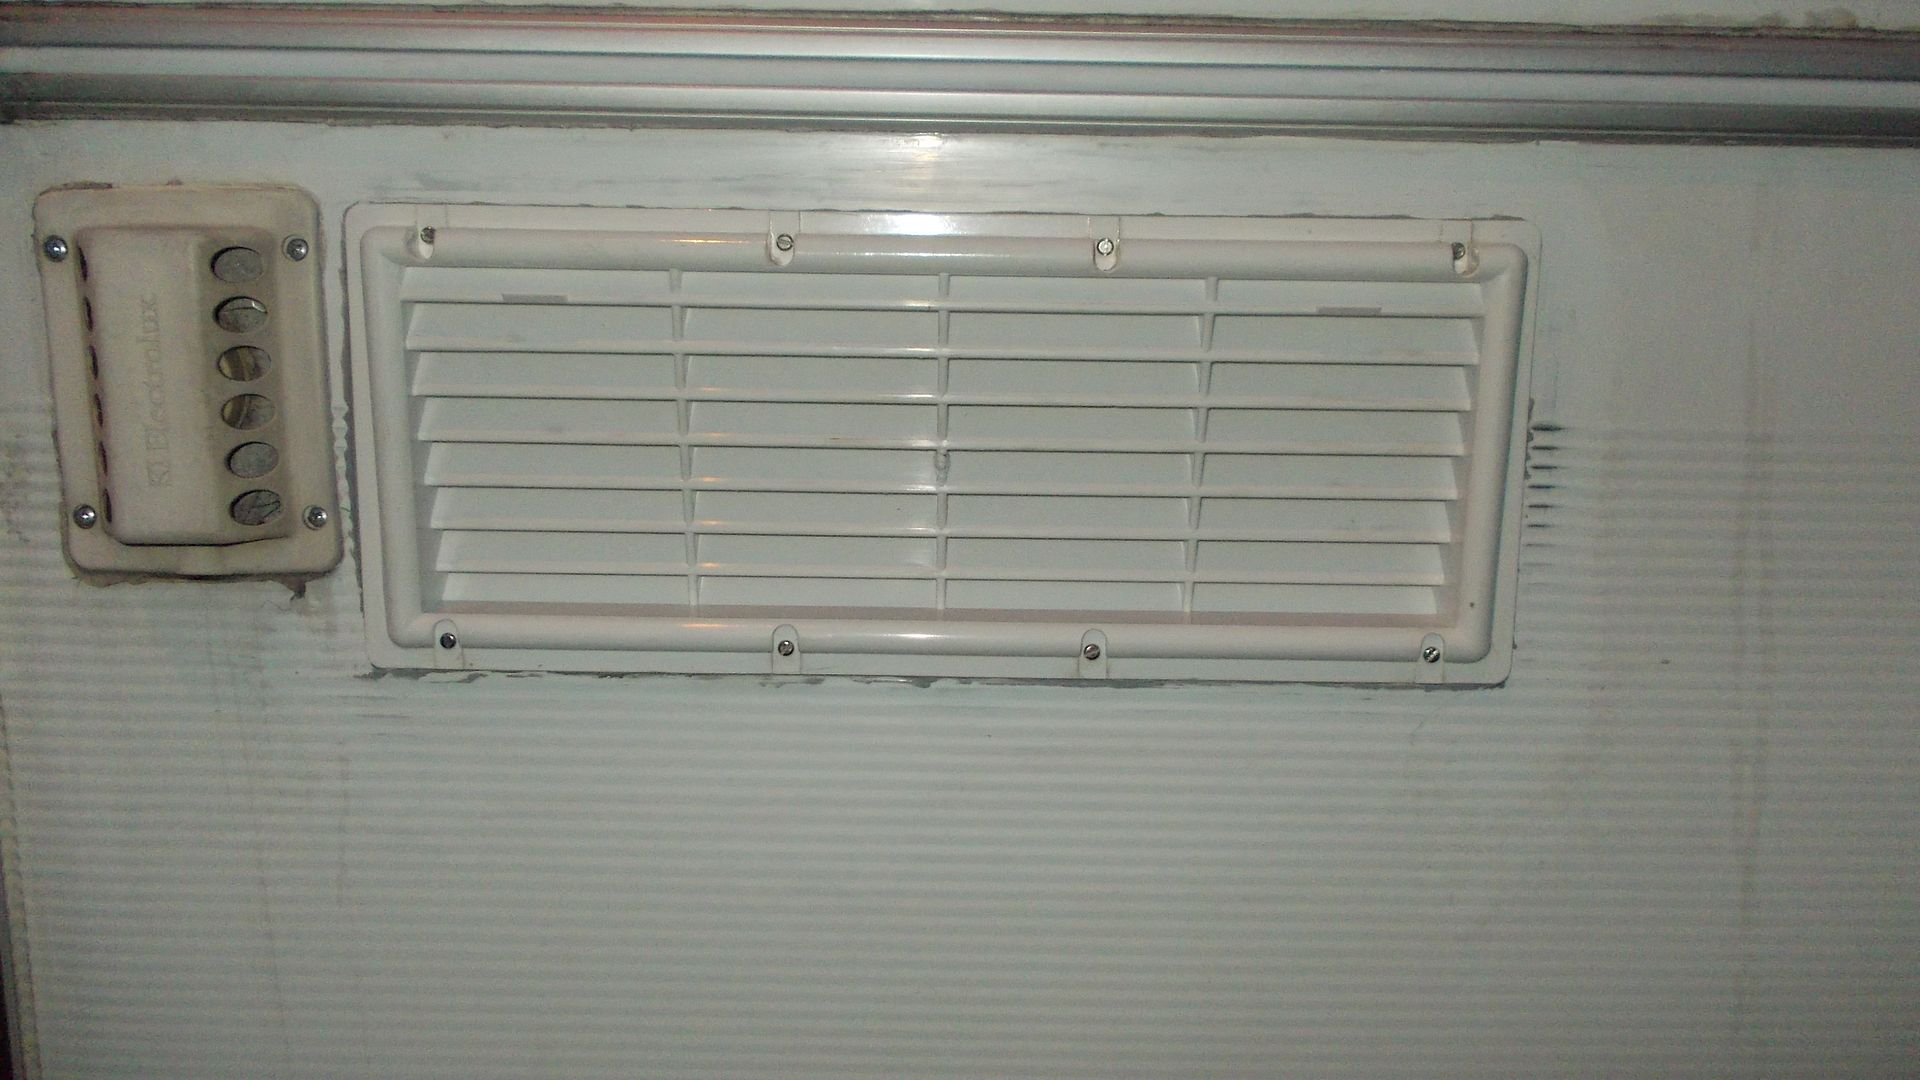
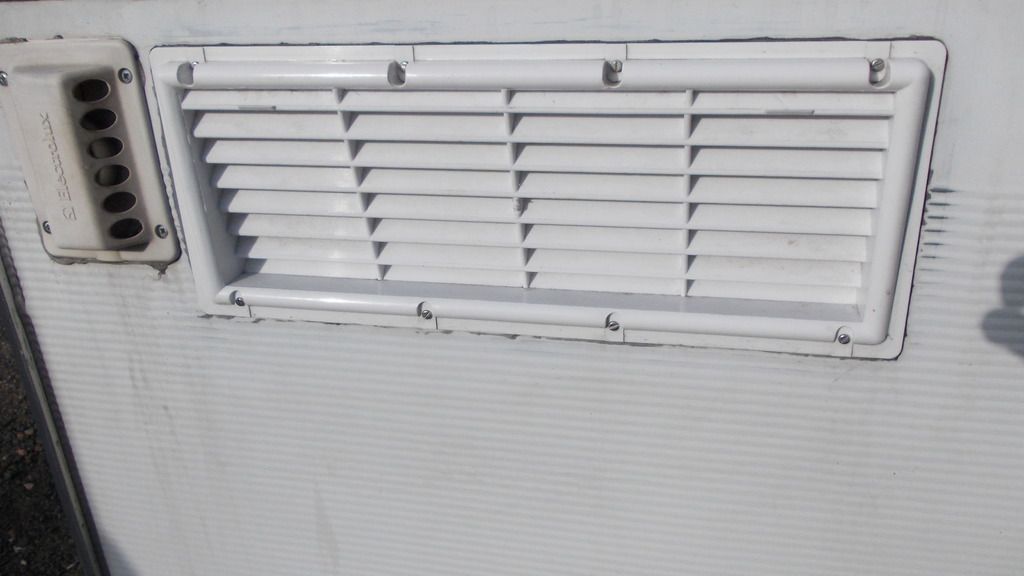
Not as complicated as it sounds. After a recent conversation we had at a meet, I realised my fridge was not running efficiently, easy enough solution, cut a hole in the side of the van and fit a vent.


Hole cut now ready for removal and fitting of the new vent.


New vent fitted now all I have to do is wait and see if it makes any difference.
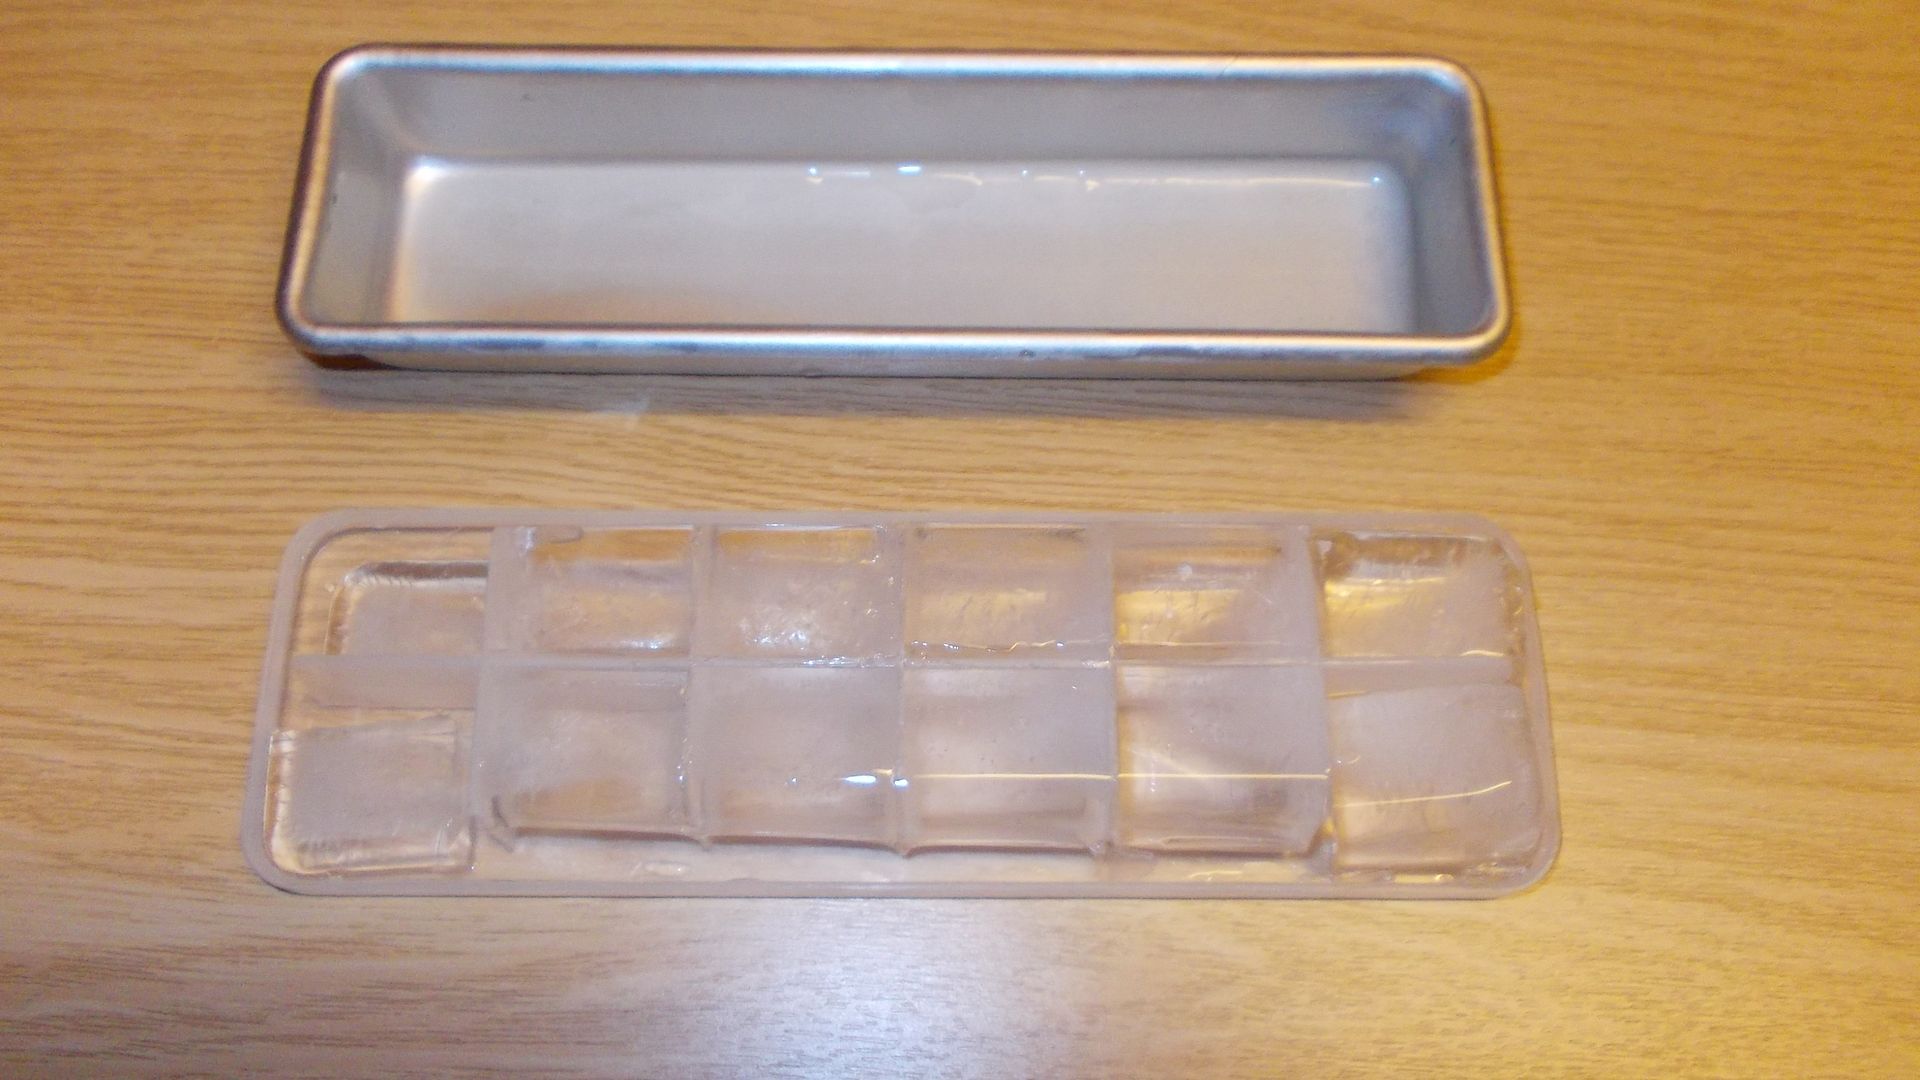
The test will be can I make ice cubes as I was unable to do this before. One vent is in the floor at the moment but I fully intend to put in another two; not sure about an electric fan, see how it goes.


Eureka! Blinding result, ice cubes.
Click to expand...​

This is the next part of the restoration.


Hopefully this will sort the front end out.
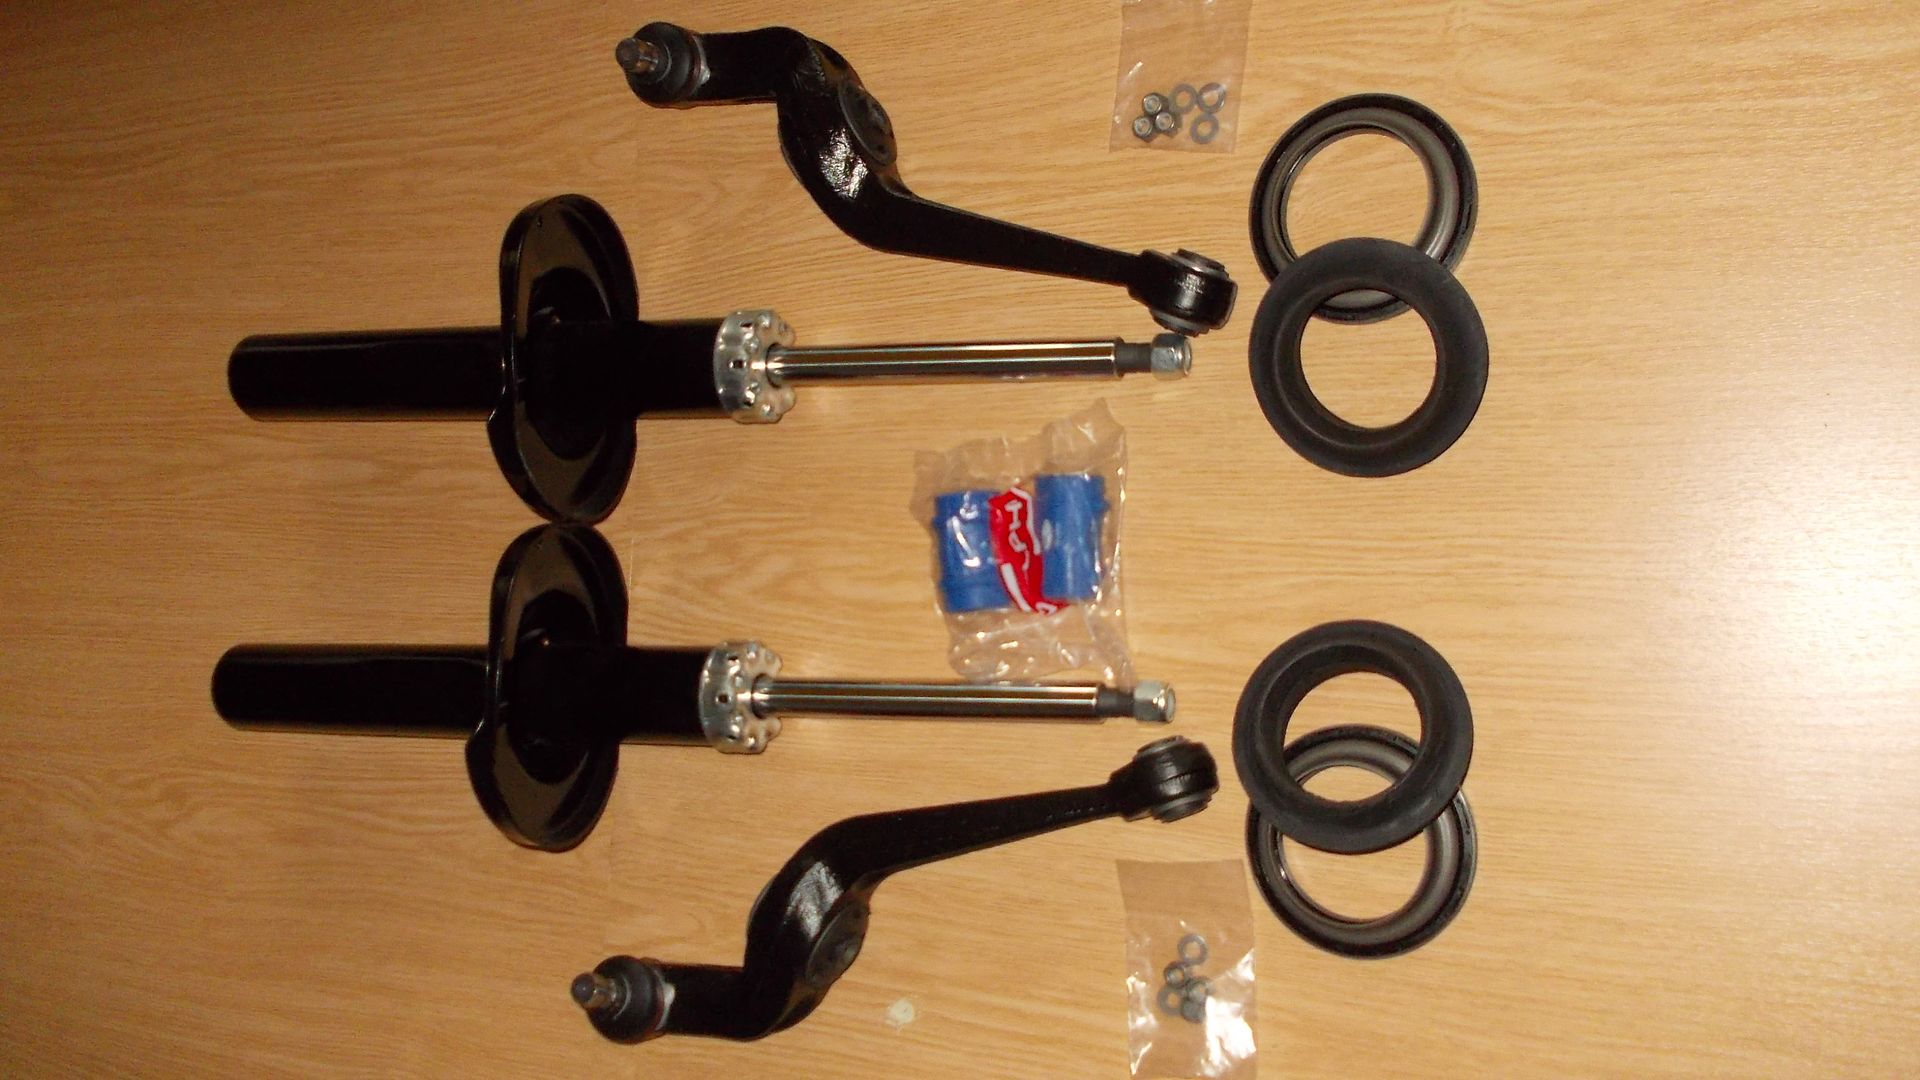
Got the van back this afternoon, had to have a new steering rack fitted and track rods as well as........the list:

Struts
Mounts
Track control arms
Anti-roll bar bushes
and the tracking reset

I think we're getting there. Next on the list will be timing belt and hoses.

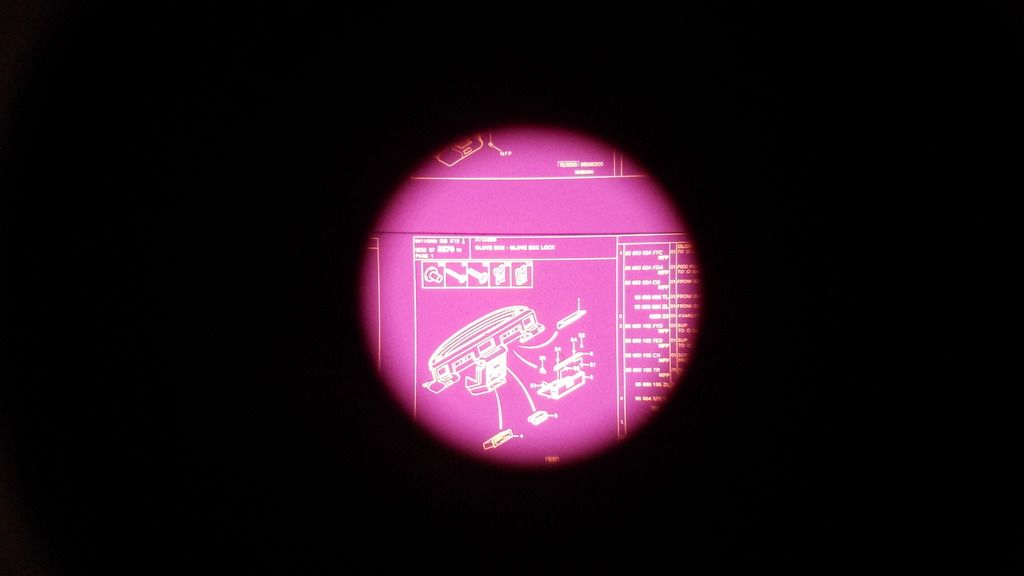
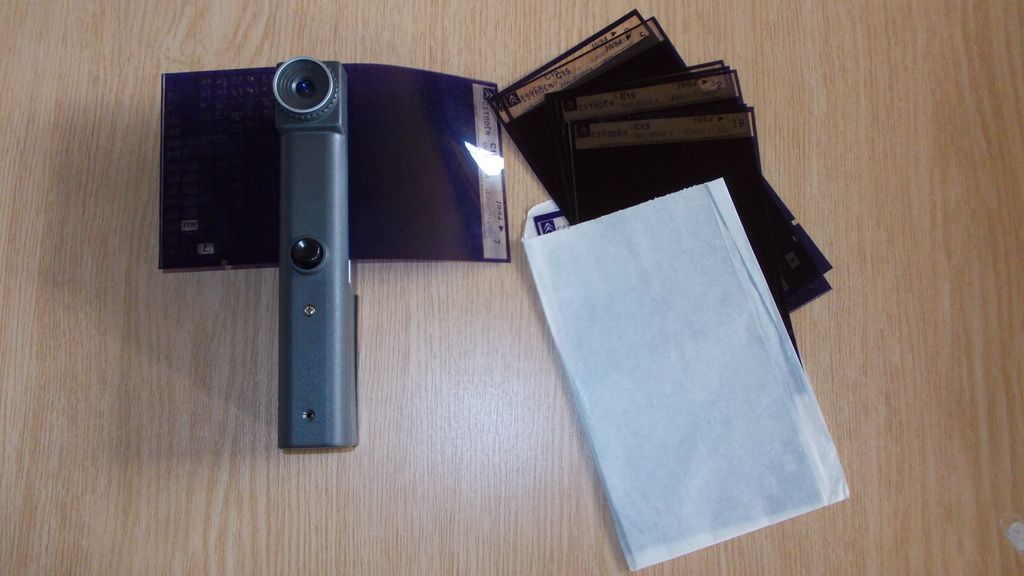
Was given this piece of kit the other day from a good friend with the words 'You've got a C15, you might find this useful'.


Well as you can see, it's a microfiche and, even better than that, it works. Not the easiest photograph I've ever taken but it gives you an idea of what it's like.


And what's more, I've got quite a few pages. Haven't checked yet but I would presume it to be all there. This should make ordering parts a little easier (I hope).

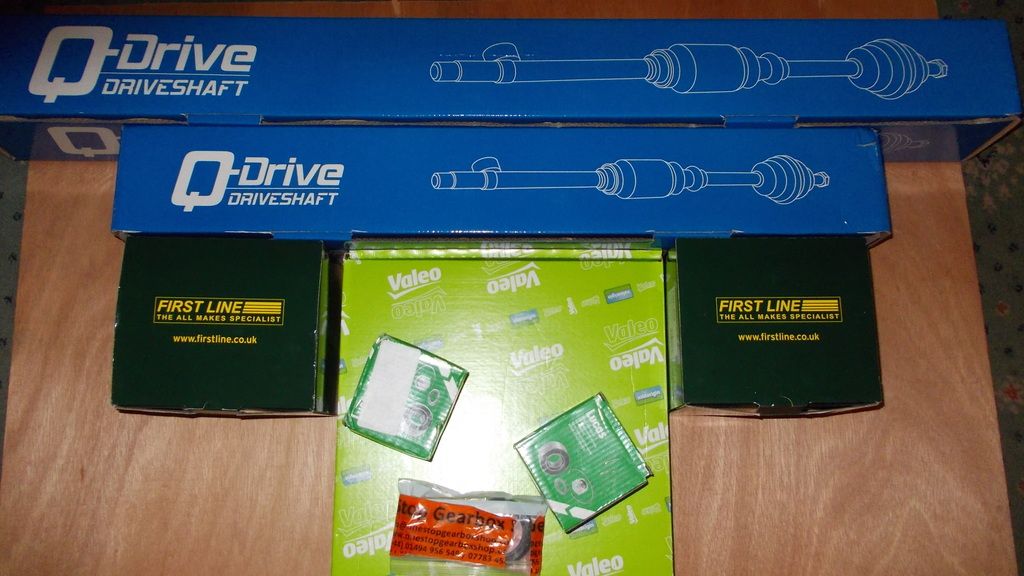
The restoration is nearing completion with the final shopping list:

Front, left and right, driveshaft
and new oil seals
Front and rear wheel bearings and
A new clutch

I also have a new radiator and top hose but this will go on at a later date. Hopefully once all these bits are fitted we should be able to sit back and enjoy the van. Mechanically I think we've covered nearly everything that needs, or could need, replacing. Surprisingly all the parts have been quite reasonably priced, we have opted to get this work done professionally this time whilst on holiday with family.


The latest update, all the parts mentioned previously along with a new windscreen have now been fitted so I thought it was time to do some tweaking and as summer is upon us I thought a good place to start was the fridge: a simple upgrade to make it work more efficiently.
First picture shows a hole cut in the side of the van and a vent fitted.


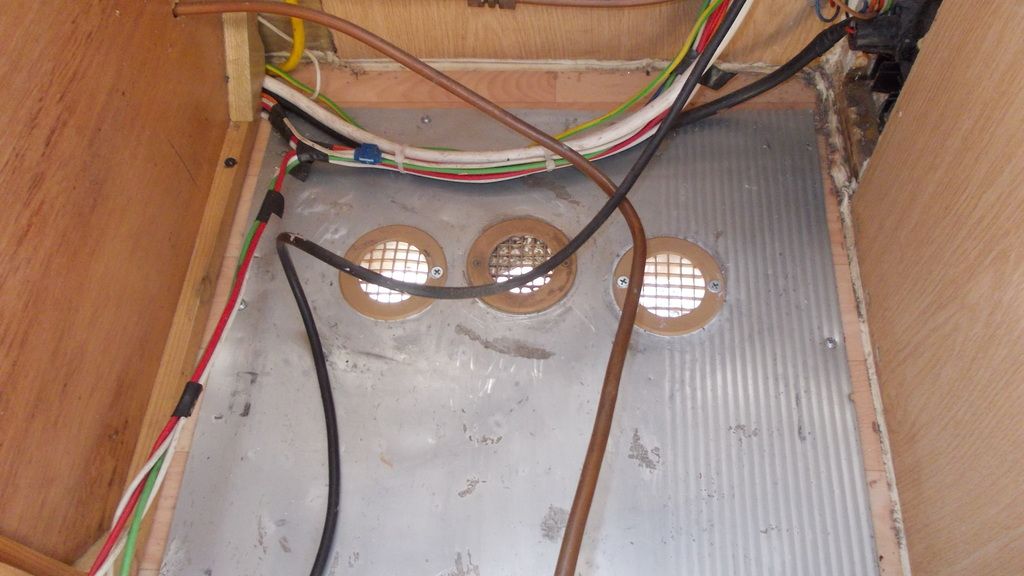
Three holes in the floor for better air circulation.


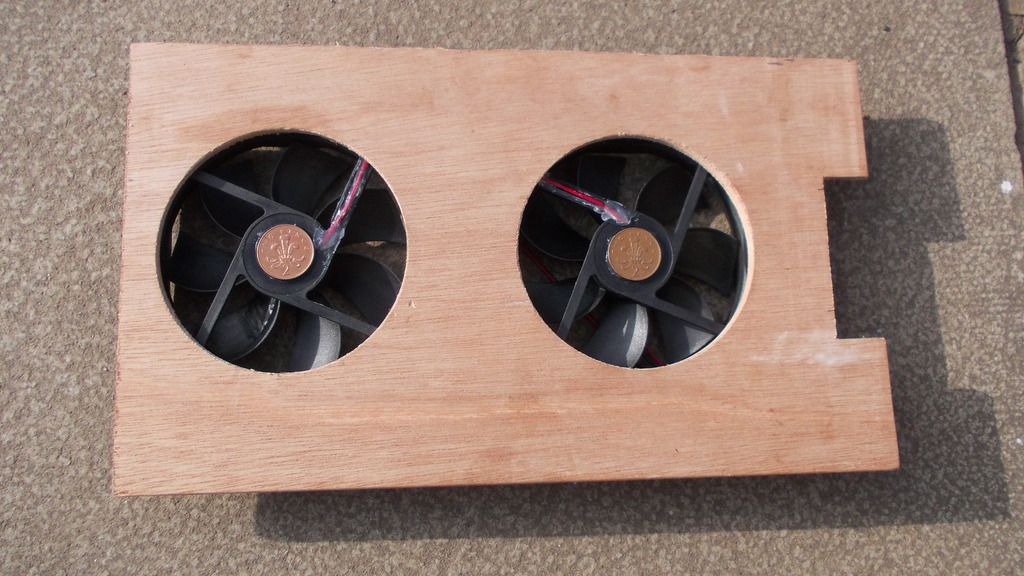
Two computer fans attached to a small sheet of ply.


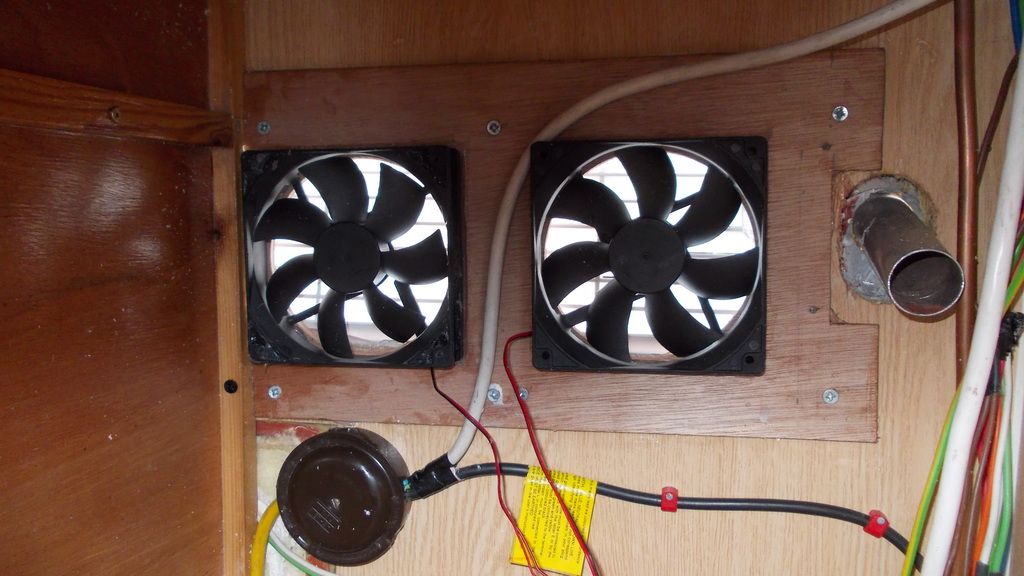
Fans in situ.


This is a common conversion that takes the hot air away from the fridge area. The fans are turned on manually by a switch in the front as they would not be required in the cooler weather. I also fitted a thermometer to the front of the door and the probe on the inside at the bottom; this, hopefully, should let me know what is going on inside the fridge.

Rae
 

StreetSleeper

Forum Member
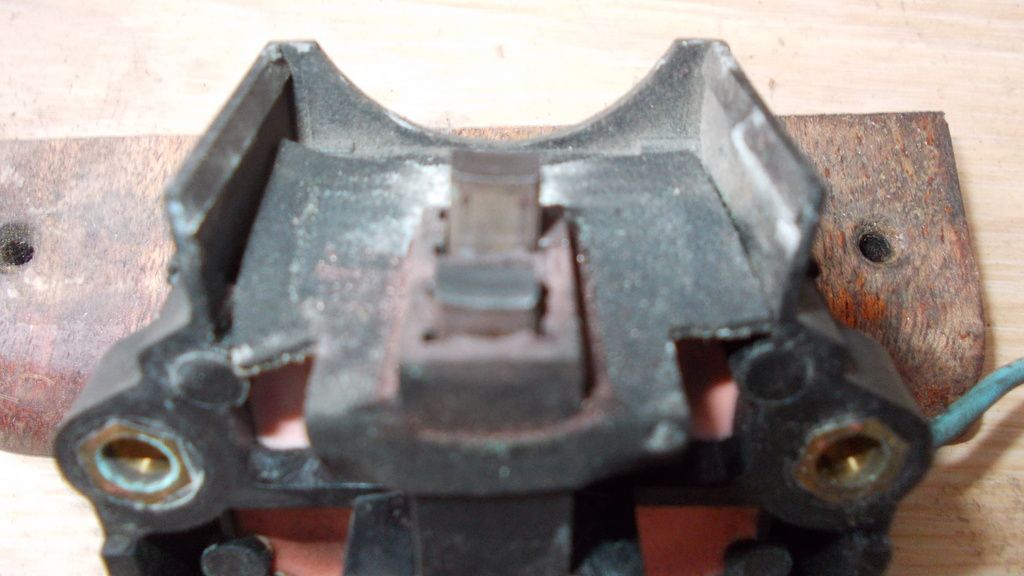
I've noticed the engine mountings, at the top, were becoming rather soft and so I thought I would replace them. Before I attempted this task I decided it might be good idea if I got the shopping first so whilst going down the road I couldn't help but notice the red battery warning light was staying on; on further inspection the brushes were worn.


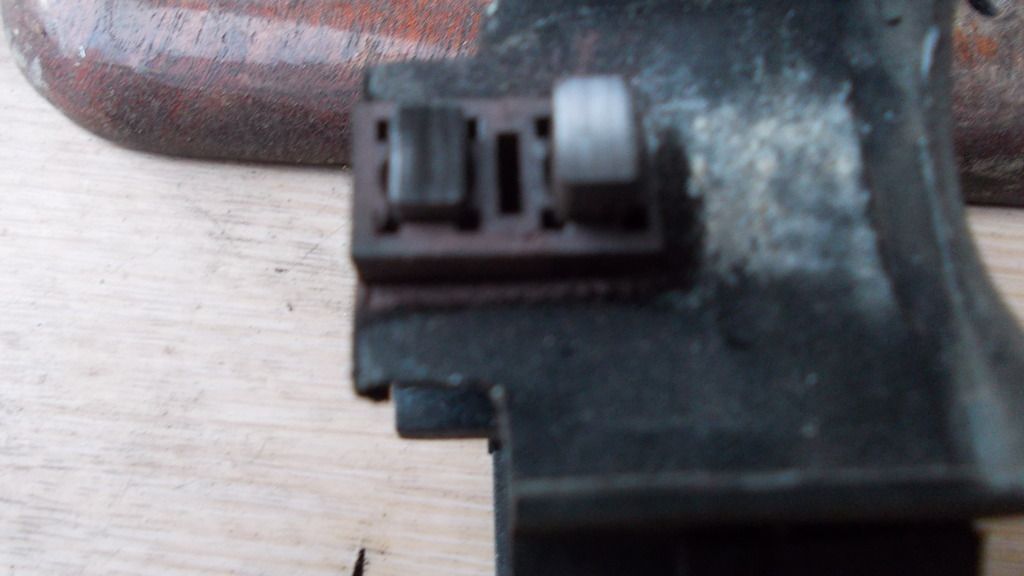
As you can see from the second picture one nice shiny brush and one black and there lies the problem.


I anticipated, some time ago, this may occur and so I ordered a new brush kit. Simple enough job, remove two screws, disconnect one wire then repeat the action in reverse: job's a good 'un. Testing the alternator with lights on 13.8, with lights off 14. This may improve once the brushes have bedded in.

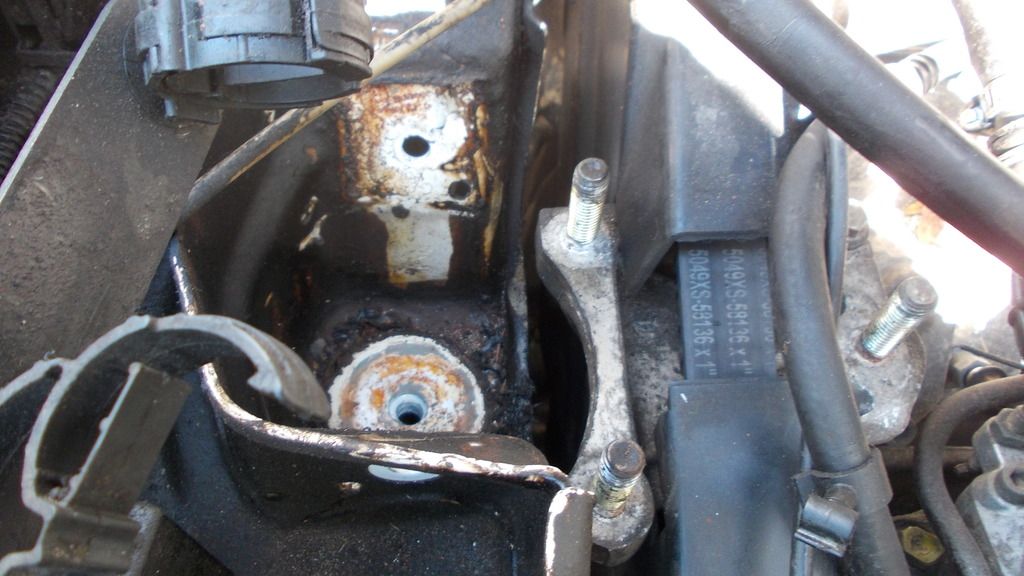
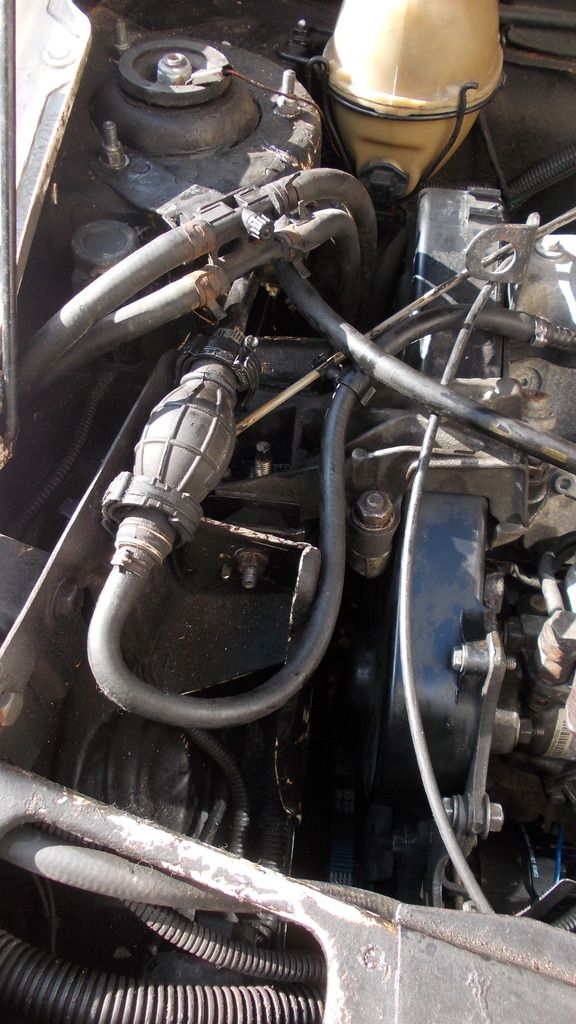
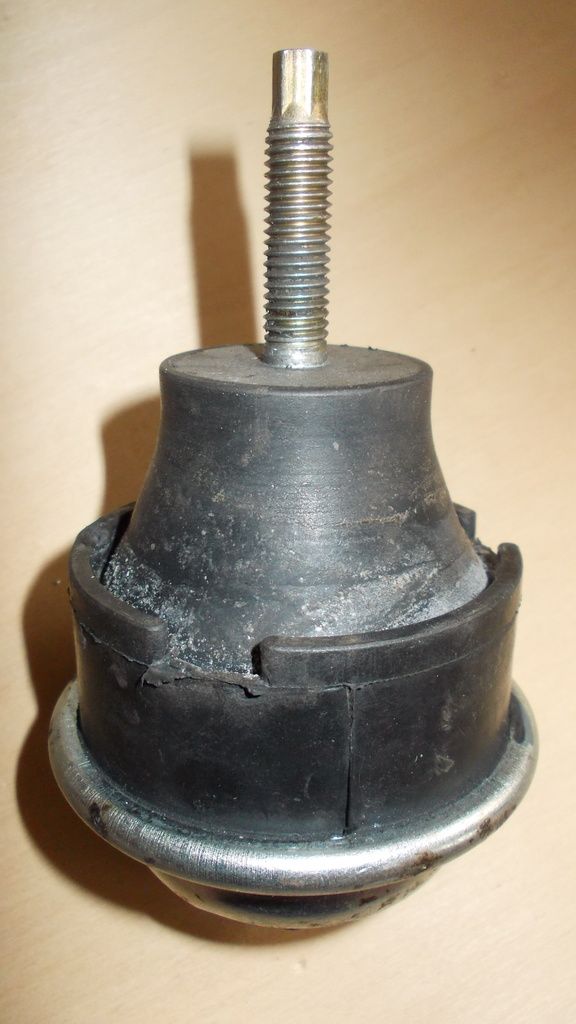
Today's little task, which I should have done yesterday, top engine mounts on the right side of the engine. This actually consists of two wedge shape rubber blocks and a conical shape with a bolt on either end which, actually, holds the engine up.
First picture shows it stripped down ready for the parts to arrive.


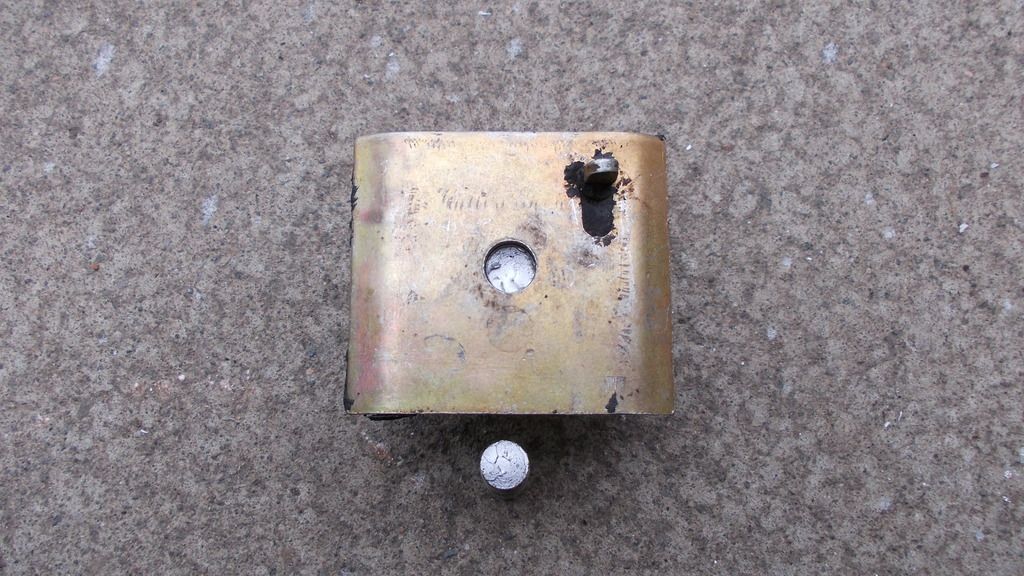
Parts turned up mid afternoon, thought it was going to be a straight forward job until the bolt snapped. Was quite surprised when this happened as I was only using a 13mm spanner and not a long ratchet.


Only one thing for it, get the arc welder out and weld the bolt back in place. This will be replaced as soon as the new part arrives.


Finished job, just going to take it for a test drive now.
Took the van out for a test drive, all fine and well. Popped into a petrol station, stuck 10 quids worth of diesel in, continued on our merry way returning back home, suddenly really bad vibration coming from the engine bay, so much so I checked my receipt to make sure I hadn't put petrol in the van and a quick check over all my work including the repair job and all seemed in order. Climbed under the van, wedged a piece of wood between the bottom engine mounting and the chassis and the vibration calmed down.......looks like I'll be changing the bottom engine mounting. If I get all the parts in time I should make it to Rutland, the problem we have now is most of the car factors won't even entertain parts for a 20 year old vehicle so it's a matter of good old eBay and such likes.

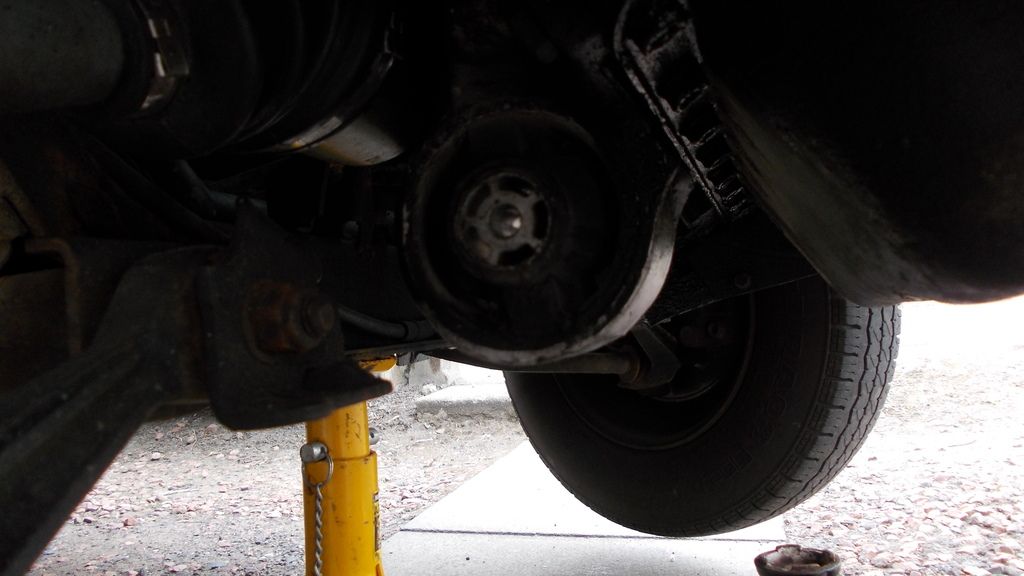
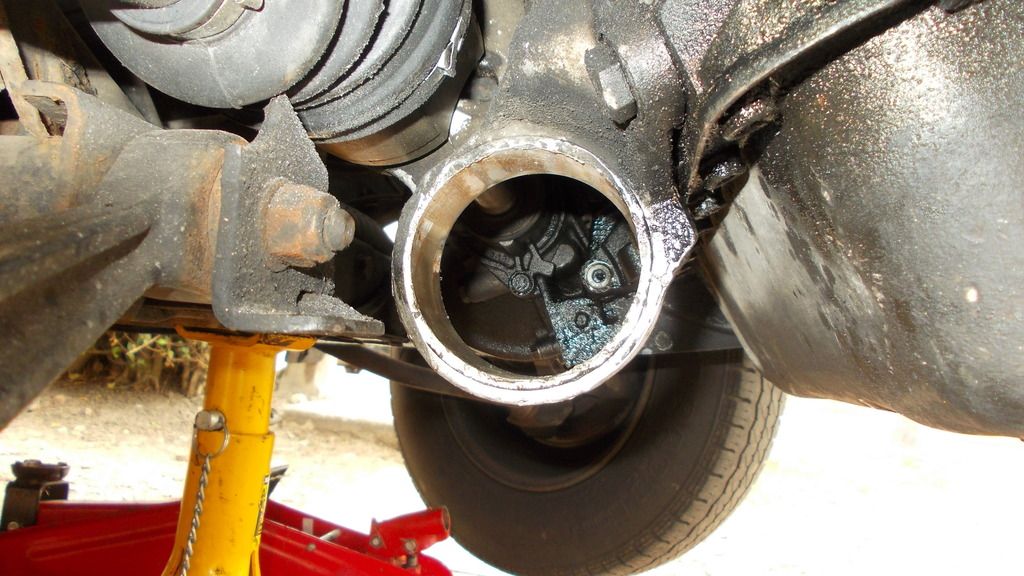
I ordered all the parts that were needed last night online so this morning all I had to do was remove the lower bush, simple enough job, jack the van up, take off a wheel to get easy access.


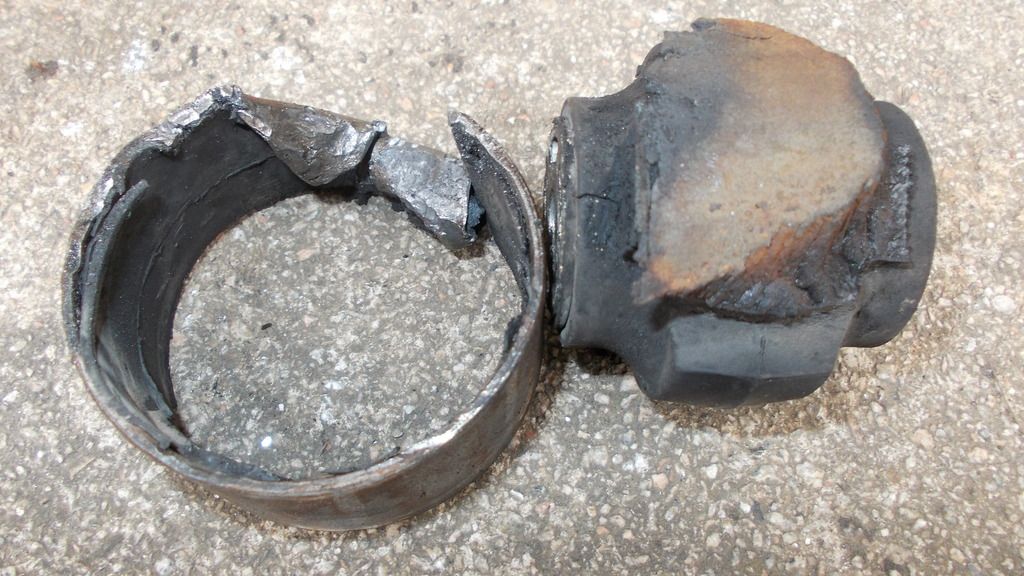
Was wondering what approach I would take to remove the rubber bush so I hit it with a hammer and, to my great surprise, it went shooting off across the garden. Well that was one problem solved, the next problem was how to remove the steel band that was quite well attached to it's aluminium casting. This, in fact, was achieved by getting a hacksaw, removing the blade, putting it through the hole and then fixing back into it's frame; two cuts were made in the steel band, stopping before I cut into the aluminium casting. Once this was achieved it was just a matter of hitting it using a hammer and a punch.


Bush removed and faces all cleaned up, ready for the new bush arrival.


Here we have a picture of the bush. As you can see by the brown area there wasn't a lot holding it in place and you'll notice from the condition of the steel band it didn't come out very easily. Sitting down now, hopefully, the parts will arrive tomorrow.

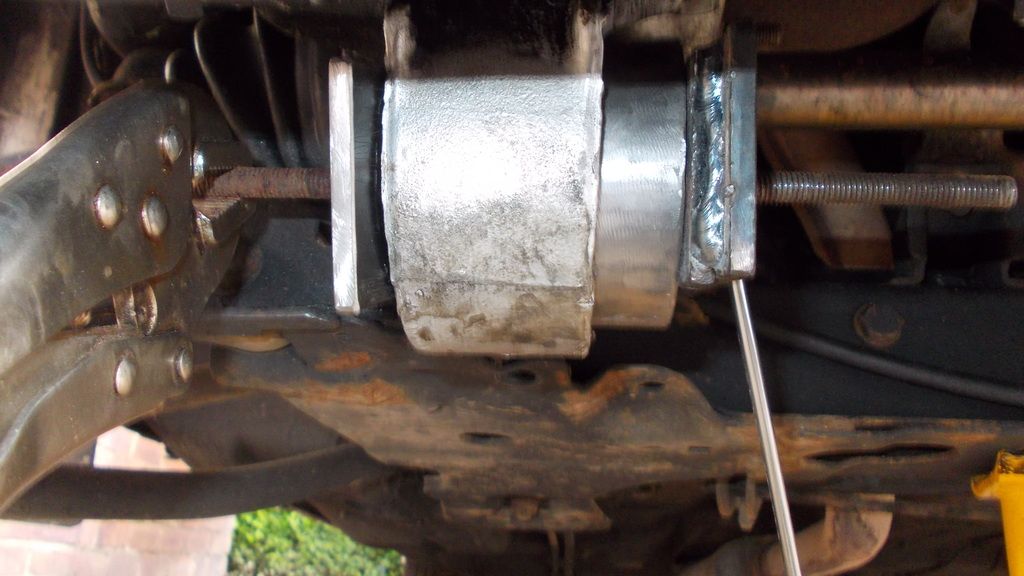
Received the bush Saturday afternoon, as it had been raining most of the morning I didn't feel too bad at it's late arrival. Though it was still quite damp I knew that I just had to get on with the job so, with my rubber mat, I made a start. Because I could not get a good swing with a hammer I decided to make up two metal plates and a length of stud and pull the bush into position.


I had to weld two extra strips either end of the plate so that I was pushing on the outer edge and not putting a strain on the centre.


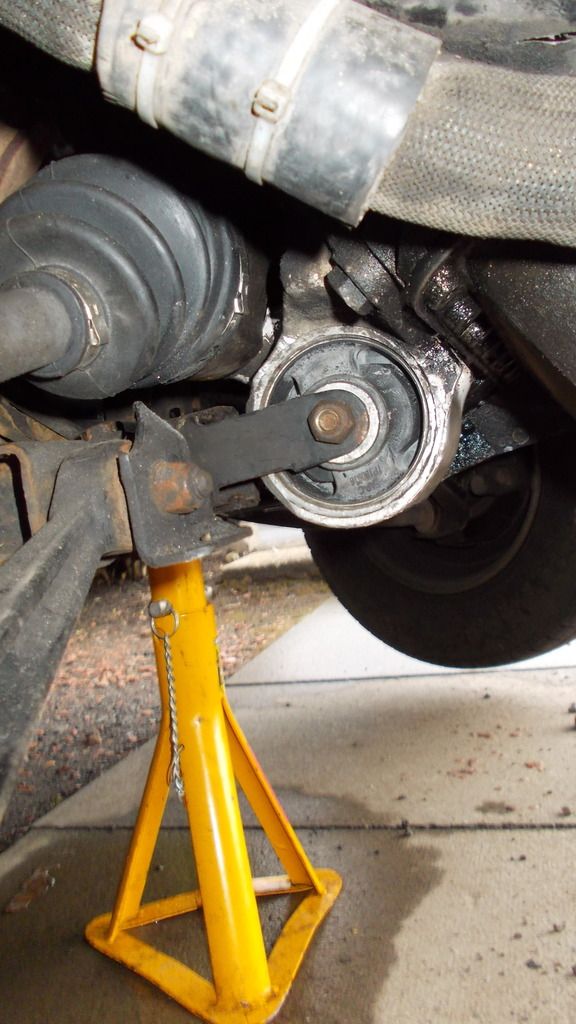
Well there you go, all done, or so I thought. Fired it up, the same problem still exists. On closer inspection I noticed the top bush (which was new) had collapsed and the support arm was now resting on the frame of the bush. Fortunately I still had the other one so all I had to do was to go rummaging through the dustbin, a quick swap over and the problem is now sorted. Took it for a 30 mile test drive with no issues.


This is the culprit, if you look very carefully you can see the crease where it was pushed back into the metal shroud; this area being hollow. Now all I have to do is clean the dirty finger prints off the van.

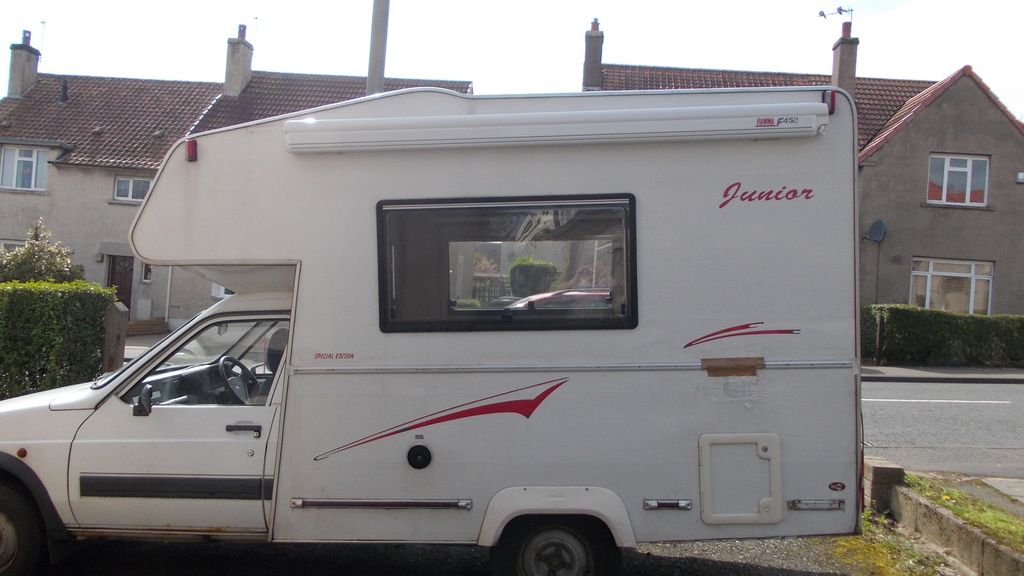
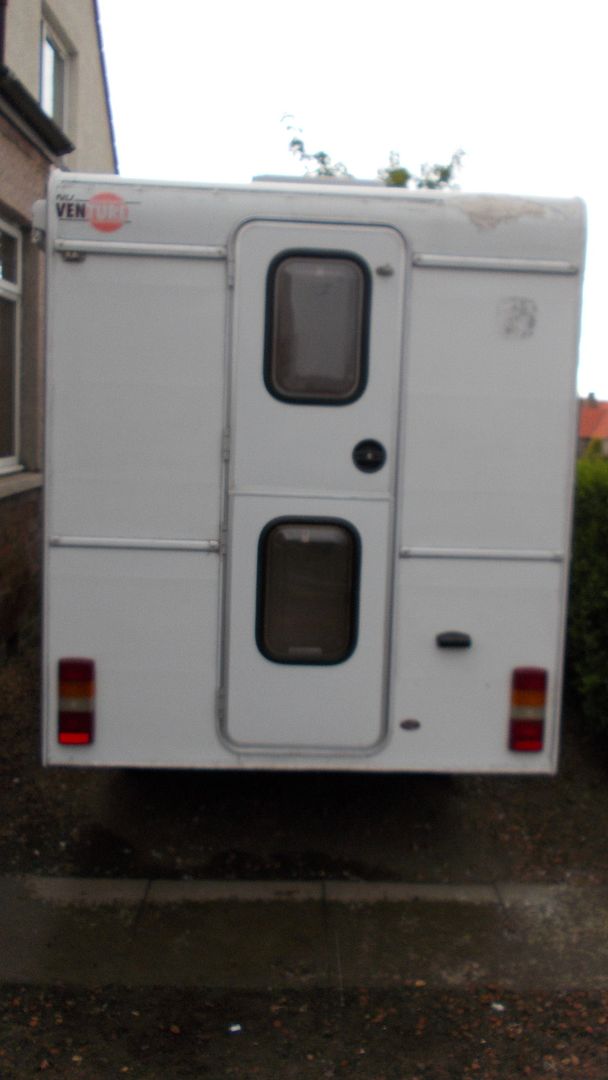
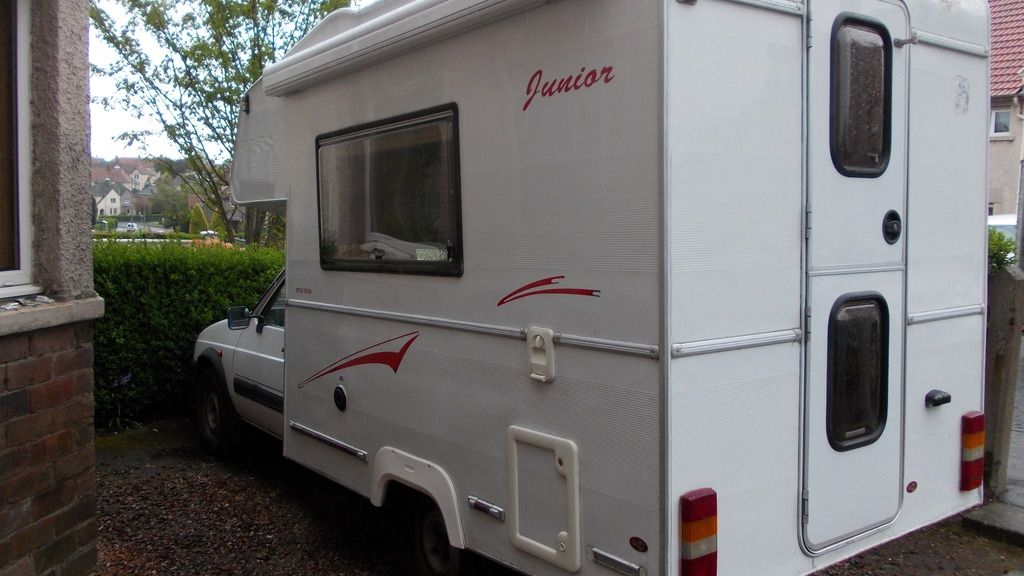
Thought I'd give you some idea of what the van looked like prior to it's facelift.


Hope you've enjoyed this thread as I think I can safely say the reseal/restoration has been done.

VAN NOW SOLD

Rae
 

GEOFF

WOW!!! A very interesting read, but I have run out of time to read through to the end. will get back to it later. Ithink you are a hero. Geoff.
 

Deleted member 4404

Thank you for posting this Rae: I read the original, while you were carrying out the work and I'm still in awe of your workmanship. Well done (y)
 

StreetSleeper

Forum Member
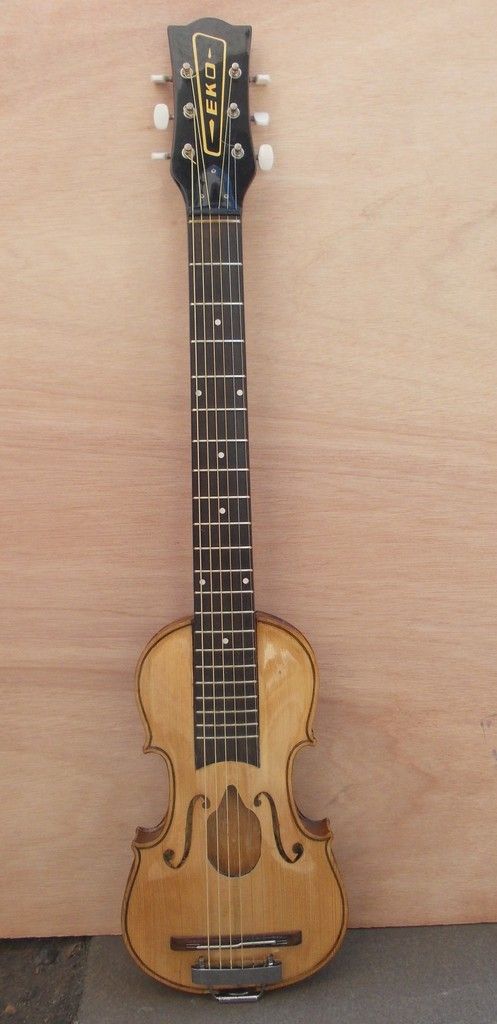
Just in case anybody is interested it took four and a half months to complete the rebuild, so what you're asking yourself is what did I do in my spare time i.e. when the glue was going off etc? Well this thing here:

This is my attempt to stick an Eko guitar neck to a violin body.


It was made as a travel guitar.

Rae
 

Users who viewed this discussion (Total:0)

Top