HTF's campervan build

HTF

Forum Member
First I would like to say that I'm from Portugal so, English is not my maiden language so, excuse me for any mistake ;). I was born in Portugal and at 3 years old moved to Mozambique one of our ex colonies and fled to South Africa in 1974. Went to Afrikaans school there with English as second language and returned to Portugal in 1981. After all these years I forgot completely the Afrikaans language o_O.

The motorhome "bug" started shortly after our return. We had a small electric motor repair shop and bought a Toyota Dyna 3,5t truck. Dad had the idea of building a camper attachment that would bolt to the chassis after removing the cargo part. He bought an old enginless Mercedes 408 box van, removed the chassis and part of the driver cabin leaving the roof intact. The old cabin roof would fit nicely over the Dyna's cabin and we were able to make enough space for a bed. Everything went smooth and we finished the build. 4 jacks were installed to store when not bolted to the truck and the exchange took less than 90 minutes. The truck was to be used for work and easily converted for leisure.
Came time to legalize the build at our DMV department and received some bad news. The motorhome could be legalized ok but would lose the statute of working truck. It was one or the other. Money was short so the work part won :( The camper was parked in a corner of the yard but not before a trip to Paris and back.
 

HTF

Forum Member
The bug stayed and some years later, I accidentally saw an ad for a 1979 Hymer motorhome for a very low price and I bought it. A little over 20 years old, what could go wrong? :) It was a fun camper and I did many improvements and had it for a couple of years and one day, in the middle of a trip, the camshaft seized, broke the timing chain and destroyed the engine. Didn't feel like repairing it and sold it to a guy that wanted to use it as a caravan parked permanently at a campsite.

Used to go daydream at the camper shows but the prices were always the issue and with 2 daughters that didn't really like the motorhome concept, I didn't even try. With the daughter grown and out of the university, they no longer wanted to go on holiday with the parents and the urge to get another motorhome submerged again.
This time I wasn't going to buy a vehicle that someone had already imported and decided to import myself one. Some search on a German site and the "perfect" van was found. A 1999 Pössl on a Peugeot Boxer, one owner, in "very good condition". The idea was to start cheap, make some improvements, enjoy some trips, sell for a profit and do it all over again until we made enough money to get a good one.
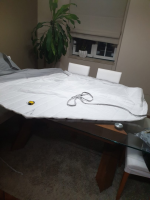
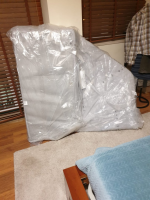
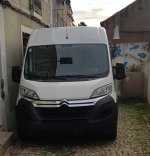
It was cheap and I made the improvements but the real condition of the van underneath was hidden under a thick coat of Fleet Coat with the worse holes patched with Styrofoam and aluminium tape :mad:. This was 2018 and after a few improvements and a few trips, I was able to sell the van for a profit and abandoned the idea to import another one. A lot of thought went int the decision of a self build and in the middle of Covid confinement, the perfect van came under the radar and I went for it. The money of the campervan sale was enough to buy the new one so, the story begins :D


J1 (1).jpegJ1 (2).jpeg
 

Millie Master

Forum Member
Well, what a story, what a tale and what an adventure.

It is so very good to have such a capable converter on our site.

Phil
 

HTF

Forum Member
Well, what a story, what a tale and what an adventure.

It is so very good to have such a capable converter on our site.

Phil
Thanks. I suppose you saw on the other site. I'm going to post here a "rerun" ;). Same build, same story :p Maybe some new photos, I have many. I don't pretend to go "deep" into each step unless someone asks.
 

HTF

Forum Member
Back to the build. This video has been posted on the Show us your van thread but I think it should also be here. Here the build is almost complete and was going for the DMV inspection to get the vehicle reclassified as a campervan :) A step by step explanation will be posted next.

https://flic.kr/p/2p2jrXn
 

HTF

Forum Member
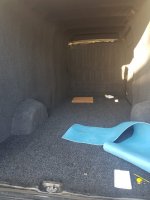
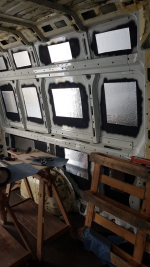
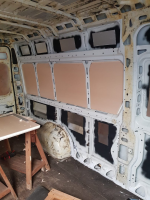
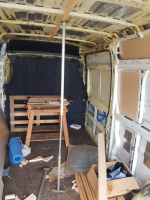
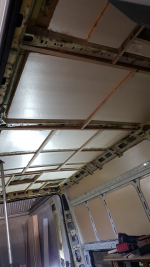
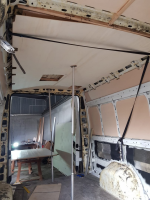
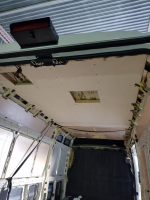
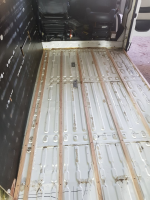
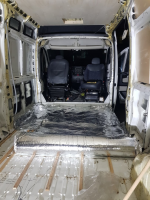
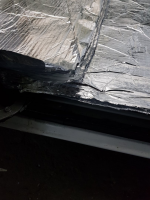
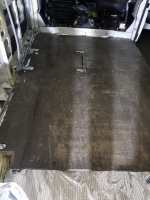
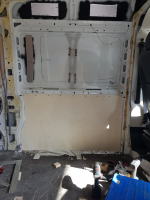
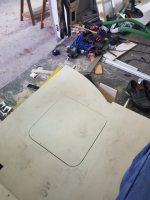
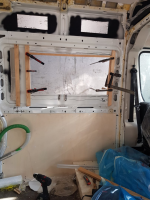
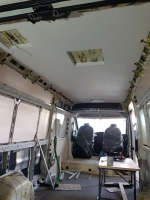
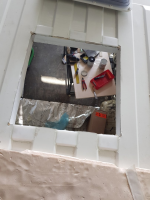
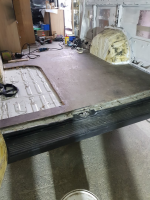
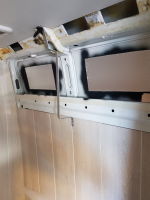
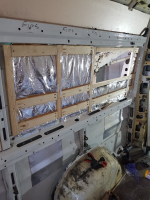
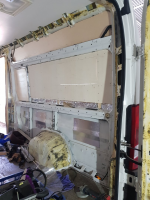
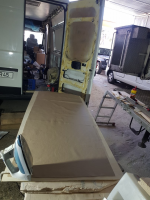
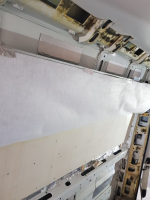
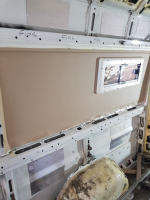
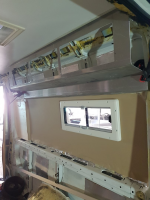
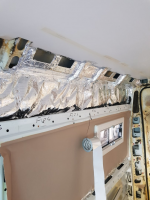
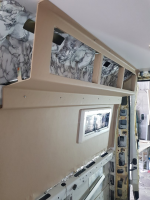
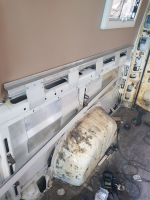
The first MOT with the van in my possession was still a few months away so I could't remove the separation from the cargo area so, I started with what I could do. No problem with the skylights but couldn't touch the sides. I removed the wall to wall carpet that came with the van, painted the panels with heavy chassis anti chip paint and stuck some aluminium/tar roof coating to dampen vibrations. The same was done with the roof and then covered with some EPS panels.

1695228773827.png1695228792587.png1695228812391.png1695228829254.png1695228842068.png1695228865895.png
 

HTF

Forum Member
Also made the step and triple reverse camera support. I have an Android radio so I used the reverse functionality to view the 3 cameras selected by a switch. I have small Chinese laser cutter and it helps with all kinds of templates an other stuff. The acrylic you see is recycled from LCD monitors and Tv's.

1695229009501.png
1695229021386.png
1695229042264.png
1695229059117.png
1695229072762.png
1695229090784.png
 

HTF

Forum Member
A little about myself. I live in Portugal, a little south of Lisbon and I work as an Electrical Maintenance Engineer at a big recycling plant. This is where I got many materials that I used in my build. My van is controlled by some industrial automation systems and when on the road it's permanently connected to the Internet via a 4G router. All systems can be monitored through my smartphone from anywhere. Fortunately the mobile Internet functions very well in Portugal to such extent that I don't use regular TV. I use a larger tablet and have the same service I have through cable at home.
Powerwise, I don't need to connect to the AC supply since my 450W solar panel with a 40A MPPT regulator keep my 3 12V 95Ahr AGM batteries topped up.
 

HTF

Forum Member
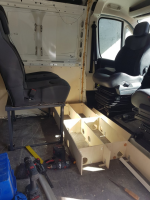
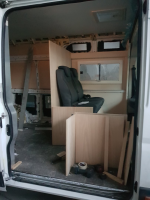
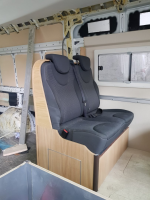
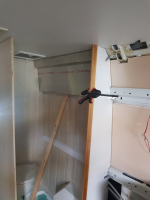
When I did my MOT which is valid for a year, I could strip the cargo separator, remove the seats and install some new recycled ones. The front seats were from a Renault Megane Coupe and the double one from a Citroen Jumpy. I made my own swivel bases. I made a big bearing for the seat on the laser. The original driver seat had a pneumatic suspension and I found one from a bus for the passenger. For the back seat I made a metal structure to bolt to the chassis. This space underneath is reserved for my batteries and other electrical stuff. Since the back and front floors are at different levels, there will be a step with some compartments.

1695229546834.png
1695229557778.png
1695229568635.png
1695229582078.png
1695229628894.png
1695229642585.png
 

HTF

Forum Member
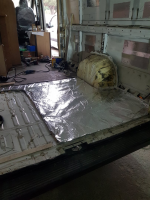
Next came the floor insulation. Found a special 17 ply film from France that is equivalent to 50mm EPS so it was used on the floor.

1695229743983.png1695229764810.png1695229776529.png1695229790744.png
 

HTF

Forum Member
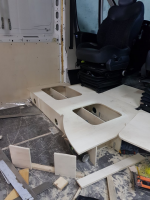
Next came the dining area floor. Since the side walls of the van are not straight I didn't want to line up all the walls as many people do so, this was done in a way to take advantage of every available width.

1695229941151.png1695229957411.png1695229992983.png1695230007590.png1695230023975.png
 

HTF

Forum Member
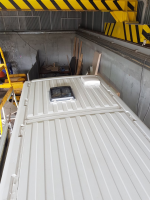
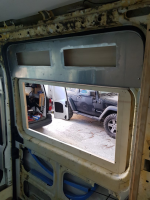
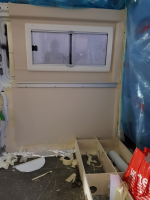
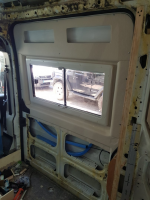
Time to install the windows and skylights. The skylights were positioned leaving room for the big solar panel I made some Nylon spacers to contour the roof profile. The van's contours are very difficult to finish off so I made the trim panels fro aircraft aluminium covered with Nappa fabric applied with upholsterers contact cement applied with a spray gun. Aircraft aluminium was used all over the build.


1695230175112.png1695230192755.png1695230209269.png1695230226456.png1695230242503.png1695230273782.png1695230289426.png1695230308923.png1695230327212.png
 

HTF

Forum Member
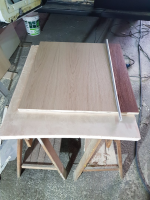
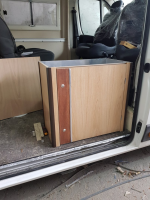
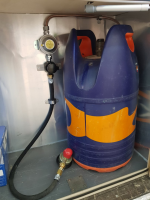
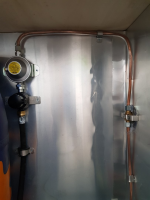
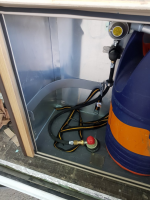
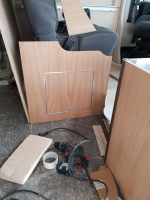
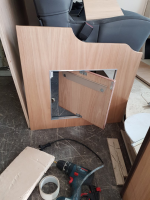
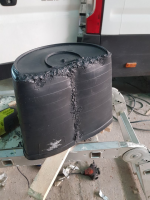
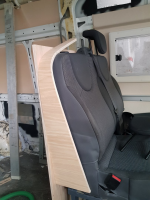
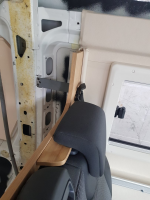
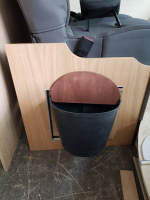
Next came the gas locker/bench and seat "box". Initially I thought about a 2 tone scheme for the doors but, after doing the first one I decided to leave it with only the oak veneer with 4 coats of wax finish. The gas locker is lined with a thin sheet of aluminium with a big vent to the underside of the van and the shutoff valve on the outside. The seat trim had me bend a piece of plywood to finish around the back and a construction bucket was cannibalized to make the garbage bin in a convenient location :)

1695231483432.png1695231499666.png1695231519648.png1695231555578.png1695231571026.png1695231595715.png1695231605072.png1695231613702.png1695231620615.png1695231628352.png1695231637520.png1695231646718.png1695231653827.png1695231661671.png1695231670508.png1695231678322.png
 

HTF

Forum Member
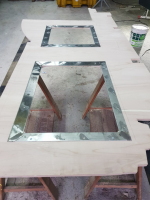
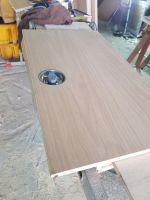
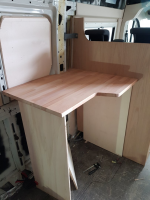
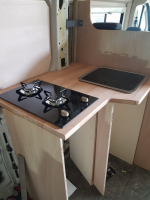
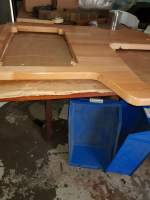
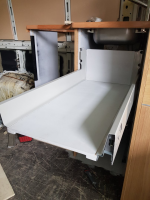
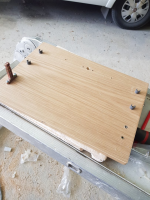
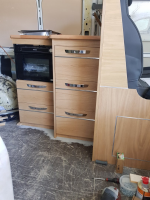
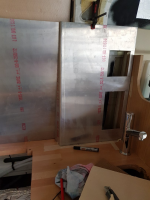
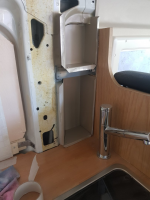
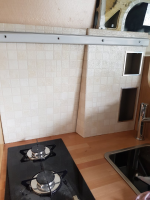
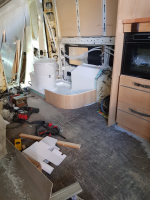
Now for the kitchen area. On a typical van, the kitchen is by the sliding door but I didn't want it that way. I opted to place it behind the dining area. Usually the bath room or wardrobe is placed here but in my opinion, a floor to ceiling panel here would close the "open space" look I was aiming for. The countertop is made out of an IKEA table top that was enough for the kitchen, bathroom "sink"and a trim above the refrigerator. The only place I used tough polyurethane varnish was in the kitchen area. Three drawers are 650mm and the other two, 500mm. Having the kitchen where it is meant that I had to build a kitchen hood and I placed the fan motor in the wardrobe and routed the exhaust pipe to the bottom of the van. This way, no roof mounted chimney and no grease on the roof. The drawers were made with specialized kits with soft shock absorber close action. I made the drawer fronts and used thread inserts to avoid wood screws that could strip with the use. The splash guard is made out of aircraft aluminium and since I needed a way to reach the seat belt fixing nut, I made 2 small niches that are useful to put the kitchen soap. The splash guard is covered with waterproof wallpaper mimicking ceramic tiles with a few coats of urethane varnish. Another commodity I wanted was a gas fired oven which helps with the meals on the road.

1695316192325.png1695316208352.png1695316219898.png1695316231539.png1695316241666.png1695316256229.png1695316267857.png1695316280789.png1695316292449.png
 

HTF

Forum Member
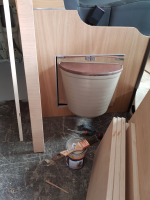
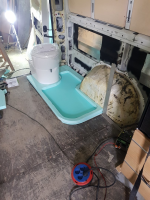
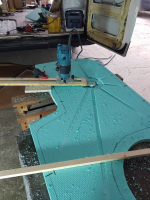
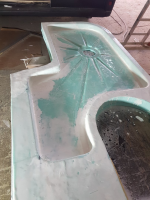
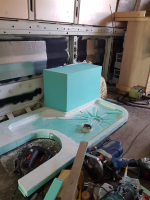
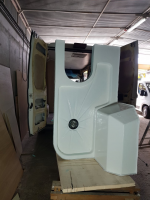
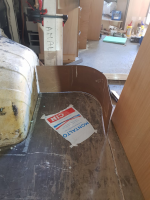
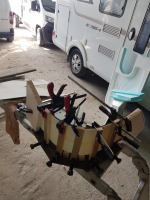
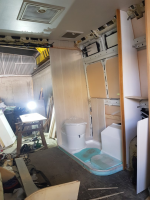
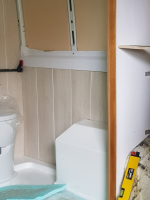
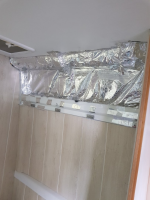
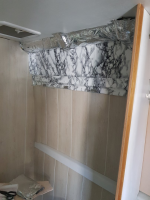
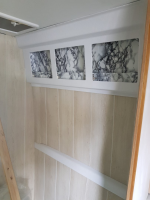
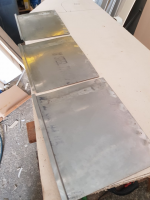
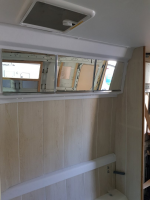
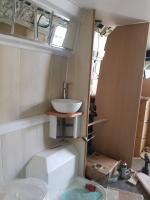
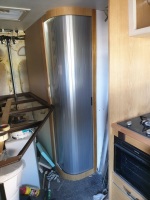
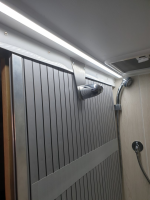
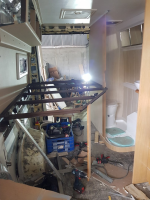
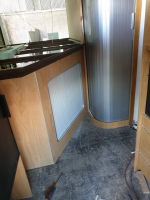
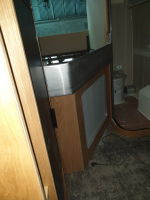
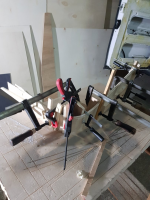
Next came the bathroom. Since it was a custom size, needless to say, I couldn't buy a shower base so, I made one :). This was made from high density EPS covered with fiberglass cloth and epoxy. Only in the middle of the process I realized that I could have used white dye with the resin and still tried. I ended up painting it white in the end. I made some slots to aid the draining of the water. I was able to order a tambour door with custom made track at Tambourline in the UK just before Brexit so no import duties were charged. This door meant that I had to make a plywood trim with a curve. I made a steel mold and built up the panel from a few thin plywood strips. This was then cut in half to make the top and bottom of the door trim. The wash basin is the smallest ceramic one I could find. I don't really like the campervan alternatives in molded plastic or fiber. The wall was covered with PVC panels following the van contours and totally waterproof. No shower curtain is used as nothing can be damaged. After showering a quick wipe with those new microfiber towels and everything is dried. The top cupboard is made again from aviation aluminium with some stainless steel doors with mirrors.


1695317134886.png1695317145018.png1695317157792.png1695317167853.png1695317177704.png1695317184354.png1695317207499.png1695317215396.png1695317223437.png1695317233794.png1695317241901.png1695317253438.png1695317279122.png1695317290583.png1695317300706.png1695317308173.png1695317316713.png1695317326686.png1695317336329.png1695317344764.png1695317354775.png
 

HTF

Forum Member
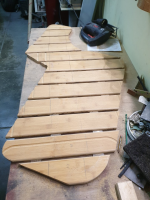
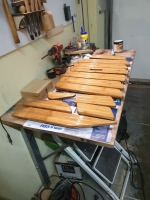
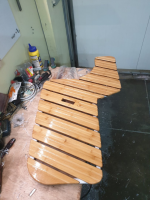
2 IKEA bamboo chopping boards made the shower "grate". The bottom has a nylon spacer to separate the wood from the base and water to prevent rot. A few coats of marine polyurethane varnish gave the final protection.

1695317925012.png1695317931334.png1695317944231.png1695317955320.png1695317979832.png
 

HTF

Forum Member
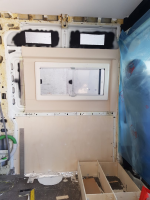
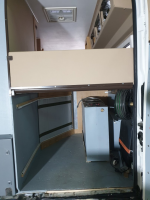
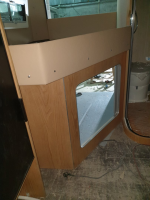
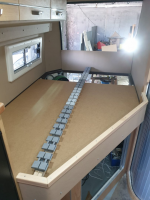
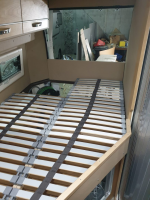
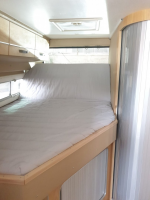
Another must on my new build was the existence of a permanently available bed. On the other motorhomes I had, to take a quick nap, the table had to be lowered and we hated it. I decided to go for a French type bed over the "garage" with a sliding window. On the long side it's 1,85 meters and the cutout doesn't bother the wife. It's made from some special aluminium profiles that came from a aircraft repair facility. The walls are covered in Nappa fabric which I think is nicer to the touch than varnished or painted wood.


1695318537411.png1695318553637.png1695318563865.png1695318582400.png1695318603855.png1695318616272.png1695318624119.png1695318633810.png1695318643709.png1695318656482.png1695318700875.png1695318711099.png1695318721196.png1695318729032.png1695318743791.png
 

HTF

Forum Member
Every screw used on the van's sheet metal is through the use of crimped rivet nuts. No self tapping screws were used in the build. In the anchoring of the panels some angle profiles were used with special stubby wood screws like those from IKEA furniture.
Due to the new parking laws in Portugal, sliding windows were used. It´s only considered parking if the van only occupies it's profile. An open step, open "flag type" window, awning or table outside is considered camping and can only be done in marked authorized places. Sliding windows don't take up space.
 

HTF

Forum Member
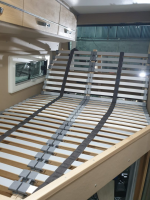
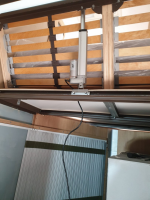
Not in the build sequence but here is the rest of the very comfortable sleeping quarters ;). Once again, IKEA was the source. The bed base frame had to be adapted so did the mattress that's supposed to go on a double sofa bed so it's separated 2/3, 1/3. I trimmed the foam and used the sewing machine to adapt the cover which came out very well, if I may say so. Took advantage of the mattress separation by installing a pivot mechanism on the base and a remote controlled actuator to lift the bed.


1695319174140.png1695319182510.png1695319190674.png1695319197715.png1695319205016.png1695319212614.png1695319219528.png
 

Users who viewed this discussion (Total:0)

Top