Andrew Davies
Right, bit stalled by weather and the need to fix exact position of kitchen, side ply has been screwed in and the edges sealed with Polyurethane glue, great as it expands like a mini version of the foam (guess that is what it is) I added a quarter circle bead to the top to help bond it in and break the bend for the carpet.
Postman has been a constant purveyor of gods from the far east recently, so getting the important bits in a row as it's expensive when you need them 'now'....
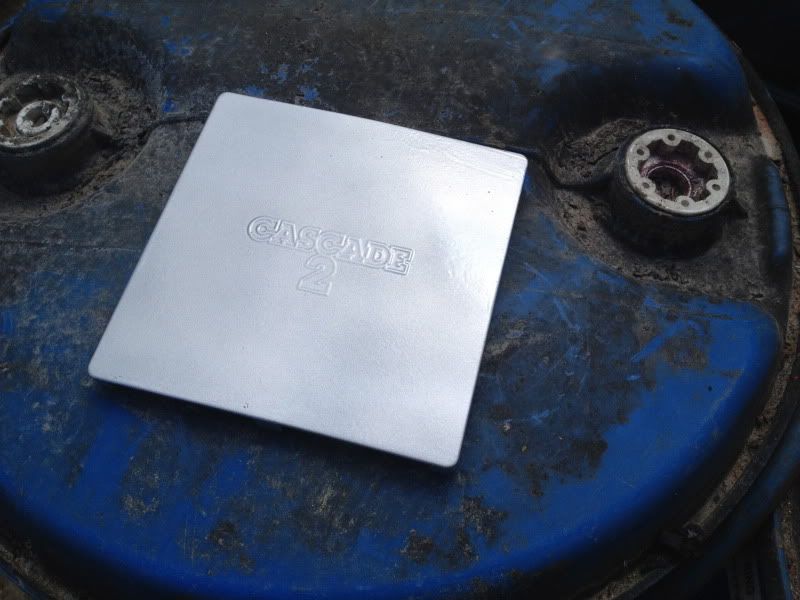
Got stuck into getting the Carver Cascade 2 looking a bit inconspicuous (well as much as a 8x10" lump can :lol: ) The 'ETIS' site from Ford told me I had a 'Moondust' Silver Transit so off to the local factors for 3 cans of spray; plastic primer, colour coat and the all important lacquer.
For those who have sprayed plastic I'll accept a sage nod, for those who have not, consider plastic to be an evil fiend that hates you and your paint!<_<
Disassembled the vent to get paint inside the frame or there will be white still visible, annoyed a couple of spiders and got to cleaning/rubbing down with a mix of red scotchbrite and paper, being nice and hot the 3 layers could go on in quick order, I'd also have used etch primer, but it's yellow and the plastic primer should be kinder to the plastic.
Dust coat of primer, then build, allow to almost dry and stick in the sun (yes when you read this tomorrow, we had summer yesterday! ), cup of coffee and then repeat for top coat (note the Hycoat paint I used comes out like a hose compared to the primer and lacquer
  ) dry the same, and checking the spiders are not stuck to it, whack the lacquer on. When dry (give it a few hours, pop it back together or wait overnight for the paint to cure hard, I was bored so on it went!
I'm pretty happy with the result, I'd have loved a Truma Combi or Ultrastore for a small round flue, but as I had this, it's a financial choice, £300+ for a second hand ultrastore will go much better elsewhere!


Postman has been a constant purveyor of gods from the far east recently, so getting the important bits in a row as it's expensive when you need them 'now'....
Got stuck into getting the Carver Cascade 2 looking a bit inconspicuous (well as much as a 8x10" lump can :lol: ) The 'ETIS' site from Ford told me I had a 'Moondust' Silver Transit so off to the local factors for 3 cans of spray; plastic primer, colour coat and the all important lacquer.
For those who have sprayed plastic I'll accept a sage nod, for those who have not, consider plastic to be an evil fiend that hates you and your paint!<_<
Disassembled the vent to get paint inside the frame or there will be white still visible, annoyed a couple of spiders and got to cleaning/rubbing down with a mix of red scotchbrite and paper, being nice and hot the 3 layers could go on in quick order, I'd also have used etch primer, but it's yellow and the plastic primer should be kinder to the plastic.
Dust coat of primer, then build, allow to almost dry and stick in the sun (yes when you read this tomorrow, we had summer yesterday!
I'm pretty happy with the result, I'd have loved a Truma Combi or Ultrastore for a small round flue, but as I had this, it's a financial choice, £300+ for a second hand ultrastore will go much better elsewhere!


